English | 7
Noise/Vibration Information
Noise emission values determined according to EN
60335-2-79.
Typically the A-weighted noise levels of the product are:
Sound pressure level 67dB(A); sound power level
78dB(A). Uncertainty K=4,0dB.
Overall vibrational values a
h
(vector sum of three directions)
and uncertainty K determined according to
EN 60335-2-79: a
h
= 0,4 m/s
2
, K = 0,5 m/s
2
.
Mounting and Operation
Representation/Action Ob-
jective
Figure Page
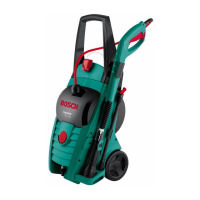
Product Features
A
27
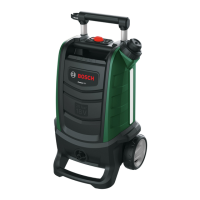
Delivery scope
B
28
Filling the water tank
C1
28
Fill water tank with mains water
connection
C2
29
Fill water tank with mains water
connection (continuous)/auto-
matic filling
C3
29
Battery charging and inserting
D
30
Carrying and transporting
E
30
Connecting the hose
F
31
Switching on
G
31
Adjusting the pressure setting
H
32
Spray-pattern variants
I
32
Using the brush
J
33
Switching off
Disconnecting the hose
K
34
Removing the battery
L
34
Maintenance
M
35
Storage
N
35
Accessories
O
36
Switching on
Charging the Battery
u Pay attention to the mains voltage. The voltage of the
power source must match the voltage specified on the
rating plate of the charger.
The battery is equipped with temperature monitoring that al-
lows charging only in the temperature range between 0 °C
and 35 °C. In this manner, a high battery service life is
achieved.
Note: The battery is supplied partially charged. To ensure
full battery capacity, completely charge the battery in the
battery charger before using for the first time.
The lithium-ion battery can be charged at any time without
reducing its service life. Interrupting the charging procedure
does not cause damage to the battery.
The “Electronic Cell Protection (ECP)” protects the lithium-
ion battery against deep discharging. When the battery is
empty, the product is switched off by means of a protective
circuit: The product no longer operates.
Do not continue to press the On/Off switch after an auto-
matic shut-off of the product. The battery could become
damaged.
Observe the notes for disposal of the battery.
Inserting/Removing the Battery (see figures D
and L)
Note: Using unsuitable batteries can lead to malfunctions or
damage the machine.
Press the battery compartment release button (15) to open
the battery compartment cover (14). Insert the charged bat-
tery (19). Ensure the battery is inserted correctly.
Close the battery compartment cover and ensure that the
lock of the battery compartment release button (15) has en-
gaged. The battery compartment cover (14) protects the
battery against splashed water during operation.
Press the battery compartment release button (15) to open
the battery compartment cover (14). To remove the battery
(19) from the machine, press the battery unlocking button
(20) and pull the battery out.
Meaning of the Indication Elements
(AL1810CV)
Flashing battery charge indicator
The charging process is indicated by the flash-
ing of the battery charge indicator .
Solid light on battery charge indicator
A solid light on the battery charge indicator
signals that the battery is fully charged or that
the temperature of the battery is not within the
permitted charging temperature range, and
can therefore not be charged. The battery is charged as soon
as the allowable charging temperature range is reached.
When the battery is not inserted, a solid light on the battery
charge indicator signals that the mains plug is inserted in the
plug socket and that the charger is ready for operation.
Meaning of the Indication Elements
(AL1830CV)
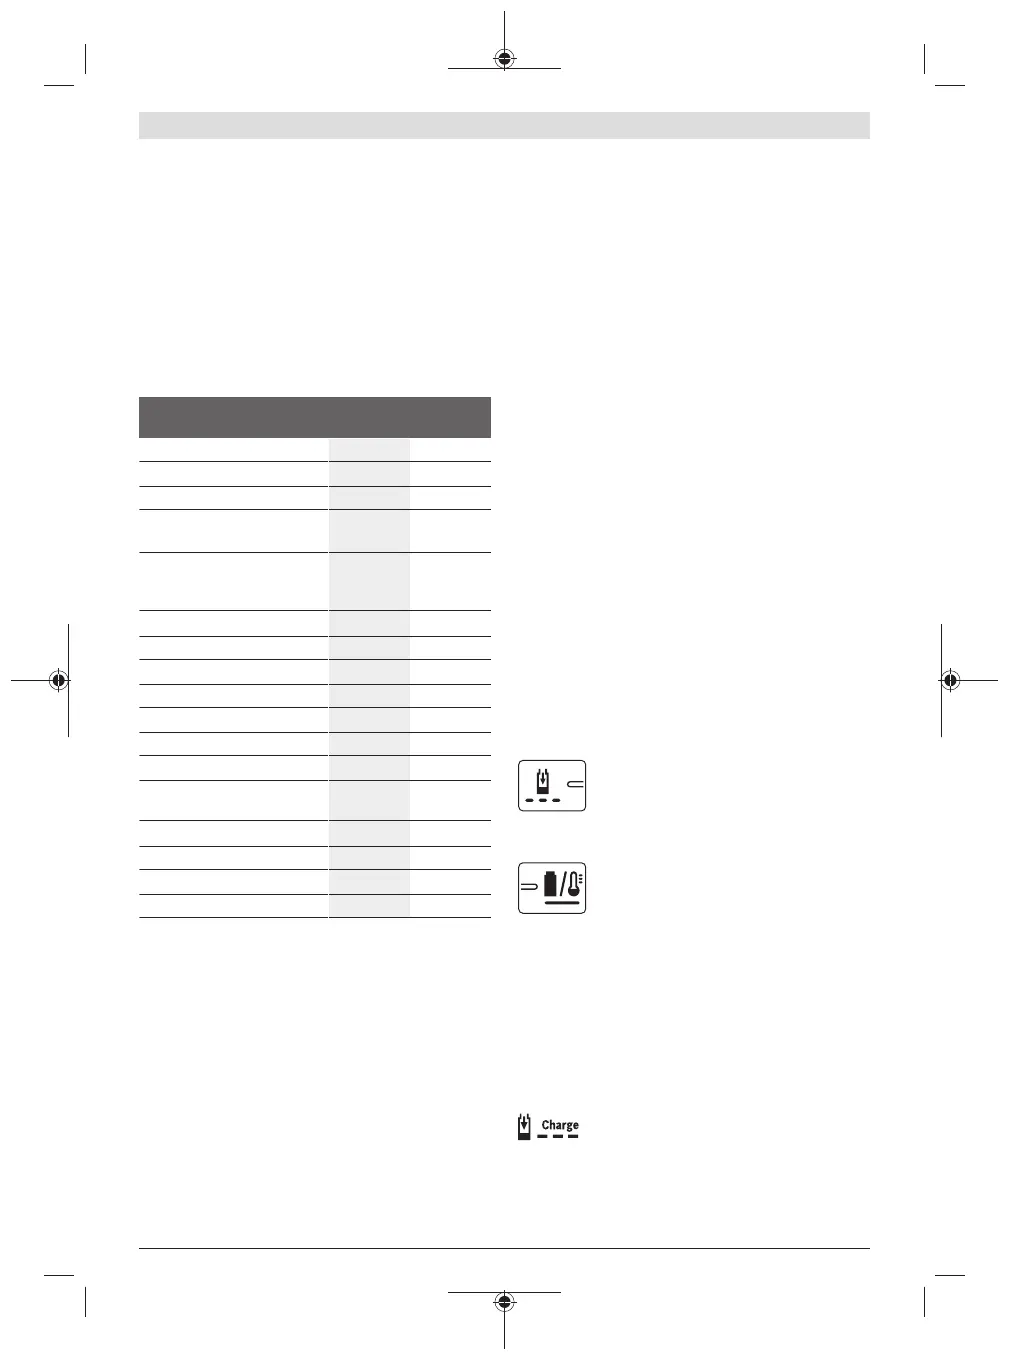
(Fast) Flashing of the Green Battery Charge Indicator
The rapid-charging procedure is indicated by
fast flashing of the green battery charge in-
dicator .
Note: The rapid-charging procedure is only possible when
the battery temperature is within the allowable charging
temperature range, see section “Technical Data”.
Bosch Power Tools F 016 L94 145 | (09.12.2020)
 Loading...