Do you have a question about the Bosch MED17.5.2 and is the answer not in the manual?
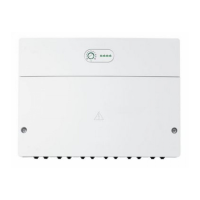
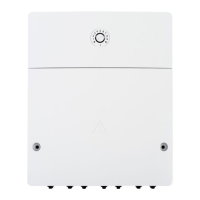
Identifies probe connections (A-G) and their functions, including power, serial, and flash tool interfaces.
Explains the ignition selection switch (E) and its specific setting for AVDI use (K-Line).
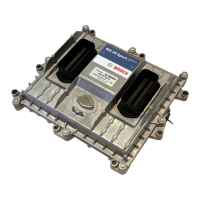
Details safe power-off procedures, probe placement, and ECU alignment for connection.
Step-by-step guide for reading the ECU password, specifying switch positions.
Instructions for programming the ECU using boot mode, detailing switch settings.
Outlines the critical steps for safely disconnecting the probe from the ECU after use.
Highlights the specific red-marked pads on the ECU that require contact with the probe.
This document describes a probe designed for programming VAG MED17.5.2 Bosch ECUs, specifically for use with an AVDI (Abrites Vehicle Diagnostic Interface) flash tool. The probe is designed to simplify the process of reading and programming these ECUs by eliminating the need for soldering.
The primary function of this probe is to provide a non-invasive interface for programming VAG MED17.5.2 Bosch ECUs. It facilitates communication between the ECU and a flash tool (such as AVDI) for operations like reading passwords and programming the ECU in boot mode. The probe is equipped with LEDs to assist in accurate alignment with the ECU's BDM (Background Debug Mode) points. It also integrates switches for controlling "Boot" resistors and the ignition feed, which are crucial for different programming stages.
The probe offers several features to streamline the ECU programming process:
Preparation:
Reading Password (for TP8+ only):
Programming the ECU:
Disconnecting:
| Brand | Bosch |
|---|---|
| Model | MED17.5.2 |
| Category | Control Unit |
| Language | English |