NLSet up and connect
OSet up and connect
set up and connect
a continuous worktop that is
permanently connected to the adjacent
cabinets.
Osset up and connect For correct use, connect the
appliance to electricity and water in a
professional manner. Observe the
required criteria and the installation
instructions.
1. "Observe the safety instructions." →
Page 4
2. "Observe the instructions for the
electrical connection."
→
Page 15
Scope of supply
3.Check the contents of the package
and the condition of the device.
After unpacking, check all parts for
transport damage and the
completeness of the delivery.
For complaints, please contact the
store where you purchased the
device or our customer service.
4.The required installation dimensions can be found
in the installation instructions.
5.Level the appliance using the
adjustable feet.
NoteThe device has been checked at
the factory for correct operation.
Water stains may remain on the
device. The water stains disappear
after the first wash cycle.
Pay attention to a firm position.
6. "Install the drain water connection."
→
Page 14
7. "Install the drinking water
connection." →
Page 15
The delivery consists of:
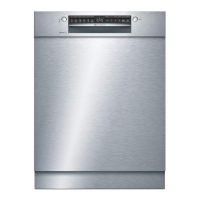
†Dishwasher
†Instructions
†Assembly instructions
†Guarantee
†mounting material
†Steam protection plate †
Power cord
†Quick guide
8.Connect the device to the
power.
Waste water connection
Connect the appliance to a waste water
connection so that the contaminated
washing water can be drained.
Install waste water connection
1.The necessary steps can be found in
the supplied installation instructions.
Set up and connect the
device
2.Connect the drain hose to the
connection nipple of the siphon
using the supplied parts.
You can install your undercounter or
built-in appliance in the kitchen unit
between wooden and plastic walls. If
you subsequently install the device as
a free-standing device, you must
secure the device against tipping over,
e.g. by screwing it to the wall or
installing it under
3.Make sure that the drain hose is not
kinked, crushed or tangled.
4.Make sure that the water does not
flow out by a plug in the waste
water connection.
14


 To Next Page