deSetting up and connecting
The delivery consists of: ¡
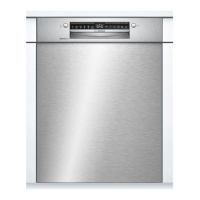
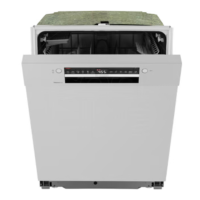
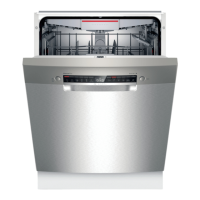
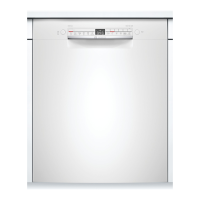
dishwasher
¡Instructions for use
¡assembly Instructions
¡Further information documents ¡
Mounting material
¡Steam protection plate
¡Power cord
¡quick start Guide
4.3 Waste water connection
Connect your device to a wastewater
connection so that water
contaminated by the rinse cycle can
drain away.
Install waste water connection
1.Please refer to the assembly
instructions provided for the
necessary steps.
4.2 Set up and connect the
device
2.Connect the waste water hose to
the drain connection of the siphon
using the included parts.
You can install your under-counter
device or integrated device in the
kitchen unit between wooden walls
and plastic walls. If you subsequently
set up your device as a free-standing
device, you must secure your device
against tipping over, e.g. B. by
screwing on the wall or by installing it
under a continuous worktop that is
firmly connected to the neighboring
cabinets.
1.Follow the safety instructions.
→
page 4
3.Make sure that the drain hose is not
kinked, crushed or twisted.
4.Make sure that there is no cover in
the drain that prevents the waste
water from flowing out.
4.4 Drinking water connection
Connect your device to a drinking
water connection.
2.Follow the instructions for electrical
connection.
Install drinking water connection
Hints
¡Make sure you do that
Connect the device to a water inlet
with a safety device to prevent
drinking water contamination
through backflow (according to DIN
EN 1717). The connection valves/
water taps provided for this purpose
are equipped with this safety device
if the house is installed correctly.
¡If you replace the device,
you must use a new water inlet
hose.
3.Check the scope of delivery and
the condition of the device.
4.The required installation dimensions can be
found in the assembly instructions.
5.Set up the device horizontally using
the adjustable feet.
Make sure you have a secure footing.
6.Install the wastewater connection.
→
page 12
7.Install the drinking water
connection. →
page 12
8th.Connect the device to power.
1.Please refer to the assembly
instructions provided for the
necessary steps.
12
 Loading...