28
Bosch Security Systems 09/07 BLCC500R FTR1.02
Copyright © 2007 E&OE
Access > Global Properties >
PIN Length
MENU 1-5-0
0 = Variable 4
1 = 1 Digit 4 = 4 Digits 7 = 7 Digits
2 = 2 Digits 5 = 5 Digits 8 = 8 Digits
3 = 3 Digits 6 = 6 Digits
Enter 0 - 15 + [OK] To Program The PIN Length Option.
(*** System Wide Parameter ***)
Access > Global Properties >
PIN Retry Count
MENU 1-5-1
(*** System Wide Parameter ***)
6
Enter 0 – 8 + [OK] To Program The PIN Retry Count (0 = Unlimited).
Access > Global Properties >
Installer PIN
MENU 1-5-2
1 2 3 4
Use Digits 0 – 9 To Program The Installer PIN + [OK] To Save. Installer
PIN Can Be Up To 8 Digits Long. (*** System Wide Parameter ***)
Access > Global Properties >
PIN Expire Time
MENU 1-5-3
0 3 0
(*** System Wide Parameter ***)
DAYS
Enter Digits 0 – 255 + [OK] To Program How Many Days A Temporary
PIN Is Valid.
Access > Prox Reader >
Name
MENU 1-6-0
R e a d e r 1 N a m e
Use [] and [] Keys To Scroll the Cursor Left and Right. Use Keys [0]
– [9] + [] and [] To Select Characters. When finished press [OK] To
Save. Press [OFF] To Clear From The Current Cursor Position.
Access > Prox Reader >
Area Assignment
MENU 1-6-1
1
Enter 1 - 4 (0 = Not Assigned) To Assign The Reader To An Area, Then
Press [OK] To Save
Access > Prox Reader >
Access Group
MENU 1-6-2
0
Enter 1 - 8 (0 = No Access Group) To Assign The Reader To An Access
Group , Then Press [OK] To Save. Can Only Be Assigned To One Access
Group
Access > Prox Reader >
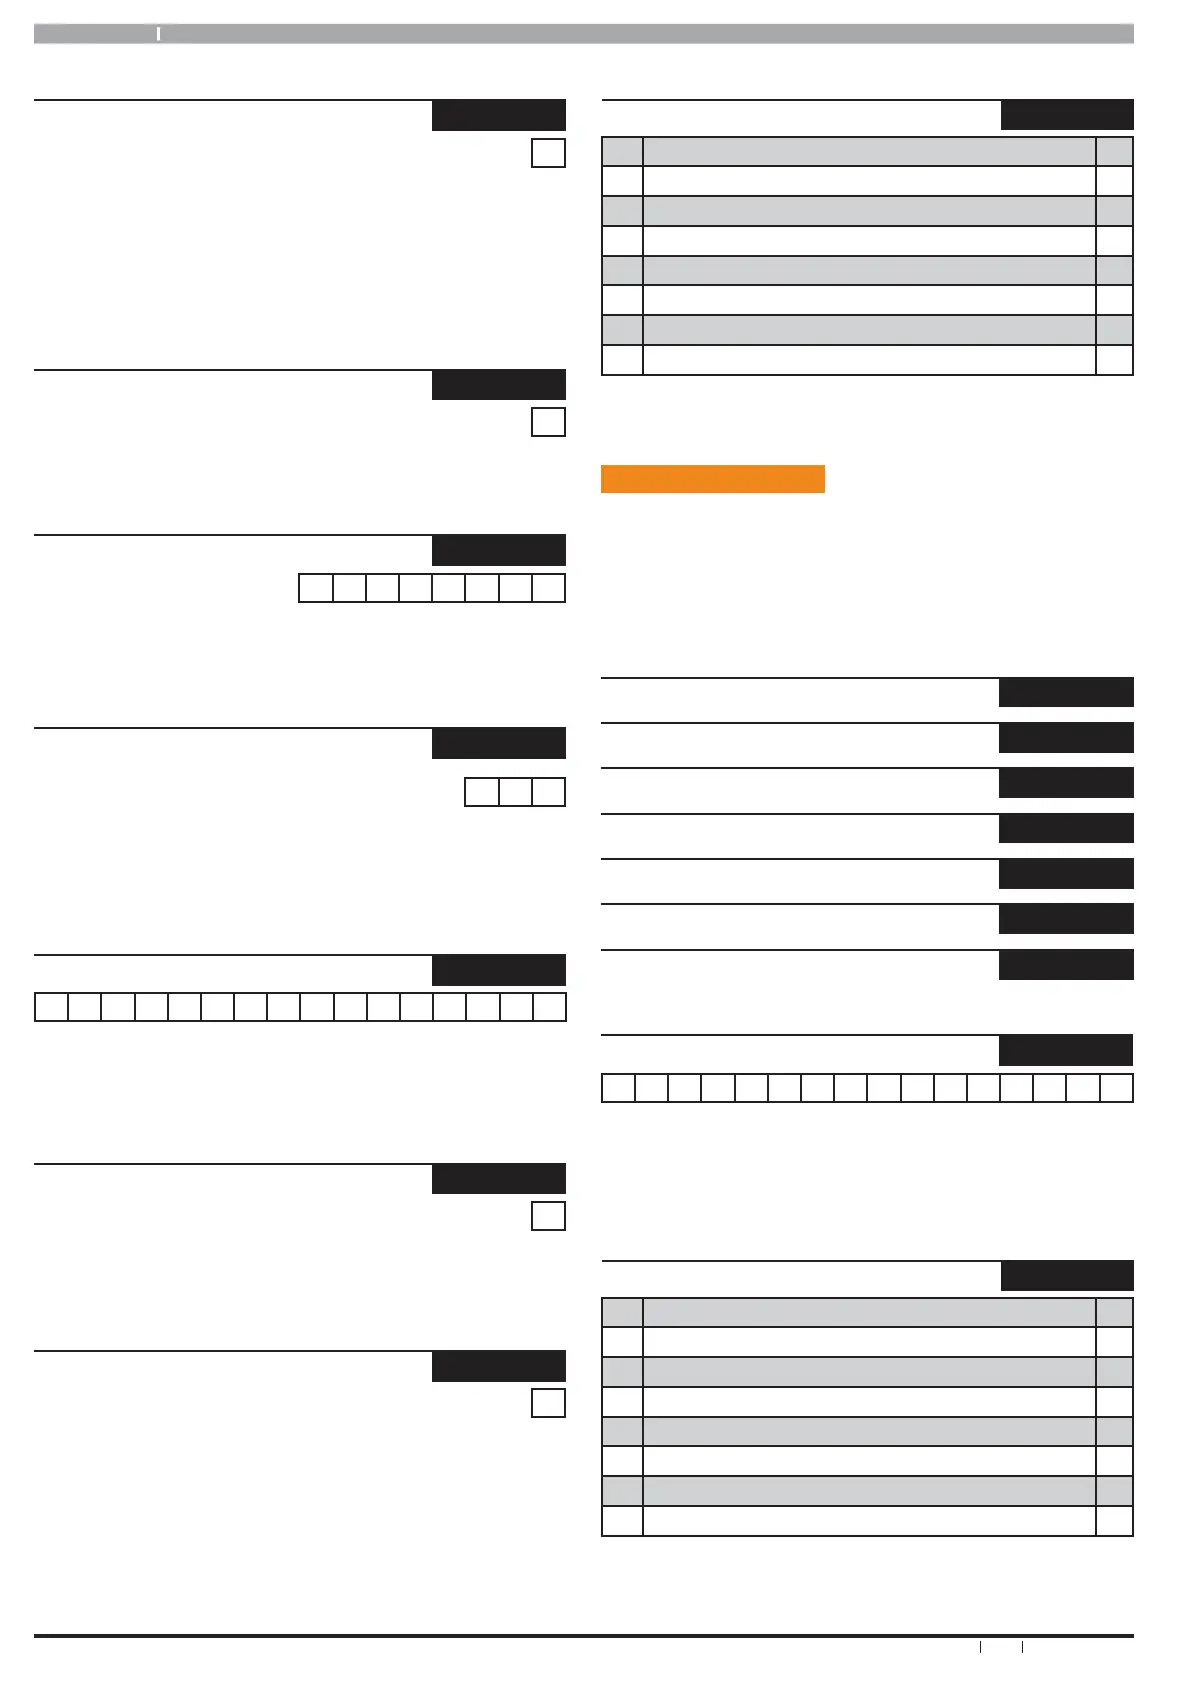
Reader Options MENU 1-6-3
1 All On Arming Allowed Y
2 Disarming Allowed Y
3 Badging Required N
4 Zero Exit Time N
5 Part On Arming Allowed N
6 Arm If Single Area User N
7 Reserved N
8 Arm All User Areas N
This location is a Bit option field. Press Keys [1] – [8] to turn ON and
OFF the required options. The option is selected or ON when the
coresponding zone indicator is on. Press [OK] To Save when finished.
Areas > Commands >
Area Status
MENU 2-0-0
Turn Area On/Off
MENU 2-0-1
Turn All Areas On
MENU 2-0-2
Turn All Areas Off
MENU 2-0-3
Move To Area
MENU 2-0-4
Chime On/Off
MENU 2-0-5
Chime Mode
MENU 2-0-6
Areas > Area Properties >
Area Name
MENU 2-1-0
A r e a 1 N a m e
Use [] and [] Keys To Scroll the Cursor Left and Right. Use Keys [0]
– [9] + [] and [] To Select Characters. When finished press [OK] To
Save. Press [OFF] To Clear From The Current Cursor Position.
Areas > Properties >
General Options
MENU 2-1-1
1 Exit Time Restart N
2 Reset Alarm Memory On Disarm N
3 Duress Allowed Y
4 Acknowledge All Faults N
5 Single Button Arming Allowed - All On Y
6 Single Button Arming Allowed - Part On Y
7 Link To Common Area N
8 Single Button Part Off N
This location is a Bit option field. Press Keys [1] – [8] to turn ON and
OFF the required options. The option is selected or ON when the
coresponding zone indicator is on. Press [OK] To Save when finished.