Do you have a question about the Bosch WGG24409GB and is the answer not in the manual?
Read this instruction manual carefully and keep it safe for future reference.
Only use this appliance for washing machine-washable fabrics and hand-washable wool in private households.
Appliance use by children aged 8+ and persons with reduced abilities requires supervision.
Connect and operate the appliance only in accordance with the specifications on the rating plate.
Never operate a damaged appliance or pull the power cord to unplug. Always unplug at the mains.
Repairs should only be carried out by trained specialist staff. Use only genuine spare parts.
Packaging materials are environmentally compatible and can be recycled. Sort components separately.
Choose programmes with low temperatures, longer wash times and maximum load capacity for efficiency.
The appliance automatically switches to energy-saving mode if not used for an extended period.
Remove all packaging and protective covers. Check the appliance for visible damage.
Check all parts for damage in transit and completeness of the delivery. Do not operate with defective accessories.
The appliance contains live parts. Do not operate without a cover cap. Ensure a stable, level surface.
The appliance is secured for transportation using transit bolts on the rear. Remove these before use.
Connect the water inlet hose to the tap securely. Check that connection points are tight.
Align the appliance using the feet and a spirit level to reduce noise and vibration.
Ensure your electrical installation complies with local provisions and safety regulations.
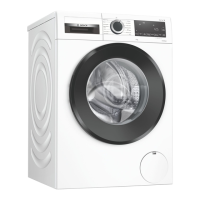
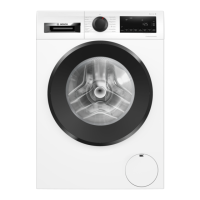
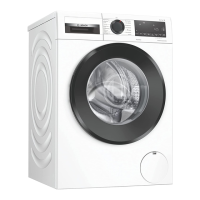
An overview of the parts of your appliance is provided here, including the door, control panel, and hoses.
Details on the detergent drawer compartments for main wash, softener, and prewash.
Information on programmes, programme selector, and display functions for operating the appliance.
Run the first wash cycle without laundry to remove residual water and prepare the appliance.
Remove items from pockets, empty pockets, close zips, and tie items to protect laundry and appliance.
Ensure the appliance is correctly installed and connected, then turn the programme selector to a programme.
Turn the programme selector to the desired programme and adjust settings if required.
Programme settings can be adjusted as needed but are not saved permanently.
Note the maximum load for programmes to prevent creasing and ensure optimal results.
Use the provided measuring aid for liquid detergent by inserting it into the detergent drawer.
Fold the measuring aid down and click it into place in the detergent drawer for liquid detergent.
Add detergent and care products to the correct compartments in the detergent drawer.
Press Start/Reload to begin the wash cycle. The drum rotates and load detection takes place.
Start the programme to soak laundry. It can be paused and resumed using Start/Reload.
Laundry can be added or removed after the programme has started by pausing and resuming.
Press Start/Reload, then open the door to cancel the programme. Drain if water level is high.
Open the appliance door after the programme has finished and remove the laundry.
Turn the programme selector to Off and turn off the water tap.
Press and hold two specific buttons for 3 seconds to activate the childproof lock. The display indicates activation.
Press and hold the same two buttons for 3 seconds to deactivate the childproof lock. The display indicates deactivation.
Configure basic settings like end signal volume, button signal volume, and drum cleaning reminders.
Use the programme selector and Spin Speed buttons to navigate and change basic settings.
Run a Drum Clean programme or wash at 60°C regularly. Leave door and drawer open to dry.
Pull out the drawer, remove inserts, clean with water and a brush, then dry and reassemble.
Empty the drain pump by draining water, removing the filter, cleaning components, and reassembling carefully.
Turn off tap, empty hoses, switch off appliance, unplug, and drain water before moving.
Secure the appliance for transport using transit bolts to prevent damage during movement.
Refer to installation and first-time use instructions for reconnecting and starting the appliance.
Dispose of the appliance in an environmentally friendly manner, following local authority guidelines.
Find the product and production numbers on the appliance's rating plate for customer service contact.
| Load Capacity | 9 kg |
|---|---|
| Spin Speed | 1400 rpm |
| Energy Efficiency Class | A+++ |
| Programs | 15 |
| Appliance placement | Freestanding |
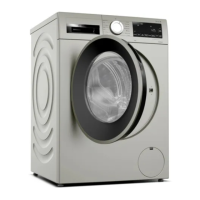
| Product colour | White |
| Built-in display | Yes |
| Door hinge | Left |
| Drum material | Stainless steel |
| Inverter technology | Yes |
| Spin-drying class | B |
| Washing class | A |
| Noise emission class | B |
| Delayed start timer | Yes |
| Delayed start (max) | 24 h |
| Remaining time indication | Yes |
| Child lock | Yes |
| Energy consumption per 100 cycles | 49 kWh |
| Height | 848 mm |
| Display | LED |
| Loading type | Front |
| Width | 600 mm |
| Depth | 590 mm |
| Water Consumption | 49 liters |