17
2.2 Flush-mount loudspeaker enclosures
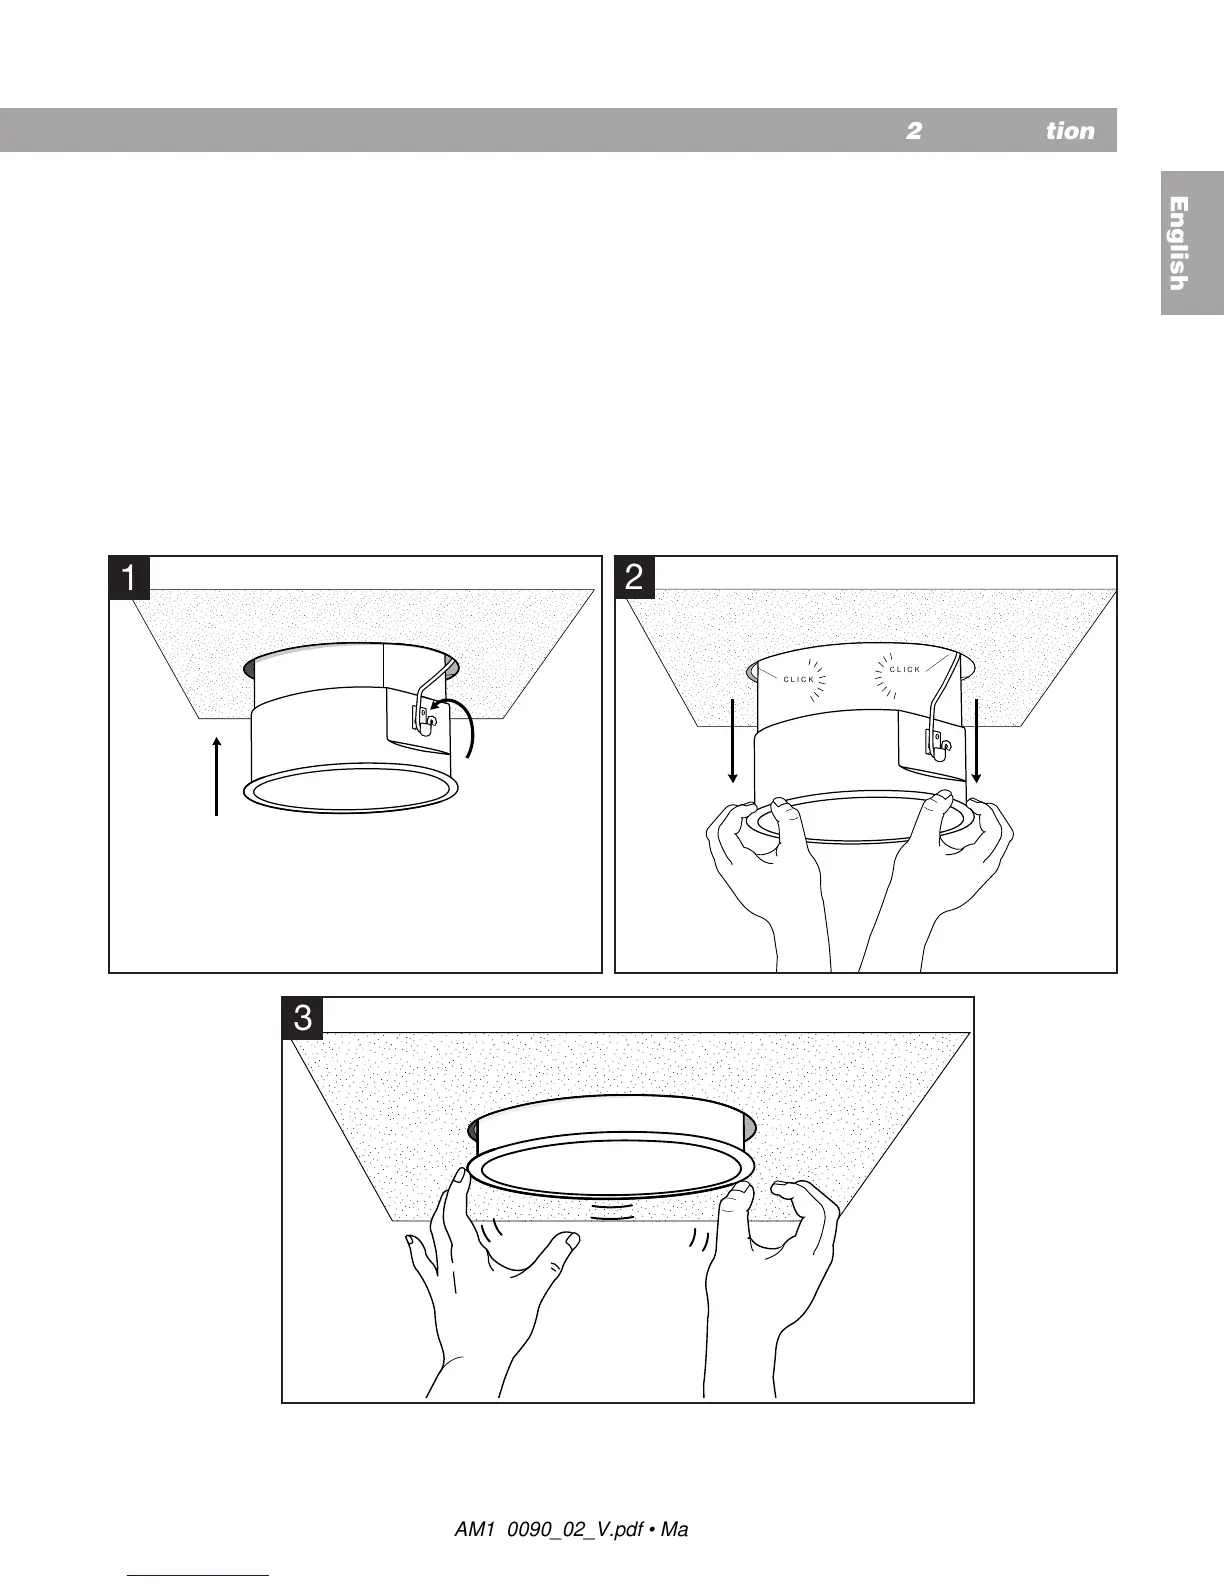
Note: If the electrical connections have not yet been made, pull all wires through the mounting hole and clear of the
springs.
Complete electrical connections before releasing the loudspeaker into the ceiling. Releasing the loudspeaker with
wires unconnected could cause the loudspeaker to jam on the dangling wires or damage the mounting hole or the
loudspeaker rim.
If the springs are to support the loudspeaker while making the electrical connections, complete Steps 1 and 2 only in
Section 2.1.2. Once the loudspeaker is hooked on the springs, continue with Section 2.3.4, “Rotation feature” and
Section 2.3, “Electrical connections,” then return to Step 3 of this section.
Note: Do not remove the protective shield from the loudspeaker until it is time to install the loudspeaker grille. The
loudspeaker grille may be installed when it is felt that subsequent installation steps or construction activities are not
likely to result in grille damage.
CLICK
CLICK
2
1
3
2.0 Installation
English
AM180090_02_V.pdf • May 7, 2002