35
ASSEMBLY KEY POINTS
5A. Reman Grille and Top Cap Replacement Using Square-up Fixture
5A.1 Connect the FFCs from the Wi-Fi module to the button and display PCB. Figure 24 on previous
page.
5A.2 Align the top cap to the alignment features on the enclosure.
5A.3 Set the unit in the xture with the top cap down. Figure 27.
5A.4 Fully insert the alignment side panels into the unit.
5A.5 Secure the xture clamp to hold the unit.
5A.6 Install the two screws, through the alignment side panels, to secure the grille to the enclosure.
Do this on the other side.
Note: The alignment side panel has three holes enabling it to be used on either side of the unit.
5A.7 Install the two screws securing the grille to the bottom of the enclosure. Figure 26 on previous
page.
5A.8 Remove the alignment side panels.
Notes:
1. The gap between the grille and side panels should be .50 +0.67mm, - 0.50mm.
2. The side panels should sit subush to the top cap, 0.12 + 0.47mm. When sliding your nger
upward along the side panel, where the side panel meets the top cap, there should be no sharp
edge felt. Refer to cosmetic spec CS355588.
Install two screws through
alignment side panel
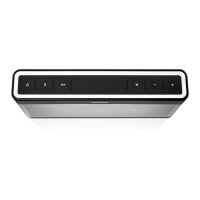
Figure 27. Reman SoundTouch
®
20 Top Cap and Grille Alignment Fixture.

 Loading...