40
Recording
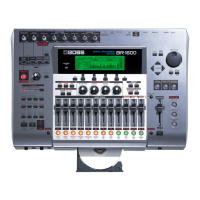
In the previous sections, you have made all the necessary preparations for recording instruments as they are played
along with a drum pattern. We will now record one of these instruments.
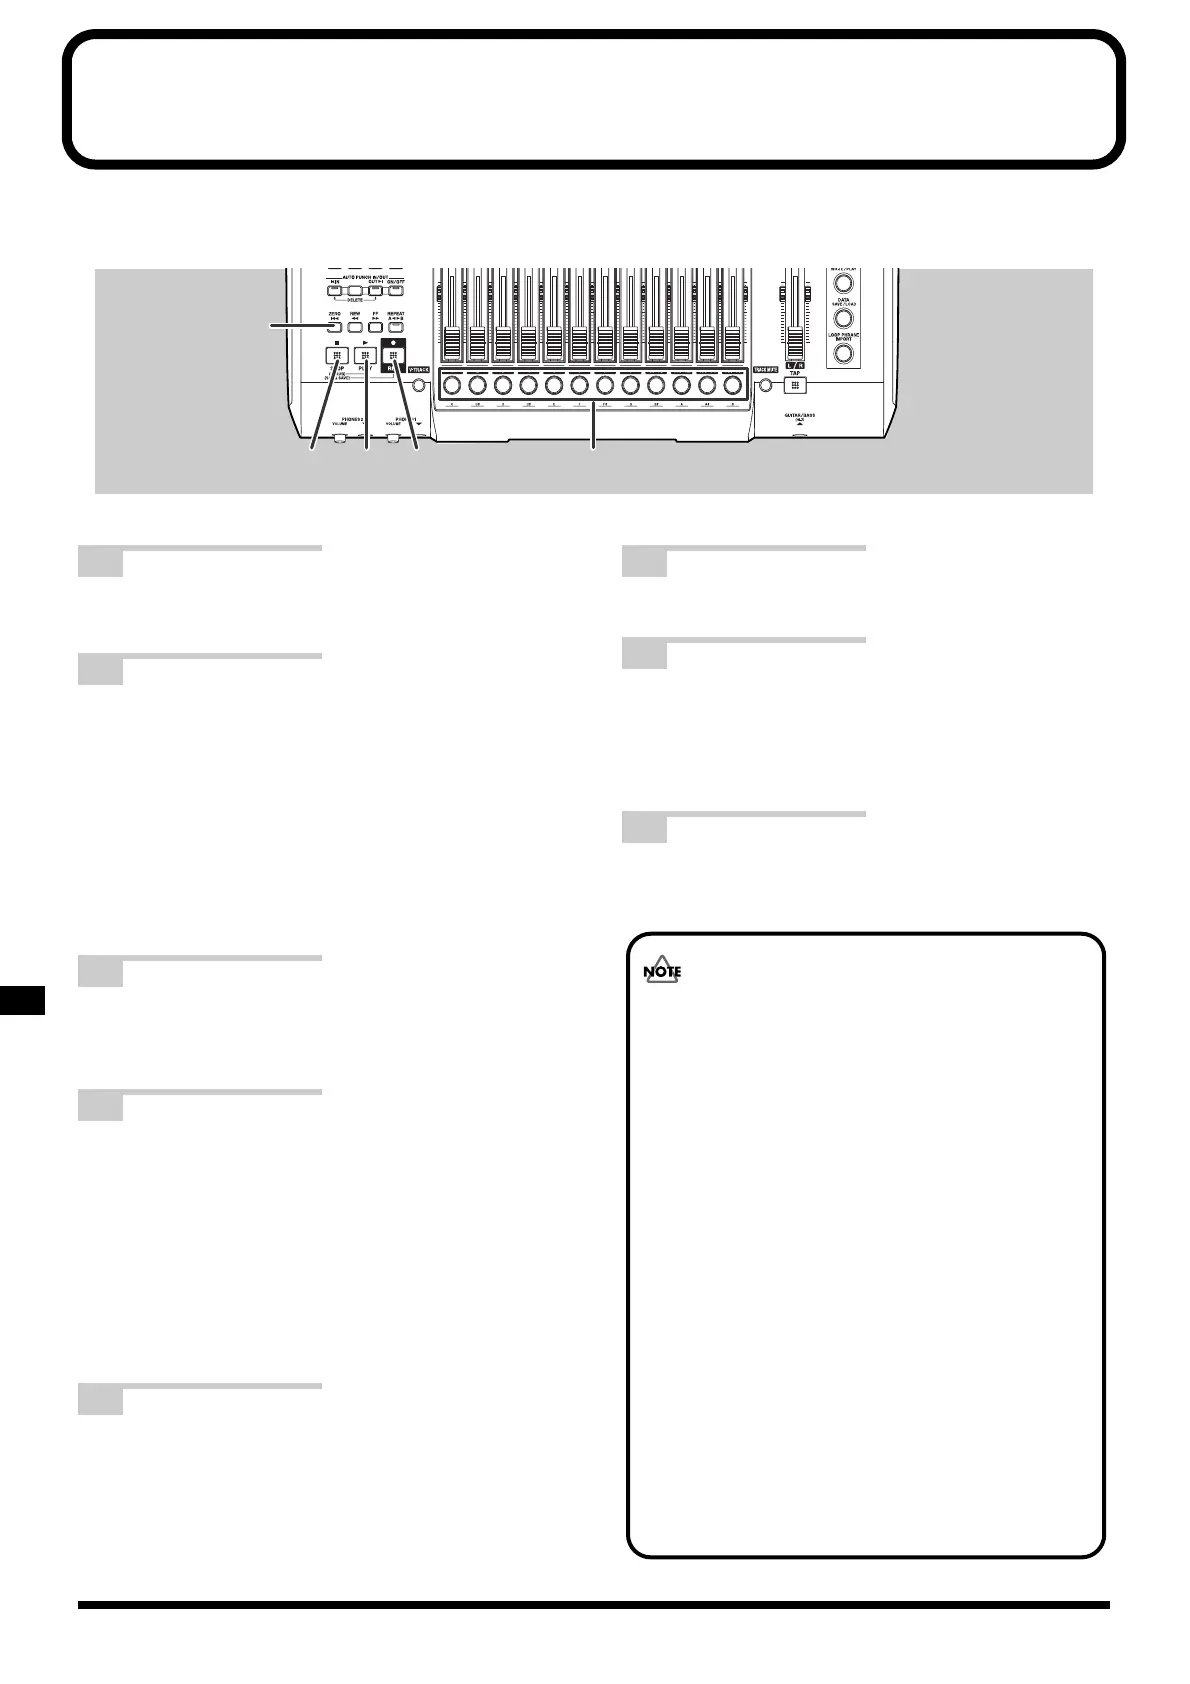
fig.07-38
1 Press [ZERO].
The current position will jump to the beginning of the song.
2 Press the track button for the track to
be recorded (Recording Track).
The track button will turn red and start flashing to
indicate selection as a recording track.
The track buttons function in a different way for each
Input Select status. For more detailed information
regarding the relationship between the Input Select
status and the track buttons, refer to “Input select
status and track button functions” below.
3 Press [REC].
[REC] will turn red and start to flash, indicating that
the BR-1600CD is now ready for recording.
4 Press [PLAY].
Both [PLAY] and [REC] will light up and recording
will start. The color of the track button for the
recording track will change to red.
Since the BR-1600CD plays the drum pattern during
recording, the instrument can be played along with
the drums. Note, however, that the drums will not be
recorded onto the recording track. Only the
instrument itself is recorded.
5 Press [STOP] when you want to stop
recording.
Both [PLAY] and [REC] will turn off and recording
will stop. Playback of the drum pattern will also stop
at this time. The track button for the recording track
will now start to flash green and orange.
6 Press [ZERO].
7 Press [PLAY].
[PLAY] will light up and the recorded performance
will be played back. Use the fader for the recorded
track to change its volume during playback.
8 If you wish to store the recorded audio,
save the current song (p. 56).
4,7 3 2
1,6
5
• If you turn off the BR-1600CD without saving the
current song, the recorded audio will be lost.
• If the track type (p. 28) for any of the tracks 11/12
through 15/16 has been set to DRUMS, BASS, or
LOOP PHRASE, it will not be possible to select
that track for recording. However, if you want to
record to one of these tracks, its track type should
be set to AUDIO.
• After recording has been stopped, a period of 1 or 2
seconds may elapse before you can carry out the
next operation. This time is necessary for processing
of the recorded data and for reading of data from
the hard disk that will be needed for playback.
• The BR-1600CD allows a single, continuous
recording of up to approximately 13 hours in length
to be carried out. If a single recording reaches this
limit, the message “Memory Full” will be displayed
and recording will be stopped automatically. If you
want to continue recording in such a case, hold
down [REC] and press [PLAY] at the position were
recording was stopped.



 To Next Page