9
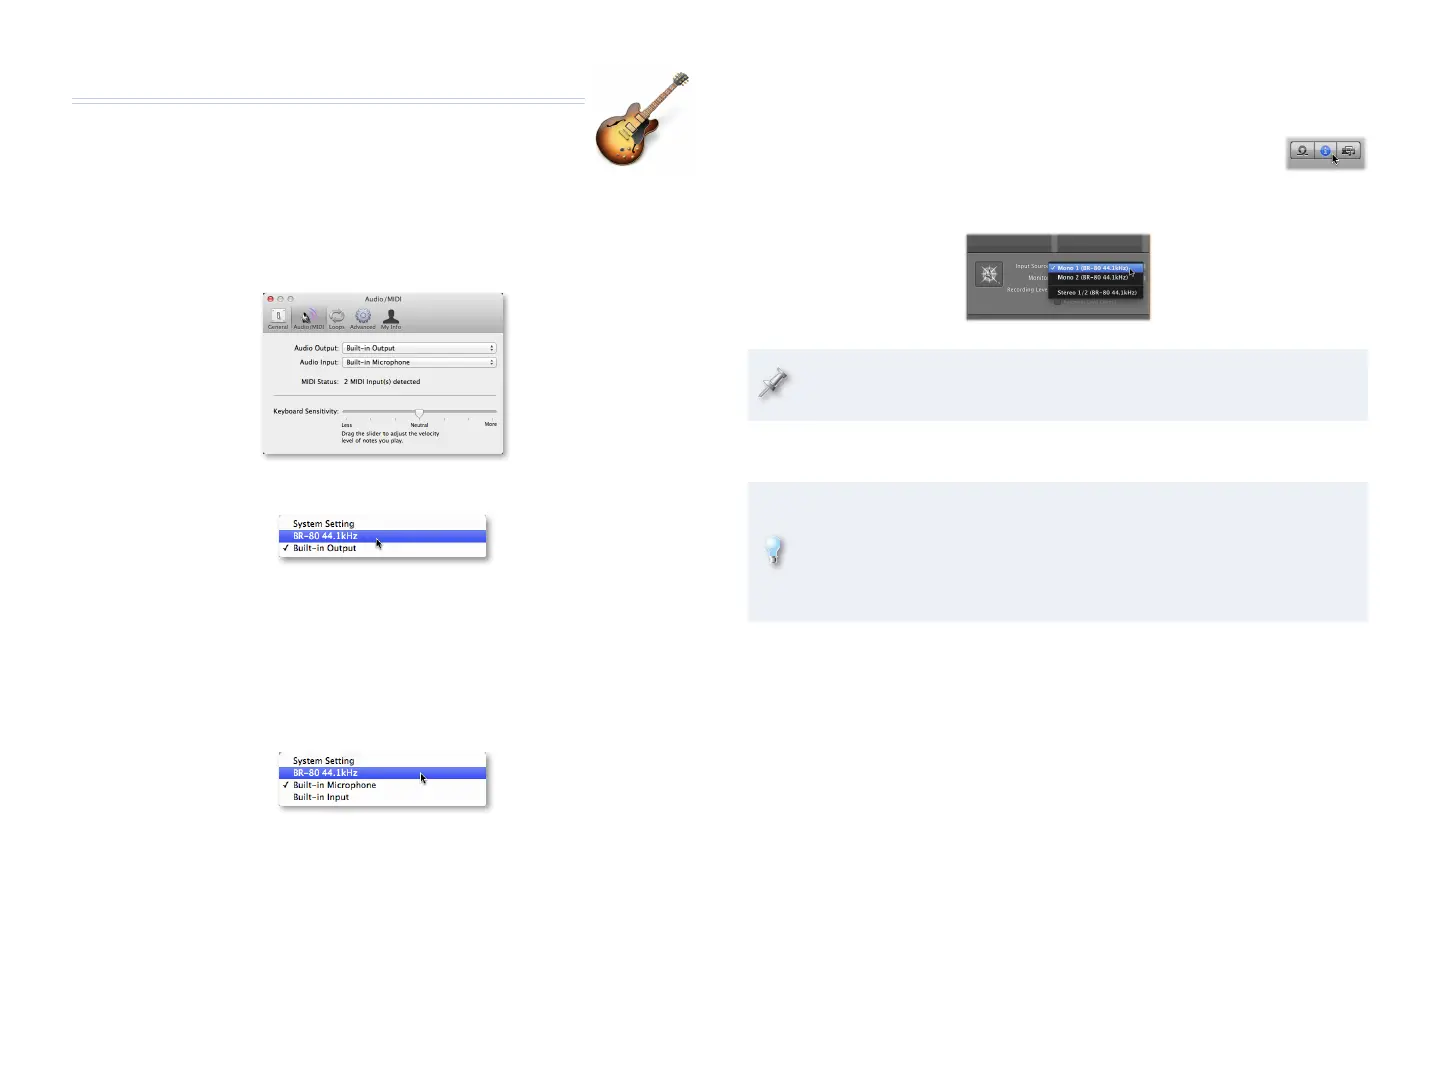
Selecting a BR-80 Input for Recording on a Track
1 Create a new Real Instrument track in GarageBand.
2 If the Track Info pane isn’t visible, click the Info
button to open it.
3 From the Input Source popup menu, select the desired BR-80 input.
If you want to record the BR-80’s stereo output, be sure to enable it
as described in “About Using the BR-80’s Stereo Output” on page 7.
4 Set Monitoring as desired.
Depending on the speed of your computer, you may hear a lag, or
“latency,” between the sound of your instrument or vocal in the BR-80
and then in GarageBand. To avoid latency as you record, you can set
Monitoring to Off. (If you want to hear GarageBand’s effects on your
signal as you record, turn Monitoring on.)
Control your recording level in GarageBand using the BR-80’s REC
LEVEL wheel, or a connected line-in device’s own controls.
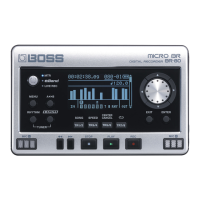
The BR-80 and GarageBand
Setting Up
GarageBand
Selecting the BR-80 as GarageBand’s Audio Interface
1 In GarageBand, select Preferences... from the GarageBand menu.
2 Click the Audio/MIDI tab.
3 From the Audio Output popup menu, select BR-80 44.1kHz.
4 When GarageBand asks if you’re sure you want to change audio
drivers, click Yes.
You’ll now hear GarageBand through headphones or earbuds you’ve
connected to the BR-80’s PHONES/LINE OUT jack.
5 From the Audio Input popup menu, select BR-80 44.1kHz, and when
GarageBand asks again about changing audio drivers, click Yes.
GarageBand can now use the BR-80’s audio inputs for recording.
6 Close the Preferences window.