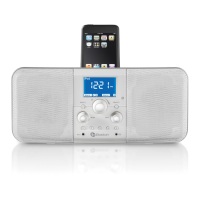
Connecting an auxiliary device (iPod
®
/MP3 Player/CD Player)
1. Turn down the volume level on the device you would like to connect
to the Radio and connect the device to its cable (not included).
2. While both units are off, insert the plug into the input labeled
Aux on the rear of the Radio.
3. Turn on the Radio and press the
Tuning knob to select “-AUX-” or
press the Enter button on the remote.
4. Raise the volume of the device to find the best sound without distortion.
If the volume is too soft, raise the volume on the Recepter Radio
®
HD.
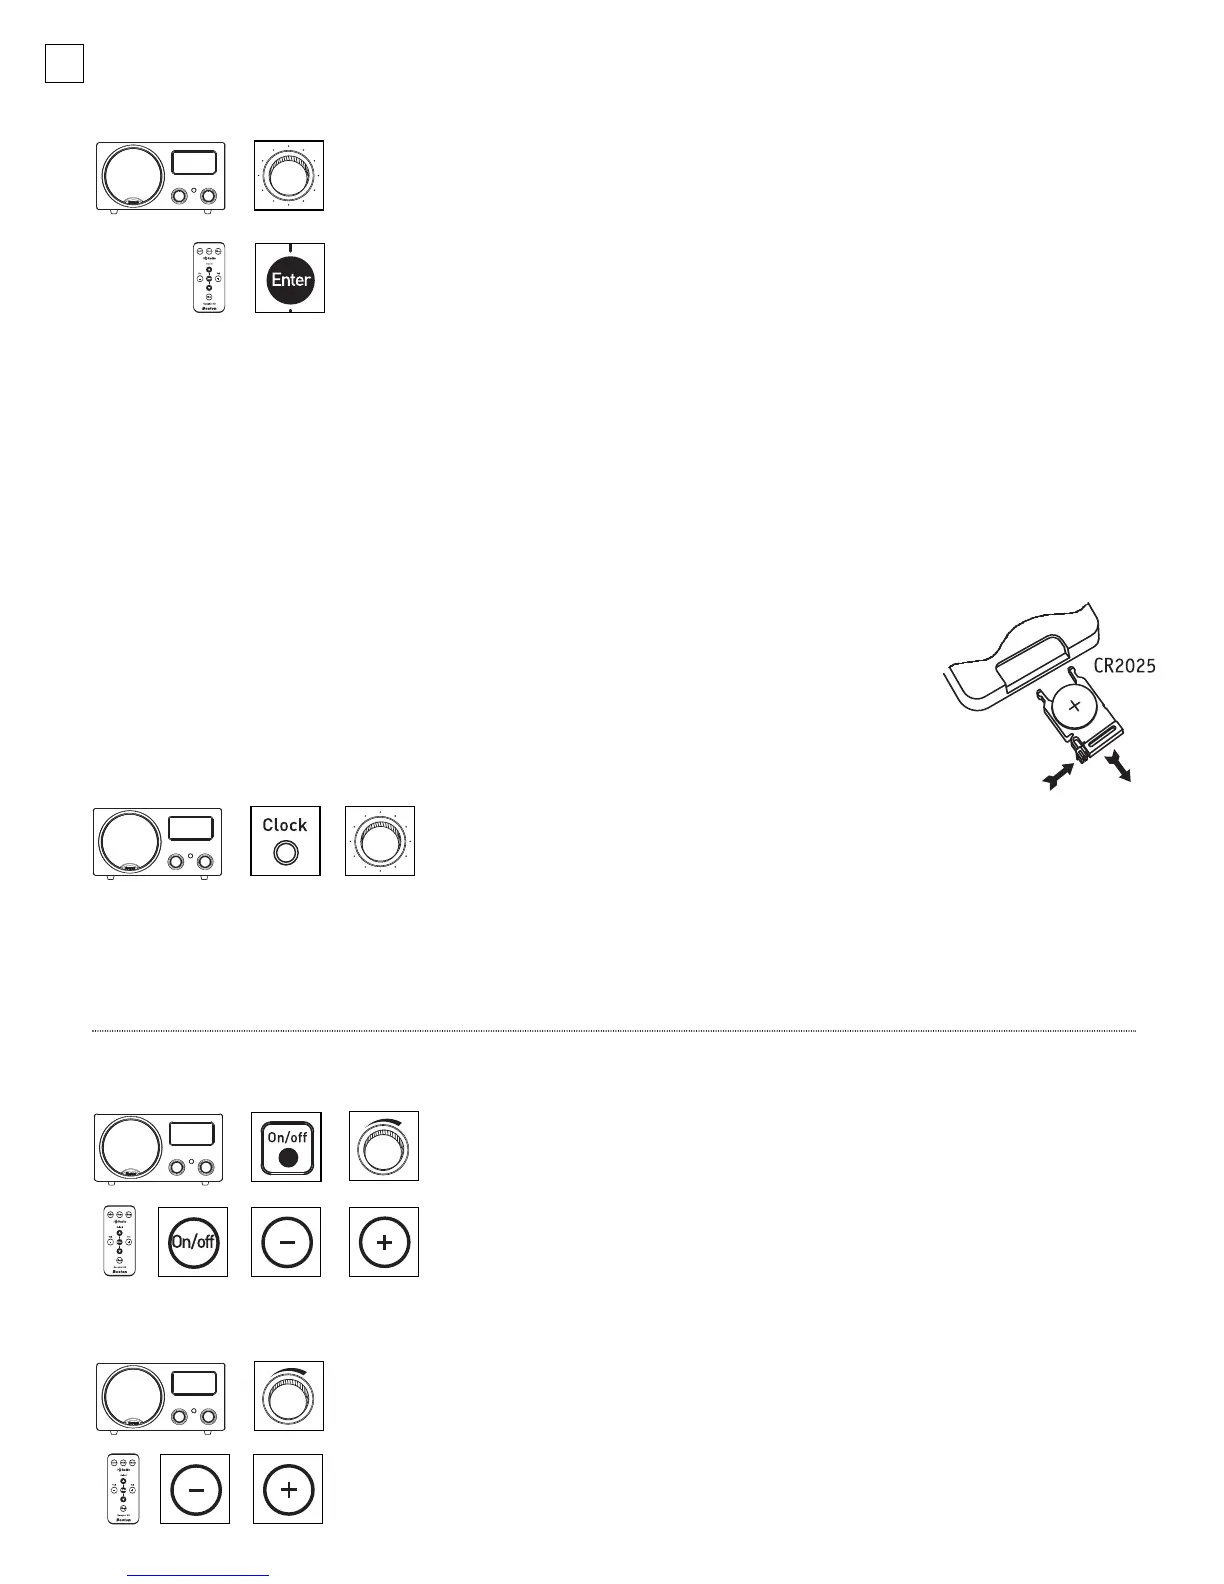
Turning on/off the radio
Press the On/off button on the Recepter Radio HD or on the
Remote Control to turn the unit on or off. The Radio can also be
turned on by pressing the Volume knob or the + or – buttons on
the Remote Control.
Adjusting the volume
Turn the Volume knob on the Recepter Radio HD or press the + or –
buttons
on the r
emote to adjust the v
olume.
When the Radio is turned on,
the v
olume
will r
eturn to the pr
evious setting unless it was v
ery loud,
in which case it will go to volume level 40.
Connecting headphones
Insert the headphones plug into the stereo minijack labeled Phones on the rear of the radio.
When you are
listening to headphones, the speakers will be muted except for the alarms
.
Note: The headphone jack is also
designed to be used as a stereo line output for connecting to another system. Headphones are in stereo mode,
even when the second speaker is not attached.
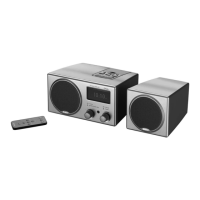
Installing the remote battery
Place the remote control face down on a flat surface. Using your thumb, push the locking
tab to the right and pull the battery compartment open with your finger. Insert the
batter
y with positiv
e side (+) up. Carefully close the compartment until it clicks.
6
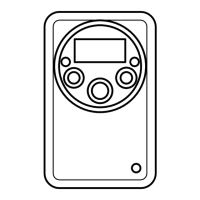
The Basics – Setting the clock
1. Lift the door of the control panel and push the Clock button to
bring up the “Clock Set” display.
2. Turn the Tuning or Volume knob to the desir
ed time and press the
Clock button, Tuning or Volume knob to set.
Note: This radio is equipped with a supercapacitor. The supercapacitor will keep the clock time, preset/alarm settings, and
stored presets for up to two days when AC power is interrupted. The Radio and alarm will not operate without AC power.
Clock display, radio operation, and alarm functionality will resume when AC power is restored.
042-002310-E Recepter Radio HD Manual.qxd 11/7/05 3:15 PM Page 6
 Loading...