1-1
Getting Started
Getting Started
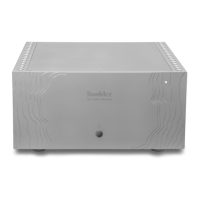
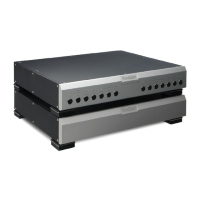
Placement of the 1160 Stereo Power Amplier
Your Boulder 1160 Stereo Power Amplier is designed to reduce
interference from external magnetic and radio elds (RF). While placement
is not critical, known magnetic elds should be avoided.
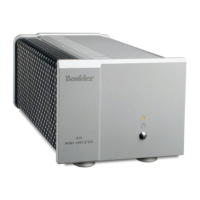
Moving this component will require at least four people, as it is very heavy.
Professional movers are recommended.
The 1160 Stereo Power Amplier will generate some heat. Therefore,
it should be located in an area with ample air circulation. Specically,
be certain that the heat sinks are unobstructed by objects that could
potentially block airow. Do not place the amplier on deep carpet and be
sure that the amplier has a minimum of 3 inches (8 cm) of free airspace
on all sides.
You may want to have access to the rear panel for cable changes.
Although input cables can be as long as necessary, it is suggested that
speaker cables be as short as possible.
Connecting to the AC Mains Outlet
Your 1160 Stereo Power Amplier is supplied with a mains power cable
suitable for the location where it was purchased. It is constructed of large
enough wire gauge and a plug appropriate for your AC line voltage. Do not
substitute another power cable.
Exact voltage and frequency compatibility is stated in the specications
section. See page 6-1.
Once the 1160 Stereo Power Amplier is connected to a live mains outlet
and the rear panel switch is moved to the “On” position, the LED on the
front panel will illuminate red for a short time. During this time the 1160 is
booting up.
The LED will then pulse white on and off, indicating that the supervising
microprocessor is powered up and the amp is ready to be turned on.