73
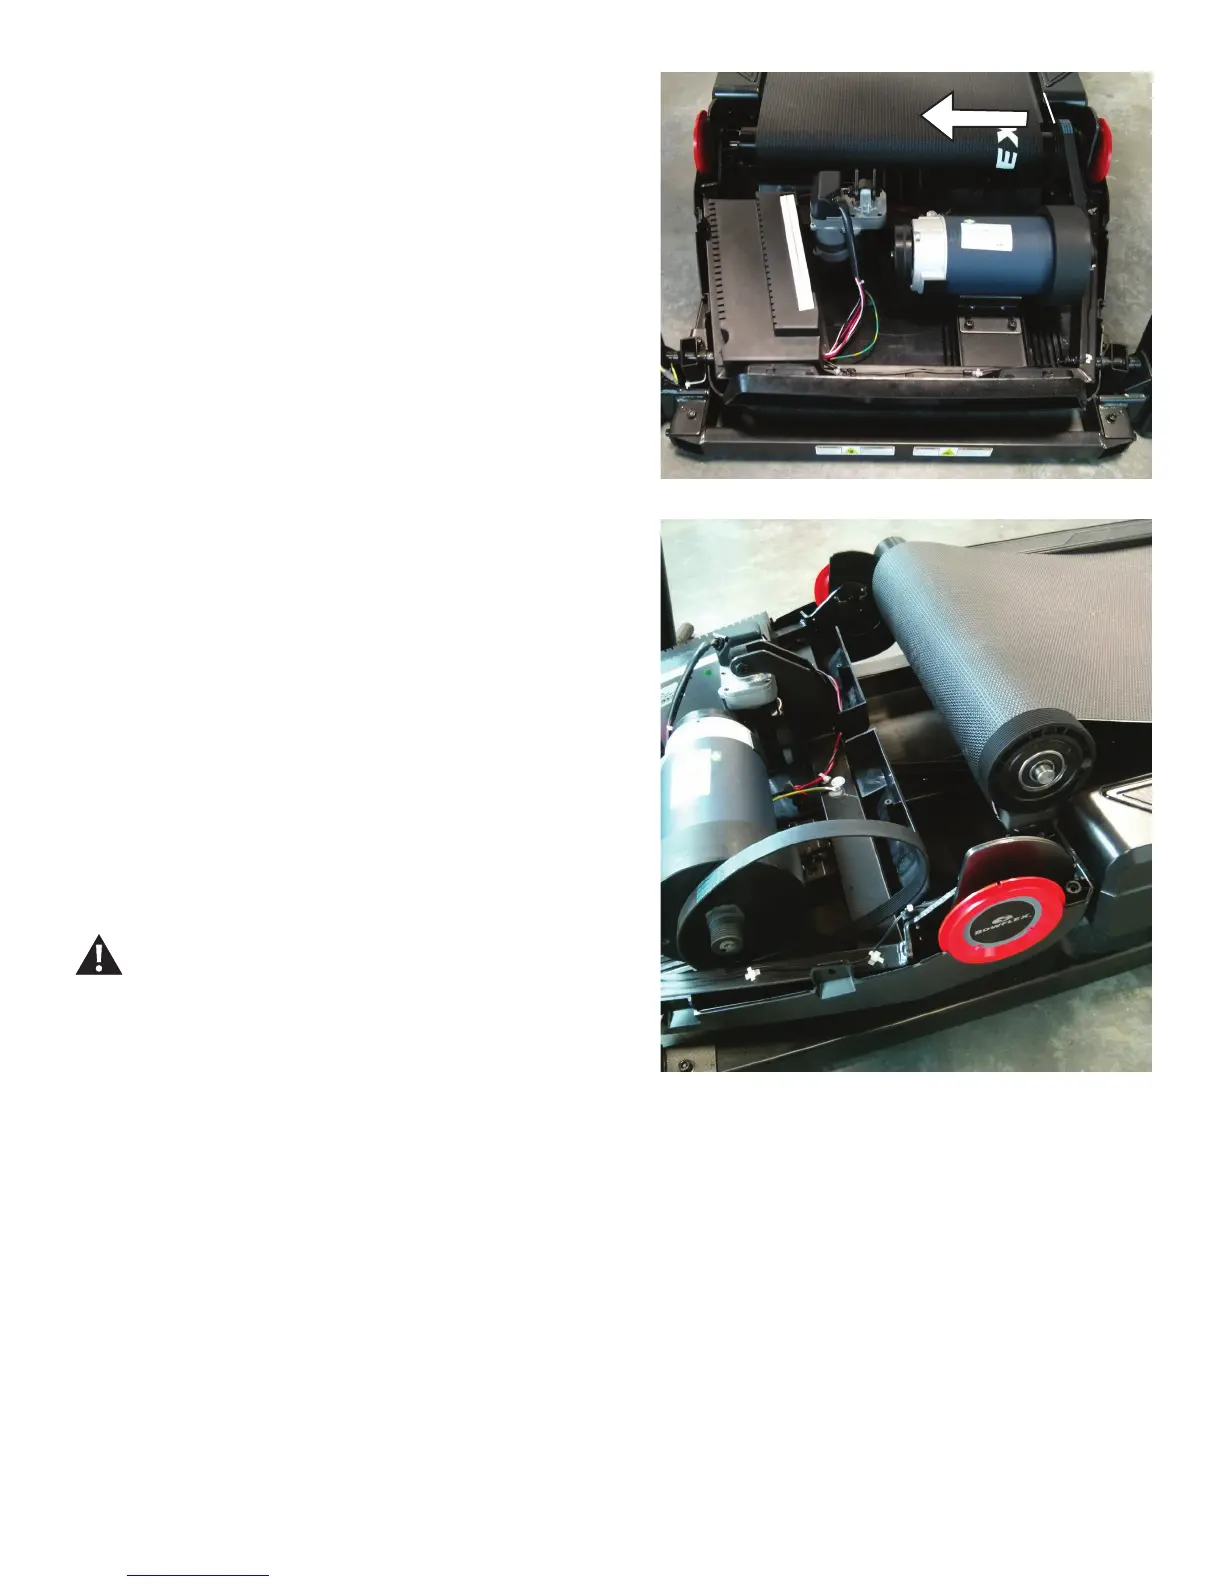
10. From the right side of the machine, grasp onto the Drive Pulley and
pull it along with the Front Roller toward you. The Front Roller will “pop”
out of the channel.
11. Lift and pivot the Front Roller out of the Frame. This will free the Drive
Belt from the Front Roller.
12. Replace the old Drive Belt with the new Drive Belt around the Front
Roller.
13. Insert the end of the Front Roller with the Drive Pulley into the Frame,
and pivot the other end into the Bracket.
14. Loop the new Drive Belt around the Motor Pulley. Start the Drive Belt
on the Drive Pulley and roll it in a clockwise motion. Be sure the Belt does
not come off of the Motor Pulley.
Keep ngers out of any pinch opportunities when turning
the Pulleys.
15. Roll the Drive Pulley clockwise until the Drive Belt is fully installed.
ContinuetorolltheBeltforwardwhileaddingsidepressurewithngersto
align as necessary.
Drive Pulley
16. With the Motor Assembly loosely attached to the Frame, turn the Belt Tensioner Screw to the previous level. This will tighten the Drive Belt to the
previous tension level.
17.Usinga6mmhexwrench,fullytightenthescrewsthatattachtheMotorMounttotheFrame.
18. Re-install all remaining parts that were removed in reverse order.
19.AttachthepowercordandturnontheTreadmillbyippingthepowerswitchtoON.