13
What to Wear
Wear rubber-soled athletic shoes. You will need the appropriate clothes for exercise that allow you to move freely.
How Often Should You Exercise
Consult a physician before you start an exercise program. Stop exercising if you feel pain or tightness in your chest, become short of
breath, or feel faint. Contact your doctor before you use the machine again. Use the values calculated or measured by the machine’s
computer for reference purposes only. The heart rate displayed on the console is an approximation and should be used for reference
only.
• 3 times a week for 30 minutes each day.
• Schedule workouts in advance and try to follow the schedule.
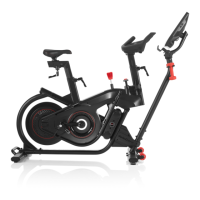
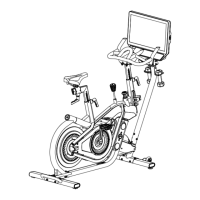
Mounting and Dismounting the Machine
%HIRUHPRXQWLQJRUGLVPRXQWLQJWKHPDFKLQHEHVXUHLWLVVWDELOL]HGLQWKHXSULJKWSRVLWLRQZLWKWKH/HDQ/RFN.QRESXOOHGXSORFNHGSRVLWLRQ
Care should be used when mounting or dismounting the machine.
%HIRUHPRXQWLQJRUGLVPRXQWLQJWKHPDFKLQHEHVXUHLWLVVWDELOL]HGLQWKHXSULJKWSRVLWLRQZLWKWKH/HDQ/RFN.QREFRPSOHWHO\SXOOHGXSORFNHGSRVLWLRQ,IWKH
Lean Lock mechanism is not engaged, the bike may become unbalanced and fall, which can cause injury or damage to the equipment.
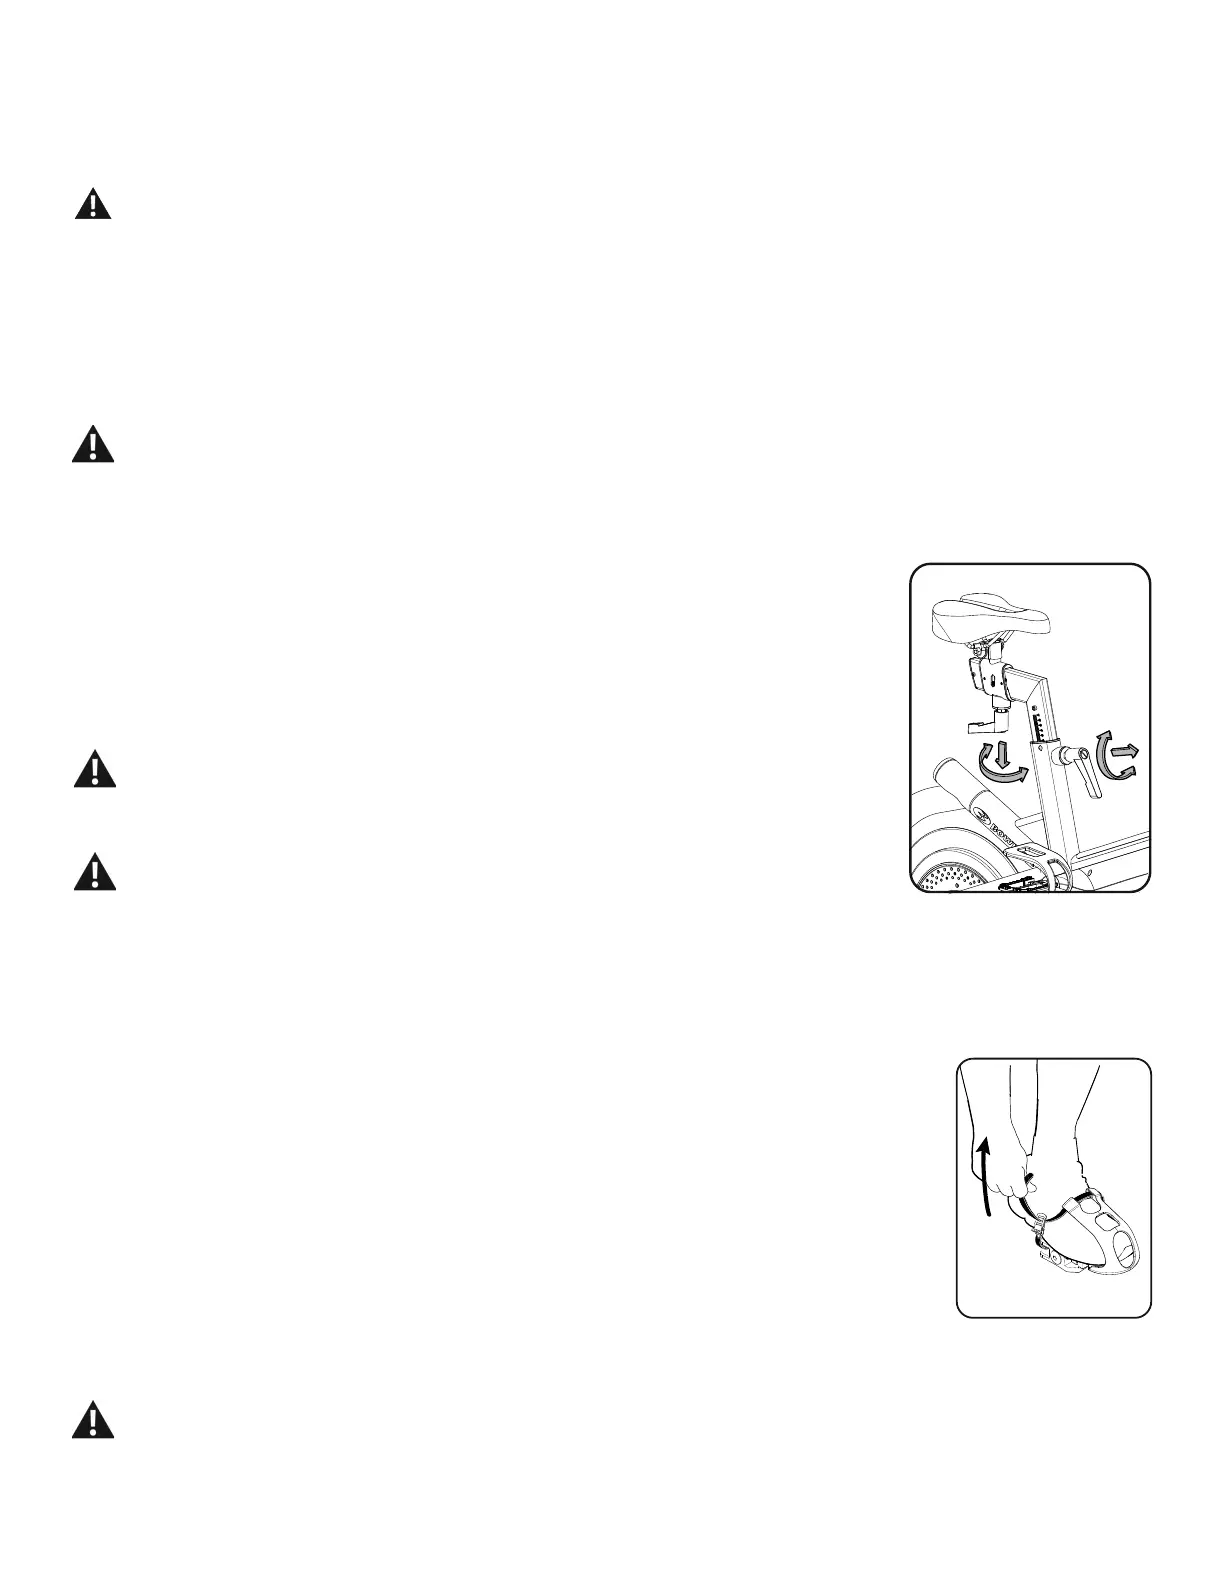
Seat Adjustment
&RUUHFWVHDWSODFHPHQWHQFRXUDJHVH[HUFLVHHI¿FLHQF\DQGFRPIRUWZKLOHUHGXFLQJWKHULVNRILQMXU\:KHQ\RXDGMXVWWKHVHDWXVHWKH
shoes that you plan to wear for riding.
6WDQGLQJQH[WWRWKHELNHUDLVHORZHUWKH6HDWVRWKDWLWLVOHYHOZLWKWKHWRSRI\RXUKLSERQH
6LWRQWKHELNH:LWKWKHKLSVOHYHOSODFHWKHEDOORIWKHIRRWRQWKH3HGDODWWKHERWWRPRIWKHSHGDOVWURNHR¶FORFN7KHOHJVKRXOG
EHVOLJKWO\EHQWDWWKHNQHHDSSUR[GHJUHHV
3. If your leg is too straight or your foot cannot touch the Pedal, you need to move the seat downward. If your leg is bent too much, you
need to move the seat upward.
Step off the machine before you adjust the seat.
4. /RRVHQWKH6HDW3RVW$GMXVWPHQW+DQGOHRQWKH6HDW3RVWas you hold the upright post to prevent it from dropping. $GMXVWWKHVHDWWR
the desired height.
Do not lift the Seat post above the “STOP” mark on the Seat Post.
5. 7LJKWHQWKH6HDW3RVW$GMXVWPHQW+DQGOHWRVHFXUHWKH6HDW3RVW%HVXUHWKDWWKHKDQGOHLVIXOO\WLJKWHQHG. Pull the handle out to
disengage and turn so that it points down, then release.
:KLOHVHDWHGURWDWHWKH3HGDOVVRWKH\DUHOHYHODR¶FORFNR¶FORFNSRVLWLRQ,QWKLVSRVLWLRQEHVXUHWKHIURQWNQHHLVDOLJQHGRYHURUVOLJKWO\EHKLQGWKHSHGDOD[OH.
7RPRYHWKHVHDWFORVHUWRRUDZD\IURPWKHFRQVROHORRVHQWKH6HDW6OLGHU$GMXVWPHQW+DQGOH6OLGHWKHVHDWWRWKHGHVLUHGSRVLWLRQDQGIXOO\WLJKWHQWKHKDQGOHPull the handle
down and turn so that it points rearward, then release.
Note:,IWKHKDQGOHFDQQRWWXUQGXHWRFRQWDFWZLWKDQRWKHUSDUWSXOOWKHKDQGOHWXUQDQGSXVKLWEDFNLQWRUHSRVLWLRQLW&RQWLQXHWXUQLQJDVQHHGHG
Foot Position / Pedal Strap Adjustment
)RRWSHGDOVZLWKVWUDSVSURYLGHVHFXUHIRRWLQJWRWKHH[HUFLVHELNH
3XWWKHEDOORIHDFKIRRWLQWKH)RRW5HVWUDLQWRQWKH3HGDOV
)DVWHQWKHVWUDSRYHUWKHVKRH
3. Repeat for the other foot.
%HVXUHWRHVDQGNQHHVSRLQWGLUHFWO\IRUZDUGWRHQVXUHPD[LPXP3HGDOHI¿FLHQF\3HGDOVWUDSVFDQEHOHIWLQSRVLWLRQIRUVXEVHTXHQWZRUNRXWV
NOTICE: I I\RXFKRRVHWRUHSODFHWKH3HGDOVZLWK\RXURZQWKHQPDNHVXUHWRIROORZWKDWSHGDOPDQXIDFWXUHU¶VLQVWDOODWLRQVSHFL¿FDWLRQV
Using the Shoe Clips (Cleats)
)RRWSHGDOVWKDWDUHHTXLSSHGIRUF\FOLQJVKRHVZLWKFOHDWVSURYLGHVHFXUHIRRWLQJRQWKHH[HUFLVHELNH7KHVKRHFOHDWVSURYLGHG¿WERWKWKHULJKWDQGOHIW3HGDOV
3ULRUWRXVHPDNHVXUH\RXXQGHUVWDQGWKHRSHUDWLRQRIWKHHQJDJHPHQWUHOHDVHPHFKDQLVPIRUWKHSHGDOVDQGFOHDWVVKRHV
Keep cleats and bindings clear of dirt and debris to ensure engagement and release.
&KHFNWKHFOHDWVSHULRGLFDOO\IRUZHDU:KHQWKHFOHDWVDUHZRUQUHSODFHWKHP5HSODFHWKHFOHDWZKHQLWEHFRPHVGLIÀFXOWWRUHOHDVHRUVWDUWVWRUHOHDVHZLWKPXFK
less effort than when it was in new condition.
 Loading...