7
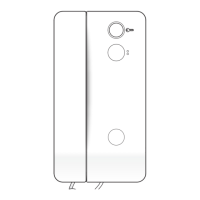
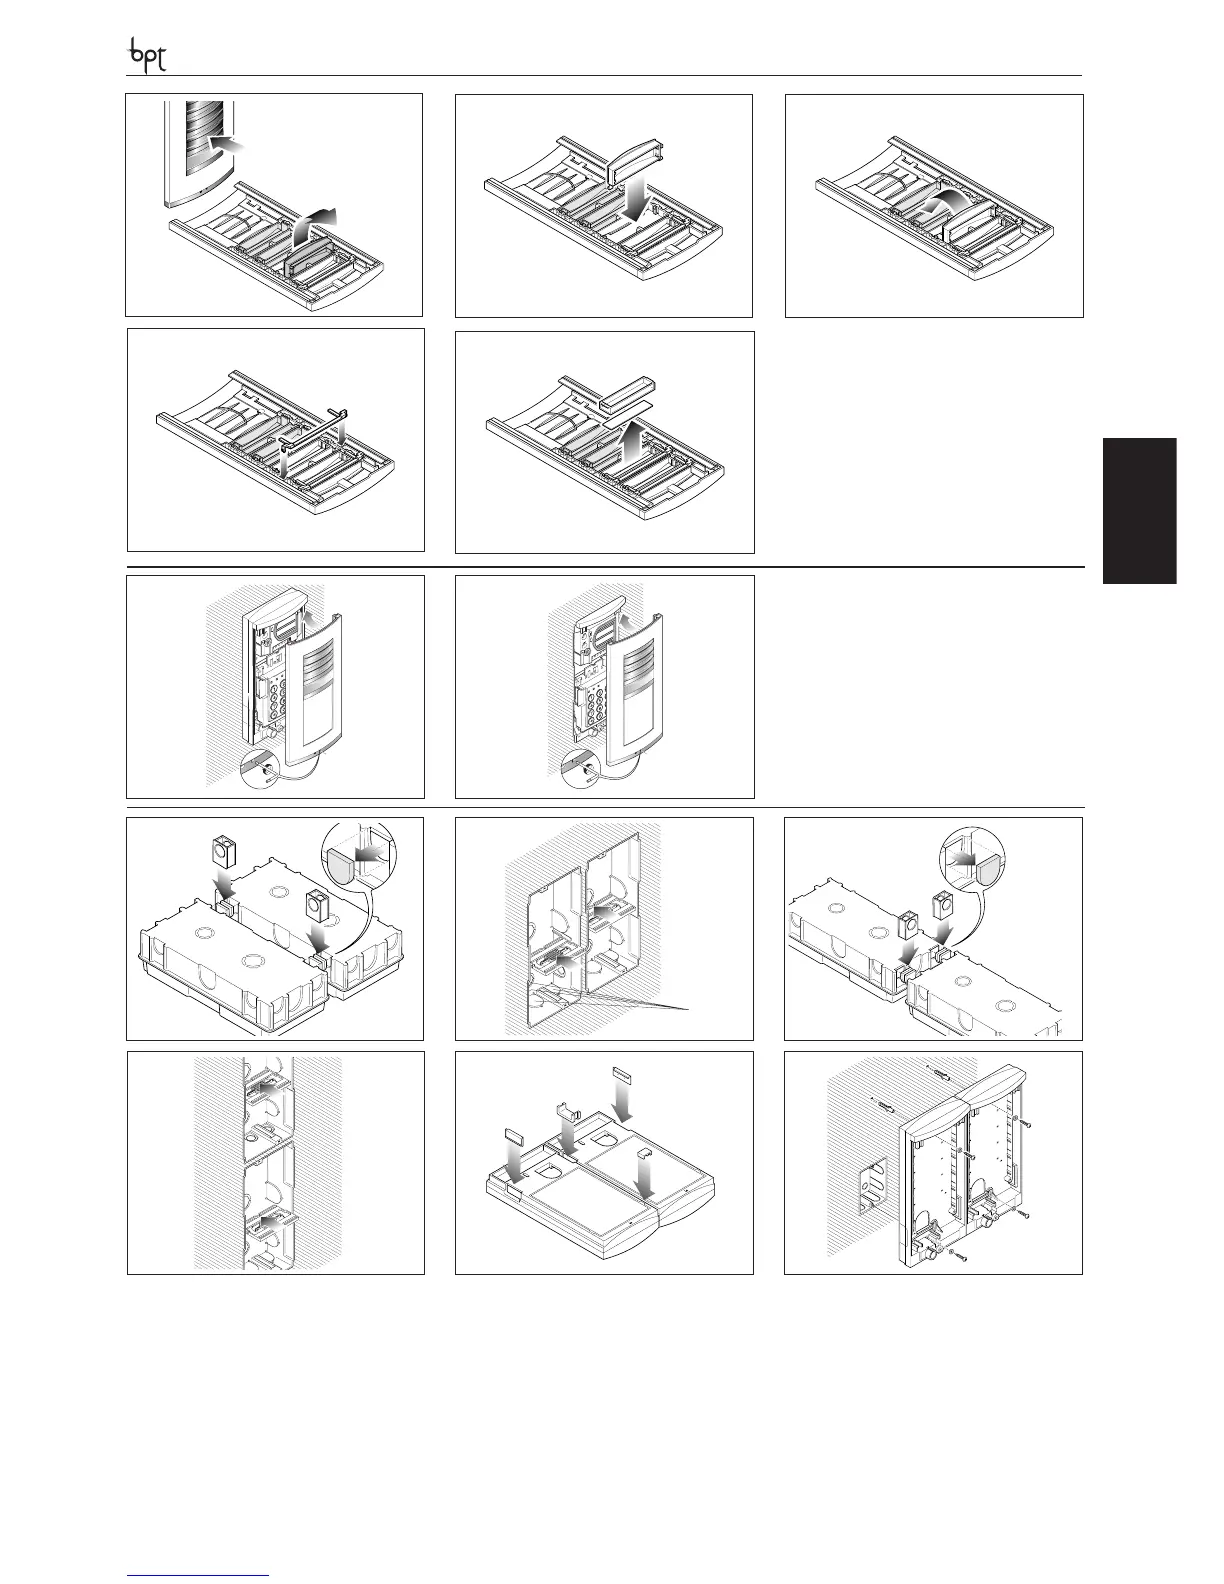
ASSEMBLY OF THE BUTTON
Push the front plate from the front to release the hole
plug (g. 1) and subsequently remove it. Insert the but-
ton as illustrated in g. 2 and 3. Apply the spring to the
button (g. 4). The name card can be removed and lled
in with the relevant information by removing the card
clip followed by the actual card itself (g. 5). Personal-
ized name cards can be used up to a maximum of 2 mm
thick.
CLOSURE OF THE COVER PLATE
In order to t the front plate, rst insert the upper part
in the top moulding and then, using a Allenkey s 2.5,
tighten the lock screw (g. 1-2).
1
2
3
4
5
1
2
5
21
8
11
12
14
5
21
8
11
12
14
2
1 3
4 5 6
SIDE-BY-SIDE RECESSED INSTALLATION
For horizontal (g. 1-2) or vertical (g. 3-4) combinations, remove the hole plugs and insert the cable guide joints. Fit the spacer into embedding boxes to avoid deformation
(g. 2-4).
SIDE-BY-SIDE WALL INSTALLATION
For horizontal combinations, insert the two hole plugs on the outside, at the bottom inside the cable guide joint and top inside the joint (g. 5).
Fasten the bases to the wall using the screws and screw anchors supplied (g. 6).
 Loading...