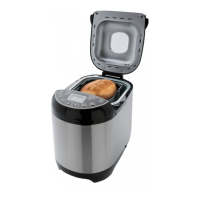
8
INSTRUCTIONS FOR USE
3. Wash and dry well all components.
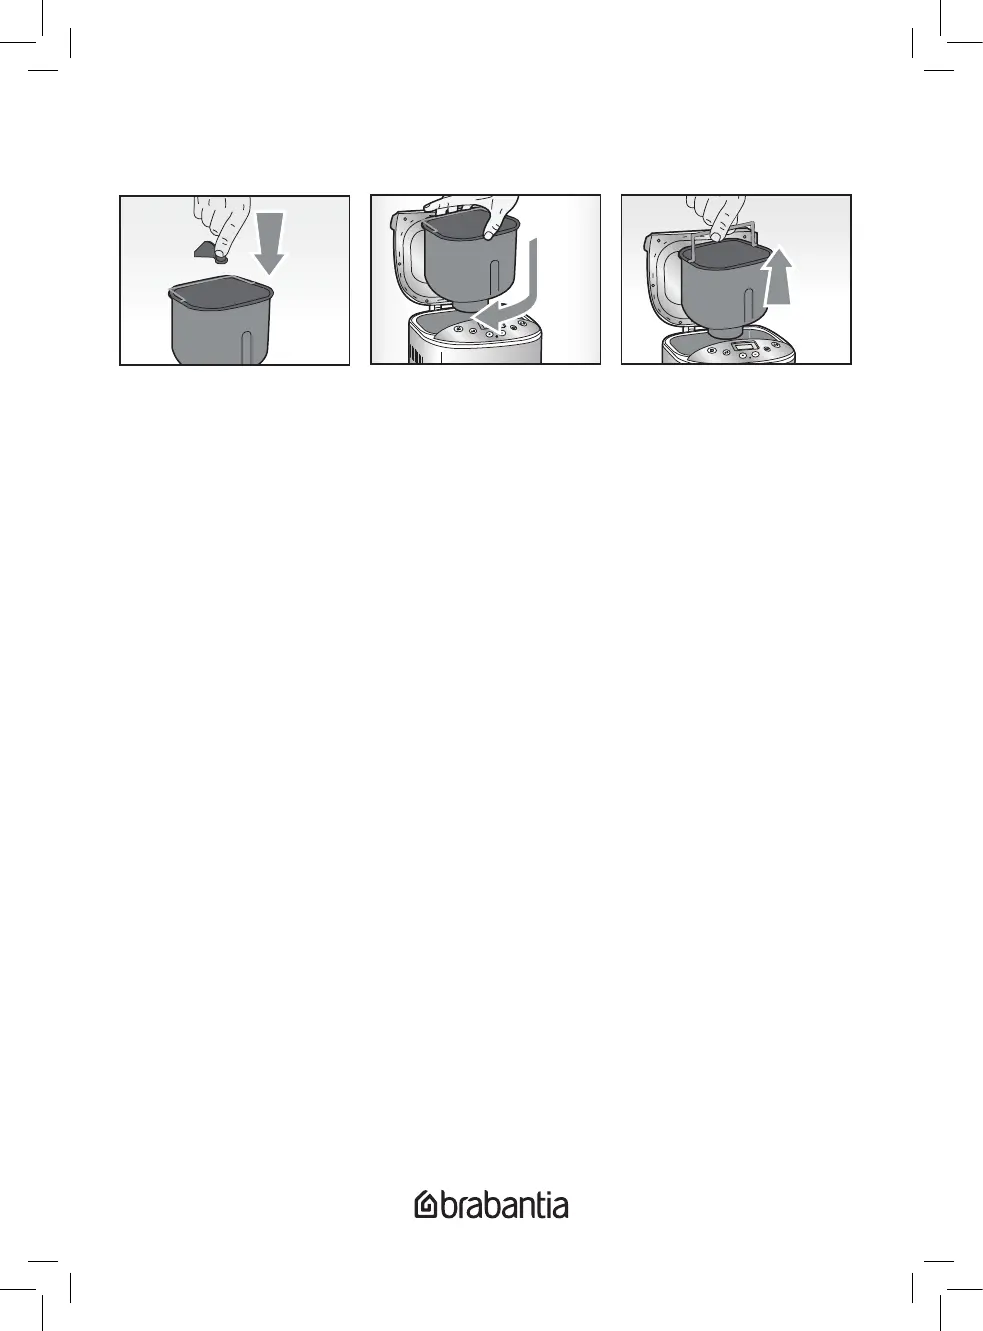
4. Mount the kneading blade (I) on the pin inside the pan (L) (Fig 3).
5. Measure the ingredients with the measuring cup (M) or spoon (N) supplied or weighing
them and putting them into the pan (L)
6. Insert the pan on the appropriate pin inside the appliance, turn it clockwise to
lock it (Fig 4.)
Warning
It is essential to follow the sequence of insertion of the ingredients as described in the recipe.
Usually this sequence is: liquid ingredients, water, flour, eggs and other as in the recipe.
Pour the yeast at last into the other ingredients. Avoid that the yeast is in contact with salt or
liquid ingredients.
7. Close the cover (G) and insert the plug into the electrical outlet. The display (E) will show
“3:10”, with two fixed dots. The machine is automatically set to program “1”.
8. Press the button (D) to select the desired cooking program.
9. Press the button (C) to select the desired weight (500g, 750g, 1000g). The weight cannot
be set in programs 8-19.
10. Select the browning to be obtained (slight, medium, or intensive). The browning cannot
be set in programs 8-19.
11. If necessary, set the timer with the + or - buttons (B). The processing will start after the
time set. If you do not set a time, the cooking will start immediately. Be careful when
using the timer function with perishable ingredients (such as eggs, dairy products, etc.).
12. Press the On / Off button (O). The machine beeps and begins processing the ingredients
(if a timer has been set, processing will start at the time set). During cooking it is possible
that steam comes out from the fan under the lid (G): this is perfectly normal.
13. If additions (nuts, seeds, etc.) are planned in the program, the machine emits 10 beeps
when it is time to open the lid and insert the remaining ingredients. This time varies
according to the program.