Page 3
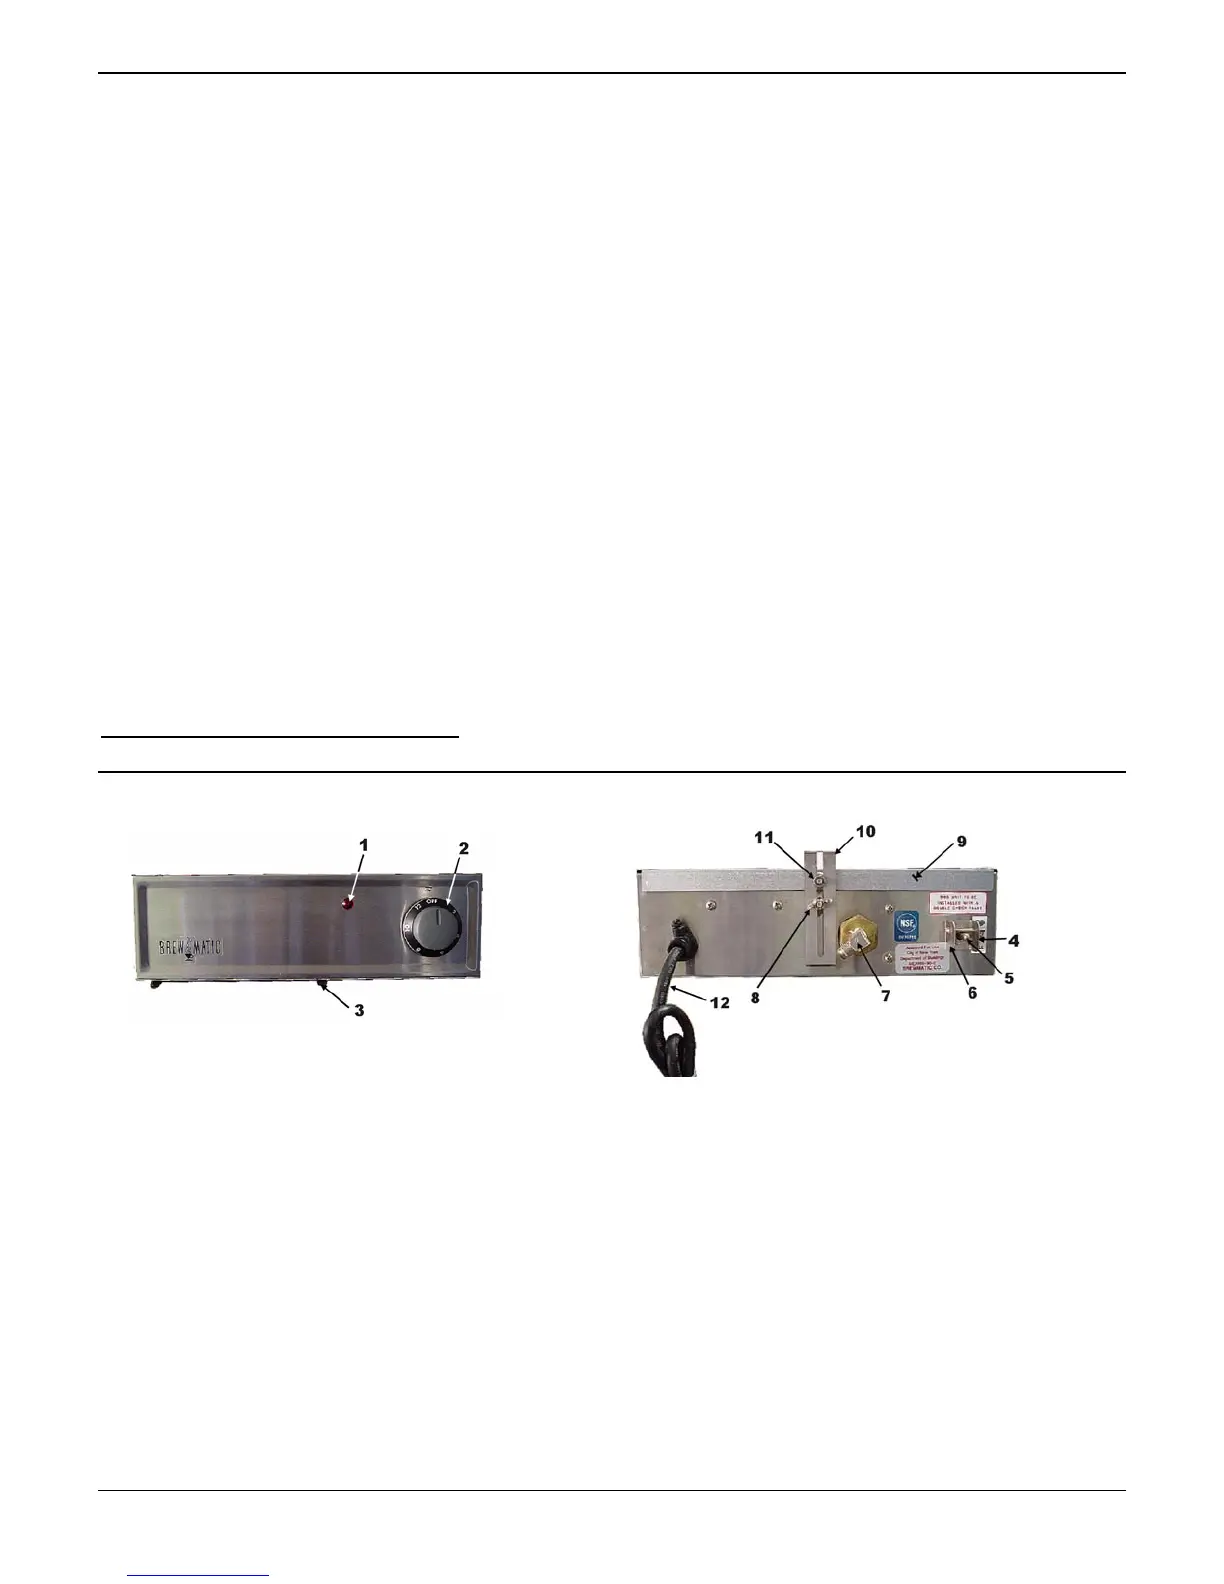
Front View
APPLIANCE INFORMATION
APPLIANCE SPECIFICATIONS: SETTINGS AND ADJUSTMENTS:
Model Numbers: 1033510*, 1033510S, 1033511 Brewing Capacity: 58 to 62 oz. on 12 cup setting
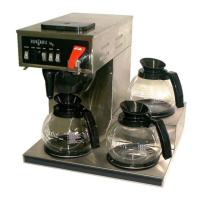
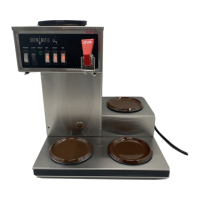
Description: (B.I.C.A.) Built-In Coffee Appliance
Brewing Temperature:
192° to 196°F Maximum.
Tested directly under the brew cone with water only
Dimensions: 12” W x 3-5/8” H x 7-1/2” D Temperature Adjustment: Thermostat. 4-Increase. 3-Decrease.
Volts: 120 Timer Setting
360°. 9 minutes on 12 cup setting. Not Adjustable
Watts: 1675 Hi-Limit Thermostat: Manual reset. Not adjustable.
Amps: 14 Flow Washer: .06 GPM Flow Rate
Hertz: 60
Phase: 1
Power Supply Cord: 5 Ft., 2 wire + ground, 15 amp, 14 awg.
Plug: NEMA 5-15 P. Furnished and attached.
Included in Packaging:
1 Coffee Appliance Power Supply Required:
120 volt, 15 amp, dedicated circuit.
1 Brew Cone
Wall Receptacle Required: 15 Amp. NEMA 5-15 R. Not furnished. 1 Flared Nut (Installed on water Inlet fitting)
Sleeve of Filter Paper Water Supply Required: 30 psi minimum, 80 psi maximum
water pressure.
Package with 3 Mounting Screws
Water Connection: 1/4" Flared fitting. Flared nut supplied.
Listing: UL, NSF
Model Numbers: 1800508 Model Numbers: 1800510
Description: Single Unit Warmer Description: Built In Warmer
Volts: 120 Volts: 120
Watts: 90 Watts: 100
Power Supply Cord: 3 Ft., 2 Wire + Ground. 15 Amp, 18 AWG Power Supply Cord: None, Outlet Box Supplied for direct wiring
Plug: NEMA 5-15P. Furnished and Attached Listing: UL
Listing: UL, NSF
*NOTE: Model 1033510 is no longer in production
CONTROL LOCATIONS AND DESCRIPTIONS
1. Brewing Light.
Indicates that the coffee brewer is in brewing cycle.
8. Wing Nut-Mounting Bracket
Secure the appliance to this mounting bracket.
2. Selector Knob
Turn to start a brew cycle.
9. Mounting Plate
Attach this plate under the cabinet to mount appliance.
3. Brew Cone Rails.
Slide the brew cone in here.
10. Hex Nut & Lock Washer
Use this nut & washer to secure the mounting plate to the mounting bracket.
4. Wing Nut-Safety Bracket
Remove this wing nut and screw after filling the appliance.
11. Mounting Bracket
Use this bracket to mount appliance under the counter.
5. Power/Off/Fill Switch.
(Up)-Turns on the power to the coffee brewer. (Middle)-Turns off the power
to the coffee brewer. (Down)-Fills the tank with water.
12. Power Cord
Plug this to proper power supply.
6. Safety Bracket
Prevents accidental dry fire. (See Item 4)
13. Brew Cone. (Not Shown)
Place the paper filter and ground coffee in here.
7. Water Inlet Fitting
The incoming water supply connects here.
Back View