Page 11 of 13
FUEL TANK INSTALLATION
When installing the fuel tank, the mounting screw adjacent to the control bracket must be installed first. Then
the hex nuts are installed on the opposite side of the tank.
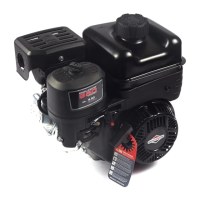
Make sure the tangs of the fuel hose clamp (S) are pointing up after connecting the hose. Verify that the tank
installation does not interfere with the free movement of the governor lever, link, and springs (T).
COMMON SPECIFICATIONS AND SERVICE PARTS
Common Specifications
SAE Metric
Armature Air Gap .010-.014 in .25-.35 mm
Oil Seal - Mag Side Recessed .050-.070 in
Recessed 1.27-1.78
mm
Oil Seal - PTO Side Recessed .090-.110 in
Recessed 2.28-2.79
mm
Bore x Stroke 2.756 in x 2.130 in 70.00 mm x 54.00 mm
Crankshaft End Play - Standard .003-.030 in .08-.76 mm
Crankshaft End Play - Pump Applications .002-.009 in .05-.23 mm
Displacement 12.69 ci 208 cc
Oil Capacity 18-20 oz. .54-.59 L
Sparkplug Gap .030 in .76 mm
Valve Clearance - Intake .004-.006 in .10-.15 mm
Valve Clearance - Exhaust .006-.008 in .15-.20 mm
Common Service Parts
Part Number
Air Filter Element 590601
Air Filter Pre-cleaner 590602
Carburetor Overhaul Kit 591770
Engine Gasket Set 591565
High Altitude Jets 593359
Sparkplug 491055
Sparkplug Wrench 590721
Spark Tester 19368
S
T
 Loading...