8
7
9
10
12
11
13
2
3
4
6
5
1
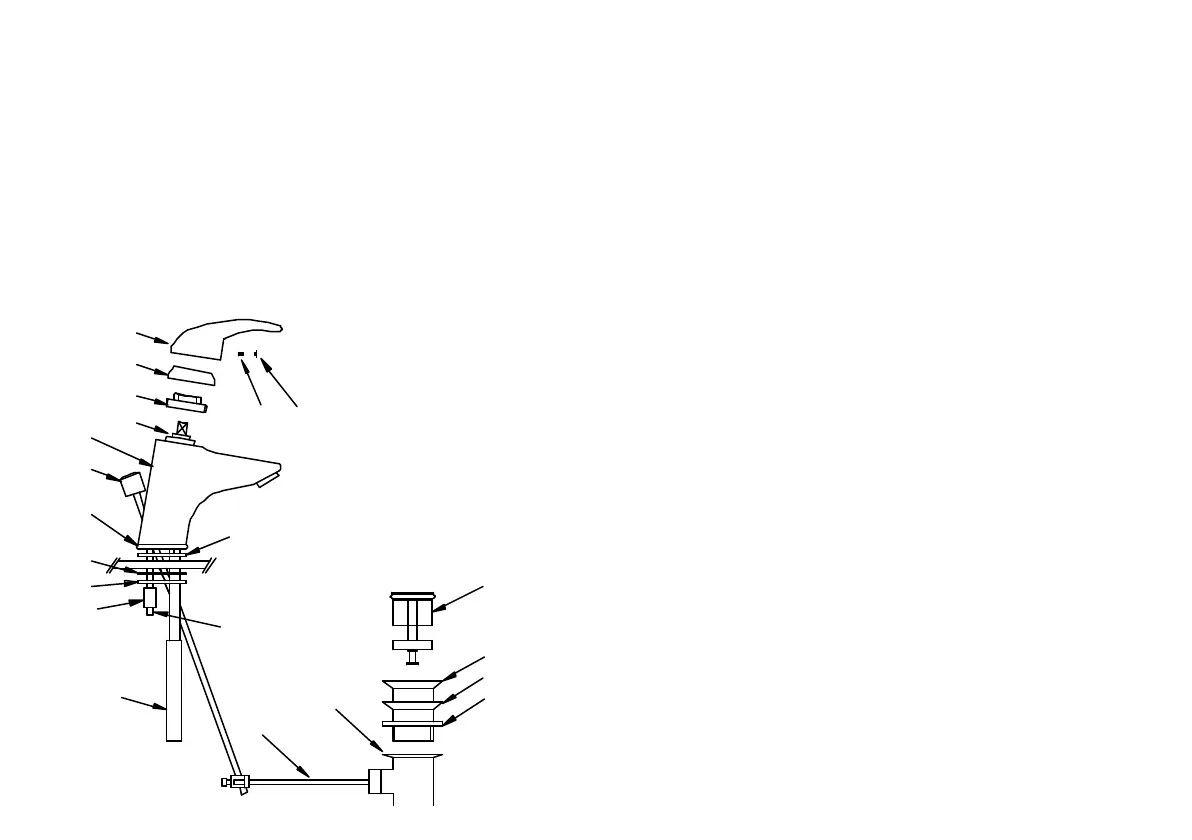
d
e
f
c
15
b a
14
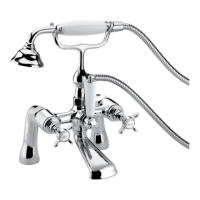
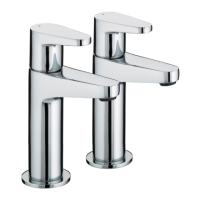
WATER PRESSURE
This mixer is suitable for use at all supply pressures. However for
optimum use both the hot and cold supplies should be reasonably
balanced. If the fitting is installed at low pressure (tank fed), then the
minimum distance from the outlet of the nozzle to the underside of
the cold tank should be approximately 2.0 metres to ensure
adequate performance.
This mixer should be installed in compliance with Water Regulations.
Where the supplies are unbalanced, i.e. hot water from the cylinder
tank/cold from the mains, approved check valves must be fitted in
the supply pipes. For further details contact your Local Water
Authority.
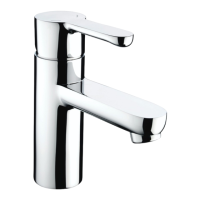
CONTENTS
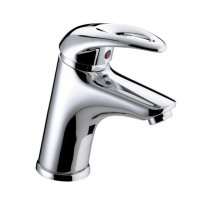
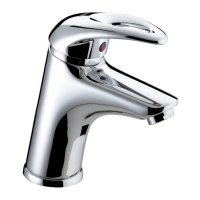
1. Mixer body
2. Pop-up operating rod
3. Plinth
4. C-shaped rubber washer
5. C-shaped metal washer
6. Nut (x2)
7. Tailpipe (x2)
8. Threaded rod (x2)
9. Waste rod
10. Waste body
11. Washer
12. Washer
13. Waste flange
14. Plug
INSTALLATION
1. Identify all components and check for completeness, particularly
before arranging fitting.
2. Fit the mixer body (1) to the basin/bidet using the 'C' plate fixing
kit. The plinth (3) and ‘o’ ring (15) go between the fitting and the
basin/bidet, and the 'C' shaped rubber (4) and metal washers (5) on
the underside of the basin/bidet. Secure into position using threaded
rods (8) and nuts (6).
3. Fit the inlet connection tailpipes (7) to the fitting and connect the
hot and cold supplies.
4. Fit the pop up waste, using washers (11) below & (12) above the
basin/bidet and connect it to the mixer. It is recommended that a
silicon sealant be applied to both sealing faces of washers 11 and
12. The waste can be set by adjusting the waste rod (9) / operating
rod (2) connecting bracket and the screw in the base of the plug
(14).
5. Fully open the mixer in the mid position, letting it run for a few
minutes to check all joints and connections for leaks.
6. See over the page for aftercare instructions.
MAINTENANCE
If the fitting begins to drip:
1. Turn off the water supply.
2. Remove indice cap (a), loosen grub screw (b) with 2.5mm
hexagon key and pull off head (c), unscrew shroud (d) retaining nut
(e).
3. Remove cartridge (f).
4. Clean or replace cartridge, clean and grease seal and refit.
Note: that there are locating pins on the bottom of the cartridge that
fit in holes inside the tap, to ensure it is fitted the right way round.
5. Replace cartridge and head and turn on the water supply.
6. Contact our helpline if problem persists.
Please note: In the unlikely event you find a part missing please
contact our Customer Service Helpline on 0844 701 6273 or email
enquire@bristan.com for immediate dispatch of part.