D
David BrandtJul 28, 2025
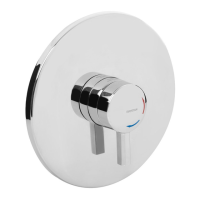
Why is only hot or cold water coming from my Bristan Kitchen & Bath Fixtures shower valve?
- JJoshua LopezJul 28, 2025
This issue may arise if the inlet water supplies are reversed, meaning the hot water is connected to the cold supply and vice versa. Ensure that the connections are correctly oriented, with hot water on the left and cold water on the right when viewed from the front. Correct the pipework as needed. Another potential cause is a partially blocked inlet filter. Clean or replace the filter and flush the pipework before refitting.