Buttonhole Stitching/Button Sewing 83
3
— — — — — — — — — — — — — — — — — — — —
— — — — — — — — — — — — — — — — — — — — — — — — — — — — — — —
■ Changing the stitch width
Adjust the stitch width.
• For details, refer to “Adjusting the stitch
width” (page 58).
z Before sewing buttonholes, check the stitch
length and width by sewing a trial
buttonhole on a scrap piece of fabric.
■ Sewing buttonholes on stretch fabrics
When sewing buttonholes on stretch fabrics, use
a gimp thread.
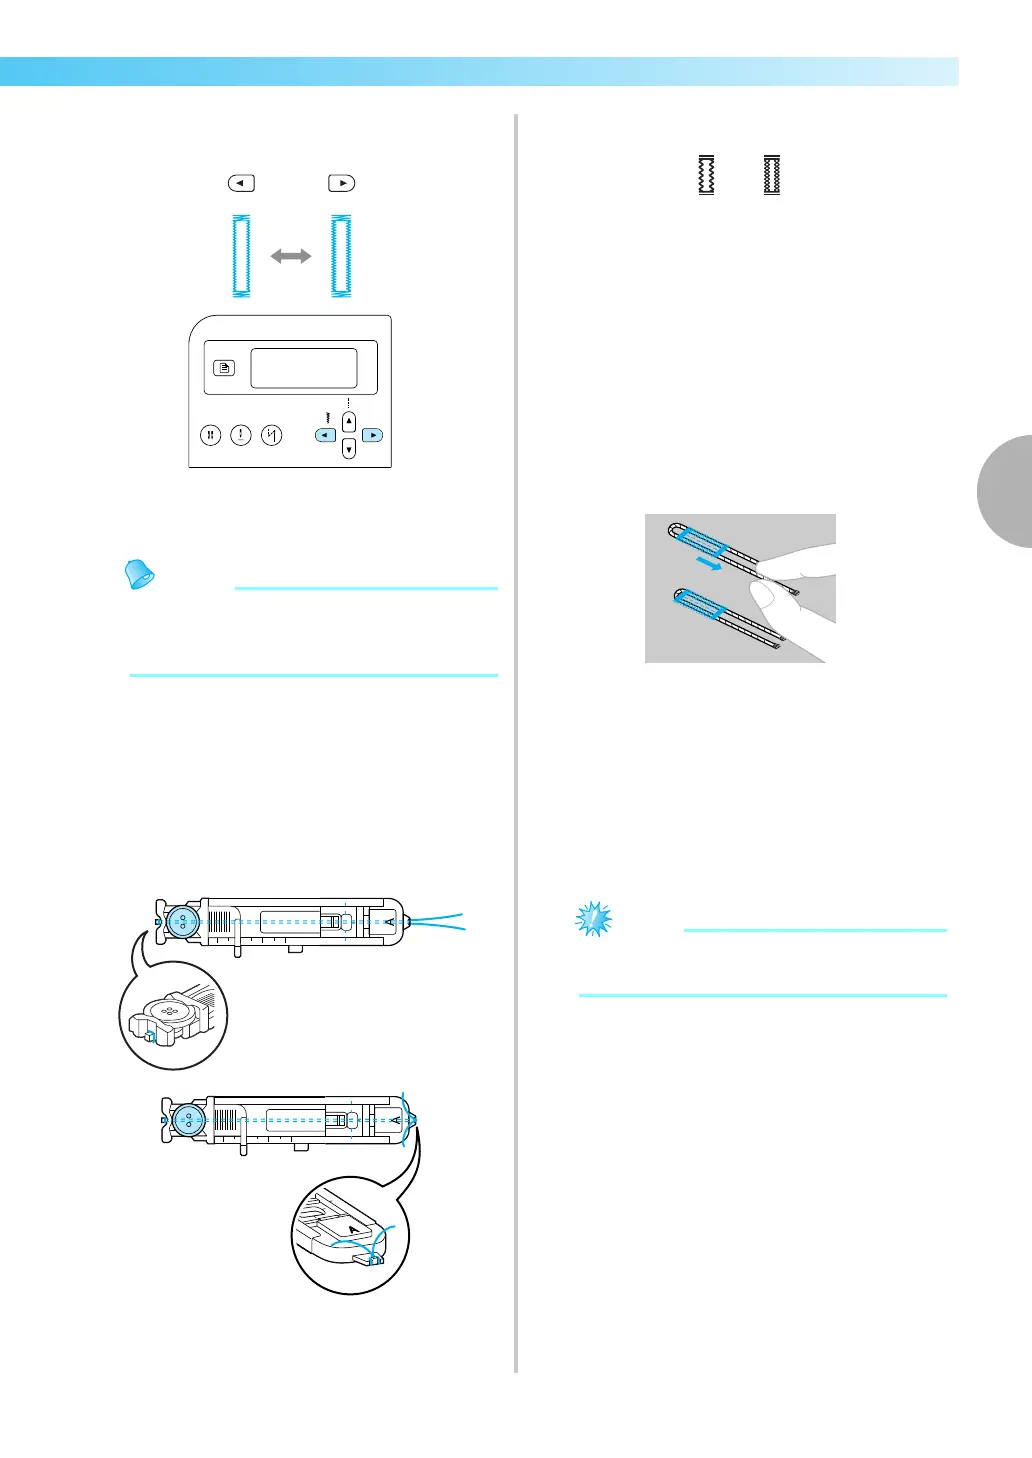
a
Hook the gimp thread onto the part of
buttonhole foot “A” shown in the illustration
so that it fits into the grooves, and then loosely
tie it.
b
Turn on the sewing machine.
c
Select stitch
46
or
47
.
d
Attach buttonhole foot “A”.
• For details, refer to “Replacing the presser
foot” (page 41).
e
Adjust the stitch width to the thickness of the
gimp thread.
f
Lower the presser foot lever and the
buttonhole lever, and then start sewing.
g
When sewing is finished, gently pull the gimp
thread to remove any slack.
h
Use a handsewing needle to pull the gimp
thread to the wrong side of the fabric, and
then tie it.
i
With a seam ripper, cut the middle part of the
gimp thread remaining at the top end of the
buttonhole.
Trim off any excess of the gimp thread.
z If gimp thread is not available use a thread
or cord of at least 12 weight.
 Loading...