EasyManua.ls Logo

Brother XL-2610i - User Manual

Brother XL-2610i
52 pages
Print Icon
To Next Page IconTo Next Page
Loading...
XL_brother_cover_Eng
ENGLISH
XXX-XXX
XXXXXX-XXX
Printed in China
6
5
4
3
2
1
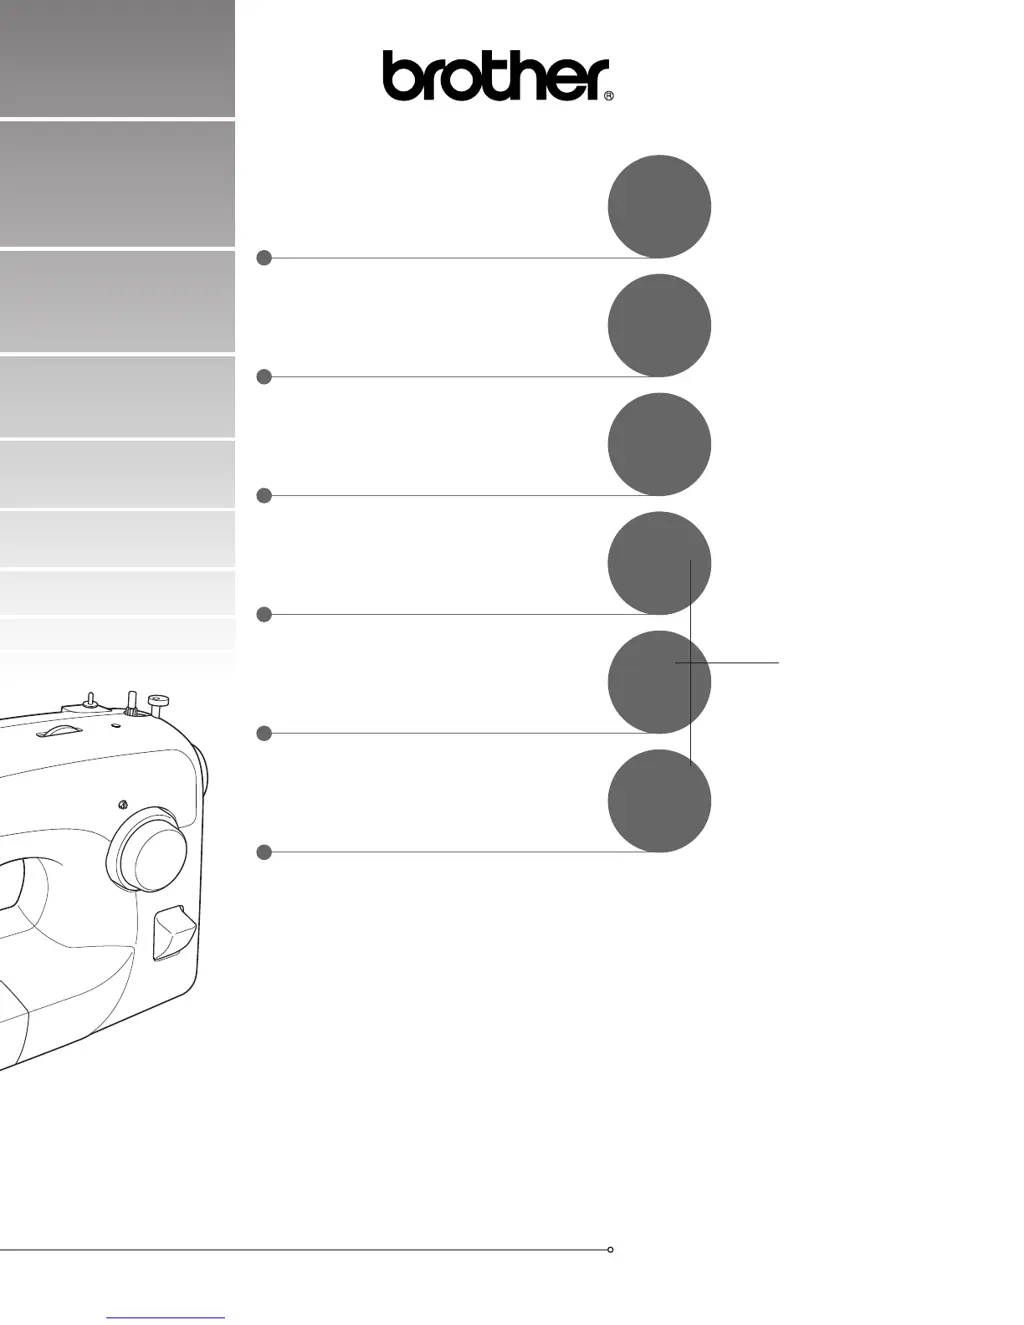
Operation Manual
SEWING BUTTONHOLES
AND BUTTONS
BUILT-IN STITCHES
APPENDIX
USING ATTACHMENTS
AND APPLICATIONS
STRAIGHT AND
ZIGZAG STITCHING
KNOWING YOUR
SEWING MACHINE

Table of Contents

Questions and Answers

  • M
    Mrs. Robin SimsAug 17, 2025
    What to do if my Brother XL-2610i does not work?
    • T
      Tracey GriffithAug 17, 2025
      If your Brother Sewing Machine isn't working, there could be several reasons. First, ensure the machine is properly plugged in and the main power switch is turned on. Also, check that the bobbin-winder shaft is moved to the left. Lastly, make sure you are using the foot controller correctly.
  • R
    Richard CookAug 20, 2025
    Why is my Brother XL-2610i Sewing Machine skipping stitches?
    • J
      Jamie CortezAug 20, 2025
      If your Brother Sewing Machine is skipping stitches, correct the upper threading. Choose a thread and needle that are appropriate for the type of fabric. Replace the needle if it is bent or blunt, and insert the needle properly. Also, remove the needle plate cover and clean the plate and the bobbin case to remove any accumulated dust.
  • S
    schultzjohnAug 23, 2025
    Why does the needle break on my Brother XL-2610i Sewing Machine?
    • K
      Kenneth MoodyAug 23, 2025
      If the needle of your Brother Sewing Machine breaks, it could be due to several reasons. Ensure the needle is fitted properly and the needle clamp screw is firmly tightened. A bent or blunt needle should be replaced. Use the right combination of fabric, thread, and needle and attach the correct presser foot for the stitch you're using. If the upper thread tension is too tight, loosen it, and lightly guide the fabric instead of pulling it. Make sure the spool is fitted correctly and you are using a bobbin designed for this machine. If the area around the hole in the needle plate or presser foot, or the bobbin case is scratched, contact your retailer or the nearest authorized service center to replace them.
  • J
    Justin ChangAug 26, 2025
    Why does the upper thread keep breaking on my Brother XL-2610i?
    • D
      Dillon HarveyAug 26, 2025
      If the upper thread of your Brother Sewing Machine keeps breaking, ensure you've threaded the upper thread correctly, including fitting the spool properly and guiding the thread correctly. Remove any knots or tangles in the thread. Choose a needle appropriate for the thread you're using. If the upper-thread tension is too tight, loosen it. Remove any tangled thread, cleaning the bobbin case if necessary. Replace the needle if it's bent or blunt, and ensure you've inserted the needle properly.
  • R
    rcamachoAug 28, 2025
    How to fix incorrect thread tension on Brother XL-2610i?
    • D
      Deborah SerranoAug 28, 2025
      If the thread tension on your Brother Sewing Machine is incorrect, ensure you've threaded the upper thread and wound the bobbin thread properly. Choose a thread and needle appropriate for the fabric. Attach the presser foot holder properly and adjust the tension of the upper thread. Also, make sure you're using a bobbin designed for this machine and that the bobbin is set correctly.
  • C
    christiantracyAug 31, 2025
    What to do if the lower thread is tangled in my Brother XL-2610i Sewing Machine?
    • A
      ashleygarciaAug 31, 2025
      If the lower thread is tangled or breaks in your Brother Sewing Machine, wind the bobbin properly. Replace the bobbin if it is scratched or doesn't turn smoothly. Remove any tangled thread and clean the bobbin case. Only use a bobbin designed for this machine, and reset the bobbin thread correctly.
  • M
    Mallory ThomasSep 2, 2025
    Why is the fabric not feeding through my Brother XL-2610i Sewing Machine?
    • J
      Jeremy MccoySep 2, 2025
      If your Brother Sewing Machine isn't feeding fabric properly, try lengthening the stitch length. Remove the darning plate if it's fitted on the needle plate. Ensure you're using the right combination of fabric, thread, and needle. Also, remove any tangled thread, cleaning the bobbin case if necessary.
  • R
    Robert RichardsonSep 5, 2025
    What to do if the stitch is not sewn correctly on my Brother XL-2610i?
    • M
      Michelle Moreno DDSSep 5, 2025
      If the stitch isn't sewn correctly on your Brother Sewing Machine, attach the presser foot that is correct for the type of stitch you want to sew. Adjust the tension of the upper thread. Remove any tangled thread, and if the thread is tangled in the bobbin case, clean the bobbin case.
  • O
    ochoajasonSep 8, 2025
    Why is the fabric wrinkled when using my Brother Sewing Machine?
    • R
      Robert BlackSep 8, 2025
      If the fabric is wrinkling while using your Brother Sewing Machine, thread the upper thread and wind the bobbin thread properly. Ensure the spool is fitted correctly and that you're using the right combination of fabric, thread, and needle. Replace the needle if it is bent or blunt. If sewing thin fabric, use stabilizer material underneath, and adjust the tension of the upper thread.
  • P
    Pamela CarrollSep 12, 2025
    Why is my Brother Sewing Machine making a high-pitched noise?
    • G
      Gary FullerSep 12, 2025
      If your Brother Sewing Machine is making a high-pitched noise while sewing, clean the bobbin case. Ensure you've threaded the upper thread correctly. If the bobbin case is scratched, contact your retailer or the nearest authorized service center to replace it. Also, make sure you're using a bobbin designed for this machine.

Summary

IMPORTANT SAFETY INSTRUCTIONS

General Safety Precautions

Covers DANGER and WARNING guidelines to prevent electric shock, burns, fire, and injury.

UNPACKING;REPACKING INSTRUCTIONS

Machine Setup and Care

Instructions for safe unpacking, use, maintenance, and repair of the sewing machine.

KNOWING YOUR SEWING MACHINE

The Main Parts

Identifies and describes the key components of the sewing machine.

Accessories

Lists and describes the standard accessories included with the sewing machine.

Connecting Plugs

Instructions for connecting the foot controller and power supply to the machine.

Main Power and Sewing Light Switch

Explains how to turn the machine's main power and sewing light on and off.

Checking the Needle

Guidance on how to check if the sewing needle is straight and sharp.

Replacing the Needle

Step-by-step instructions for safely replacing the sewing needle.

Changing the Presser Foot

Instructions for safely changing the presser foot for different sewing tasks.

Flat Bed Attachment

Instructions for using the flat bed attachment to store accessories.

Using a Free-arm Style

How to convert the machine to a free-arm style for sewing tubular areas.

The Controls

Explains the function of various dials and levers for stitch selection and adjustment.

Threading the Machine

Step-by-step instructions for winding the bobbin and threading the upper and lower threads.

Fabric, Thread, and Needle Combinations

Guidance on selecting appropriate needles, threads, and fabrics for optimal sewing results.

STRAIGHT AND ZIGZAG STITCHING

Please Read Before Sewing

Essential safety precautions and tips to follow before starting straight and zigzag stitching.

Straight Stitching

Instructions for setting up and performing straight stitching.

Zigzag Stitching

Instructions for setting up and performing zigzag stitching.

BUILT-IN STITCHES

Blind Hem Stitching

Instructions for creating a blind hem stitch for neat fabric edges.

Shell Tuck Stitching

How to use the shell tuck stitch for decorative picot edges on lightweight fabric.

Elastic Stitching

Techniques for using the elastic stitch for mending, sewing elastic, or joining fabric.

Double Action Stitching

Guidance on using stitches for joining fabric pieces, like in patchwork.

Heirloom Stitching

Instructions for using stitches to join fabric with a space between edges.

Overedge Stitching

How to use overlock stitches for joining and finishing stretch materials.

Feather Stitching

Using the feather stitch as a decorative top stitch for hemming and embellishments.

Triple Zigzag Stretch Stitching

Using the triple zigzag stitch for heavyweight stretch fabrics or decorative top stitching.

Decorative Stitching

Instructions for using various stitches for decorative top stitching and smocking.

SEWING BUTTONHOLES AND BUTTONS

Making a Buttonhole (1-Step Automatic Buttonhole)

Step-by-step guide to creating automatic buttonholes using the buttonhole foot.

Making a Buttonhole on Stretch Fabrics

Special techniques for sewing buttonholes on stretch fabrics using a gimp thread.

Adjusting Buttonholes

How to adjust stitch length and fine-adjustment screw for buttonhole accuracy.

Sewing Buttons

Instructions for attaching buttons using the zigzag stitch and button sewing foot.

USING ATTACHMENTS AND APPLICATIONS

Zipper Insertion

How to use the zipper foot to insert zippers into fabric.

Gathering

Method for gathering fabric by sewing loose straight stitches and pulling threads.

Darning

Instructions for darning fabric using the darning plate and straight stitch.

Appliqués

Creating fabric appliqués by sewing cut shapes with a zigzag stitch.

Monogramming and Embroidering

Guidance for adding monograms and decorative embroidery to fabric.

Using the Walking Foot

Instructions for using the walking foot to sew difficult-to-feed materials like vinyl.

Using the Quilting Foot

How to use the quilting foot for darning and free-motion machine quilting.

Using the 1;4-inch Quilting Foot

Guidance on using the 1/4-inch quilting foot for accurate quilt piecing seams.

APPENDIX

Maintenance

Procedures for changing the light bulb and cleaning the sewing machine.

Troubleshooting

A guide to diagnosing and resolving common issues with the sewing machine.

Brother XL-2610i Specifications

General IconGeneral
TypeMechanical
Maximum Stitch Width5 mm
Maximum Stitch Length4 mm
Free ArmYes
Stitch Options25
Buttonhole Styles1-step
Feed Dog6
Accessories Includedbobbins, screwdriver, seam ripper
Bobbin TypeTop drop-in
Needle Threading SystemAutomatic needle threader

Related product manuals