12
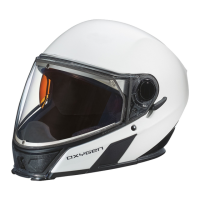
B. THE HELMET
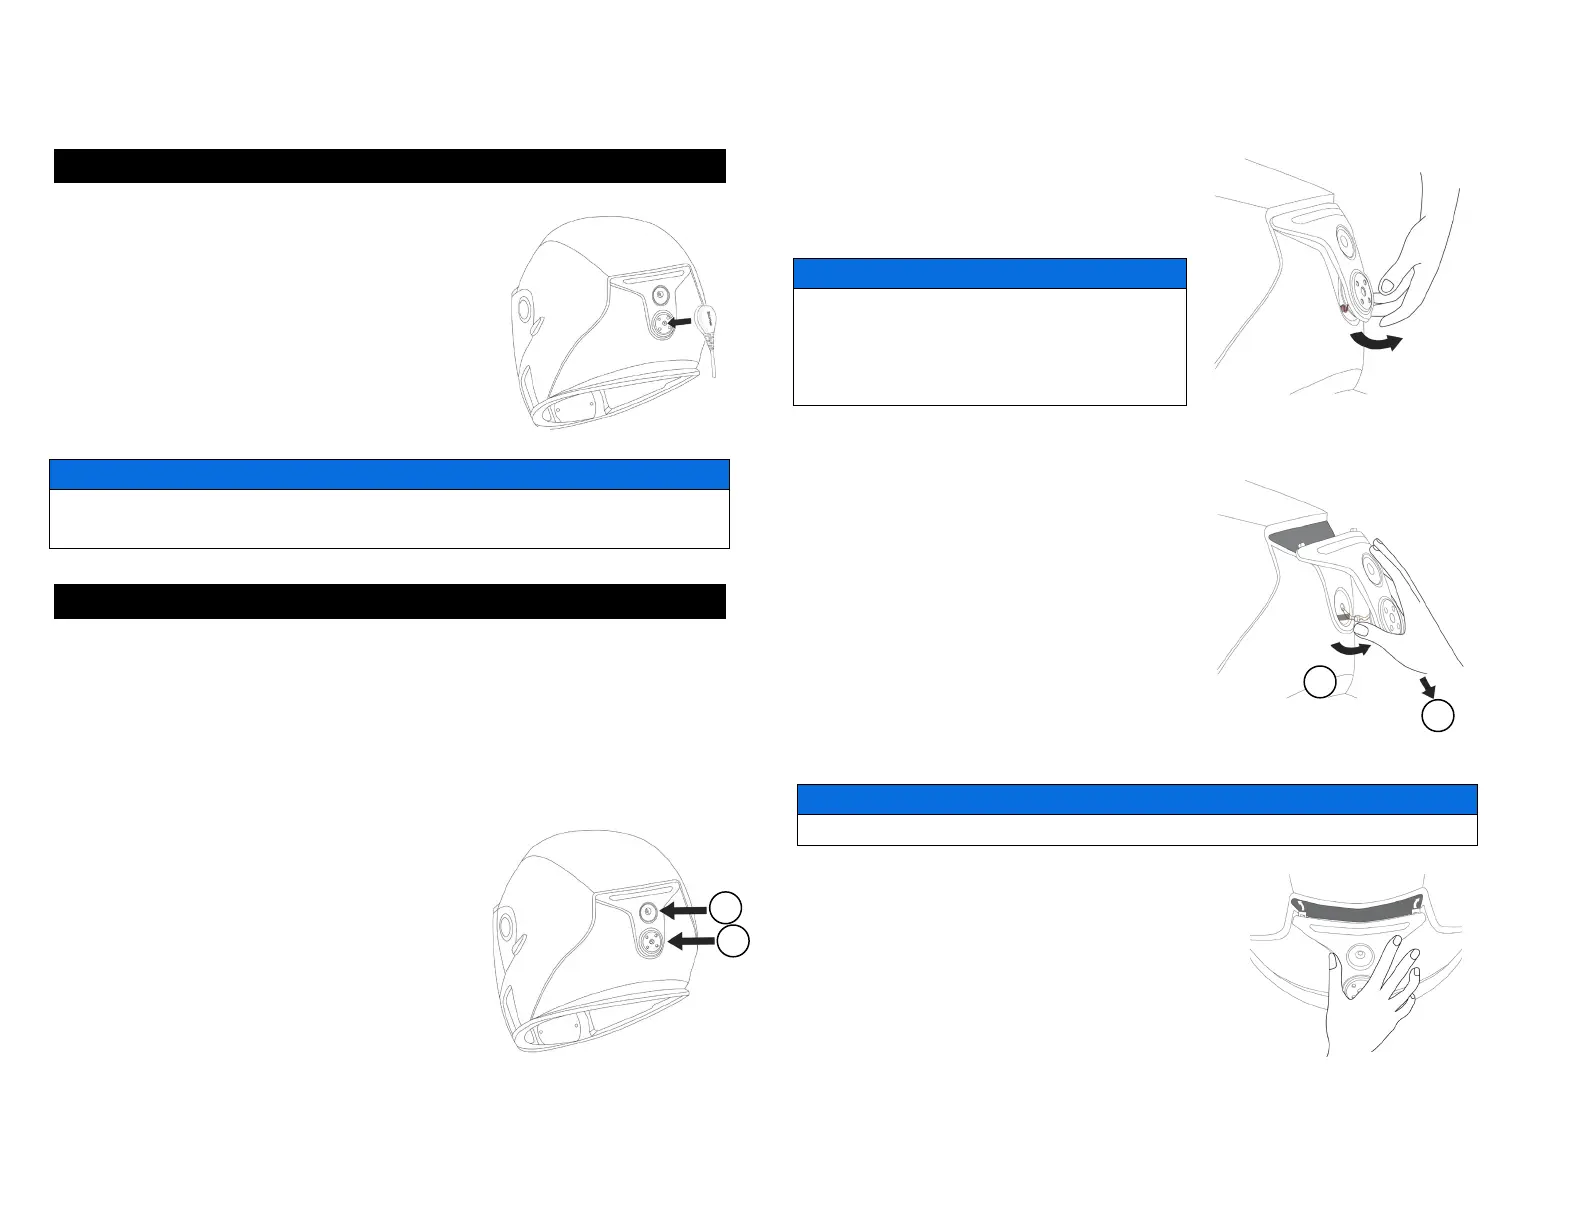
8. MAGNETIC CONNECTOR (IF EQUIPED WITH eLinQ)
1. Make sure your magnetic connector and
your helmet power outlet are clean.
2. Plug the eLinQ connector directly into the
power outlet of your ADVEX helmet.
The power outlet and eLinQ connector might
become warm during normal use.
Do not pull directly on the cord to remove the eLinQ connector from your
helmet.
9. REAR LIGHT (IF EQUIPED WITH eLinQ)
OPERATION
This helmet is equipped with a rear light which increases your visibility.
The rear light turns ON as soon as you are connected to your vehicle and
your engine is running. There is no switch to turn this light OFF.
REMOVING / REPLACING THE REAR LIGHT
1. Remove the BRP logo sticker just
below the rear light.
2. Use a Phillips #1 screwdriver to
remove the two screws (1) and (2).
3. Grab the rear light module by the
bottom and lift it gently.
If the wires are stuck into the shell, do not
force on the rear light module, you could
damage it. Gently pull the wires out of the
shell.
4. Once you can see the wires, pull the
rear light module downwards while
lifting the bottom until you clear the two
hooks at the top of the rear light
module.
5. Then disconnect the two connectors
by grabbing them and pulling on the
opposite direction.
Do not pull directly on the electrical wires, you could damage them.
6. Take a new rear light and connect
the electrical connector.
7. Once the two connectors are
plugged, gently insert the wires into the
helmet.