13
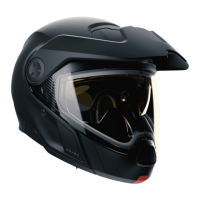
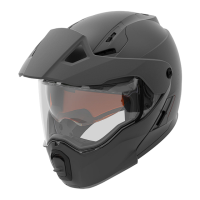
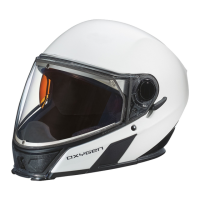
B. THE HELMET
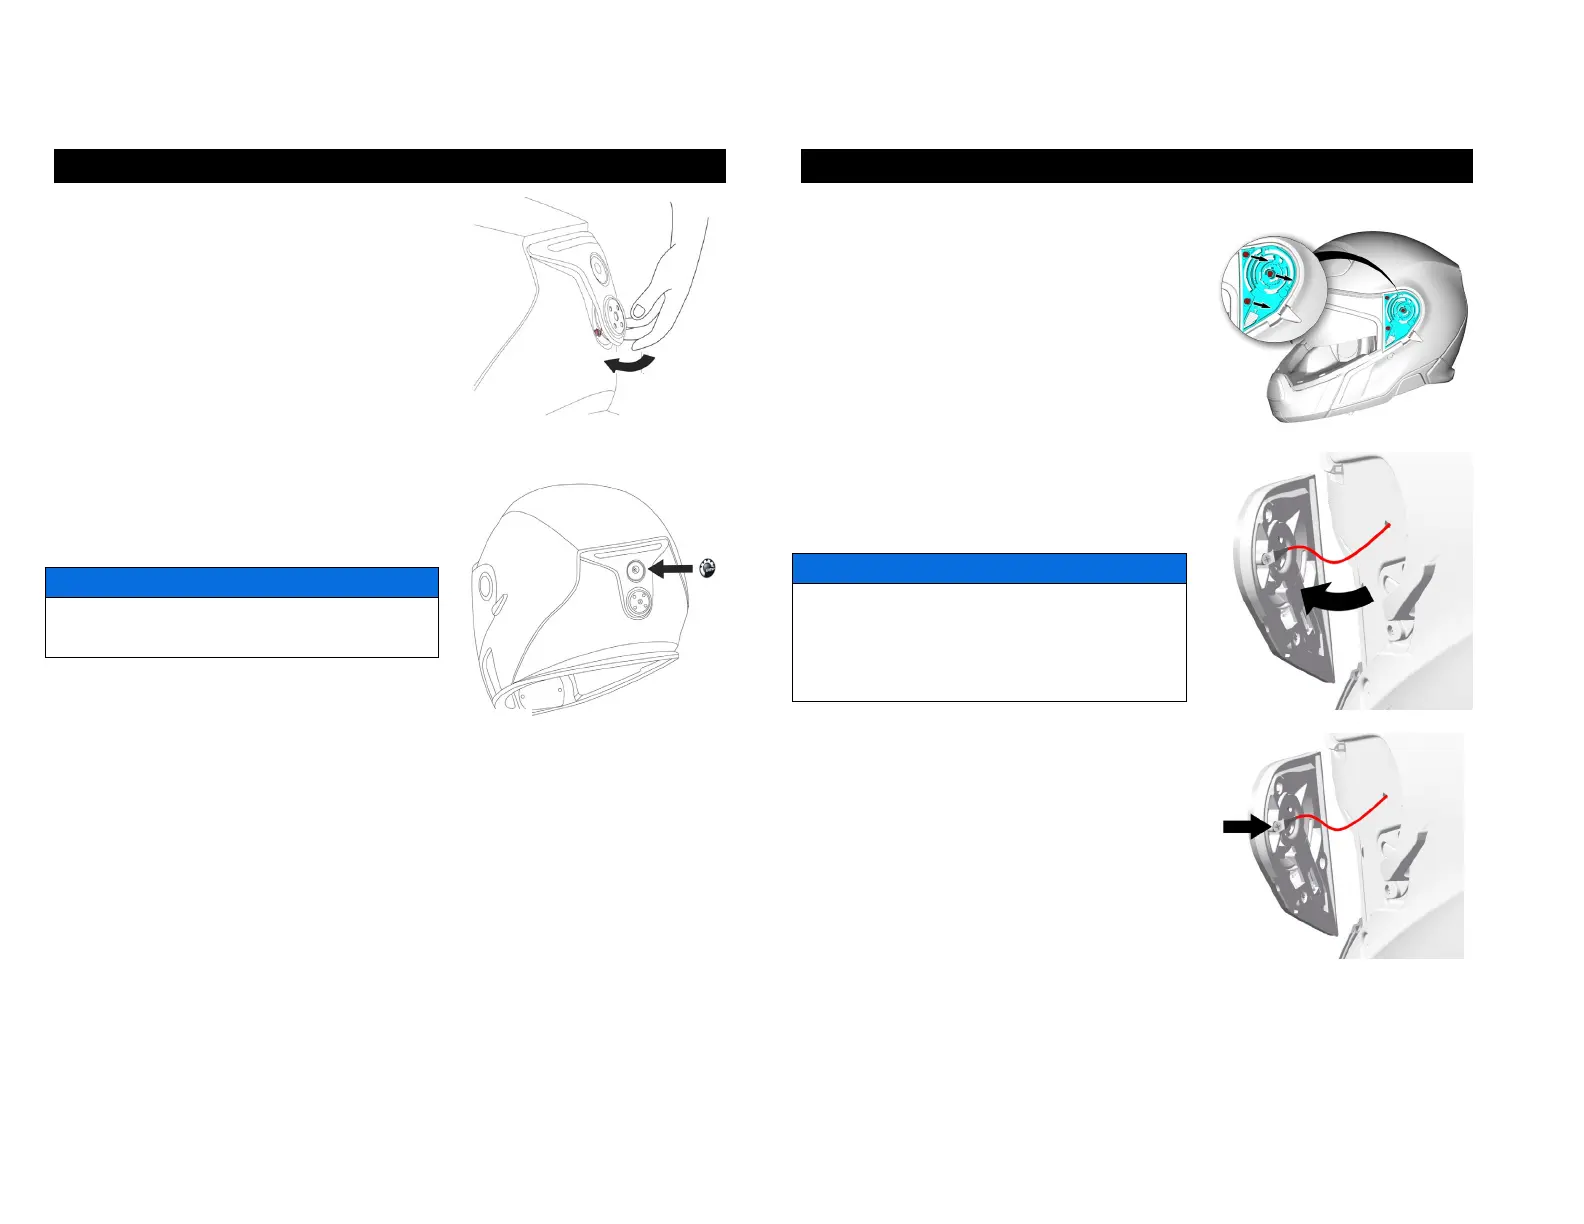
9. REAR LIGHT (IF EQUIPED WITH eLinQ)
8. Insert the two hooks onto the shell,
as shown.
9. Push back the rear light module and,
at the same time, make sure that you
put the wires back into the helmet.
10. Once the rear light module is in
position, secure it in position by tightening
the 2 screws (0.3 Nm).
Do not over-torque the screws, you could
damage them.
11. Put the new BRP logo over the upper
screw.
Make sure that the surface is clean; otherwise, the adhesive will not stick.
10. FACE SHIELD MECHANISM
REMOVING / REPLACING THE FACE SHIELD MECHANISM
1. Remove the face shield as described in
the “7. FACE SHIELD” section of this
manual.
2. Use a Phillips #1 screwdriver to remove
the three screws.
3. Grab the visor mechanism and lift it
gently.
4. Once you have access to the screw,
use a Phillips #00 screwdriver to
disconnect the mechanism from the
helmet circuit.
If the wires are stuck into the shell, do not
pull the mechanism, you could damage
them. Grab the wires and try to pull them
gently out of the shell.