d06856.fm
03 December 2020 73-00-00
Initial Issue Page 8 of 12
Copyright - BRP-Rotax GmbH & Co KG. All rights reserved.
SB-912-074 / SB-914-056
SERVICE BULLETIN
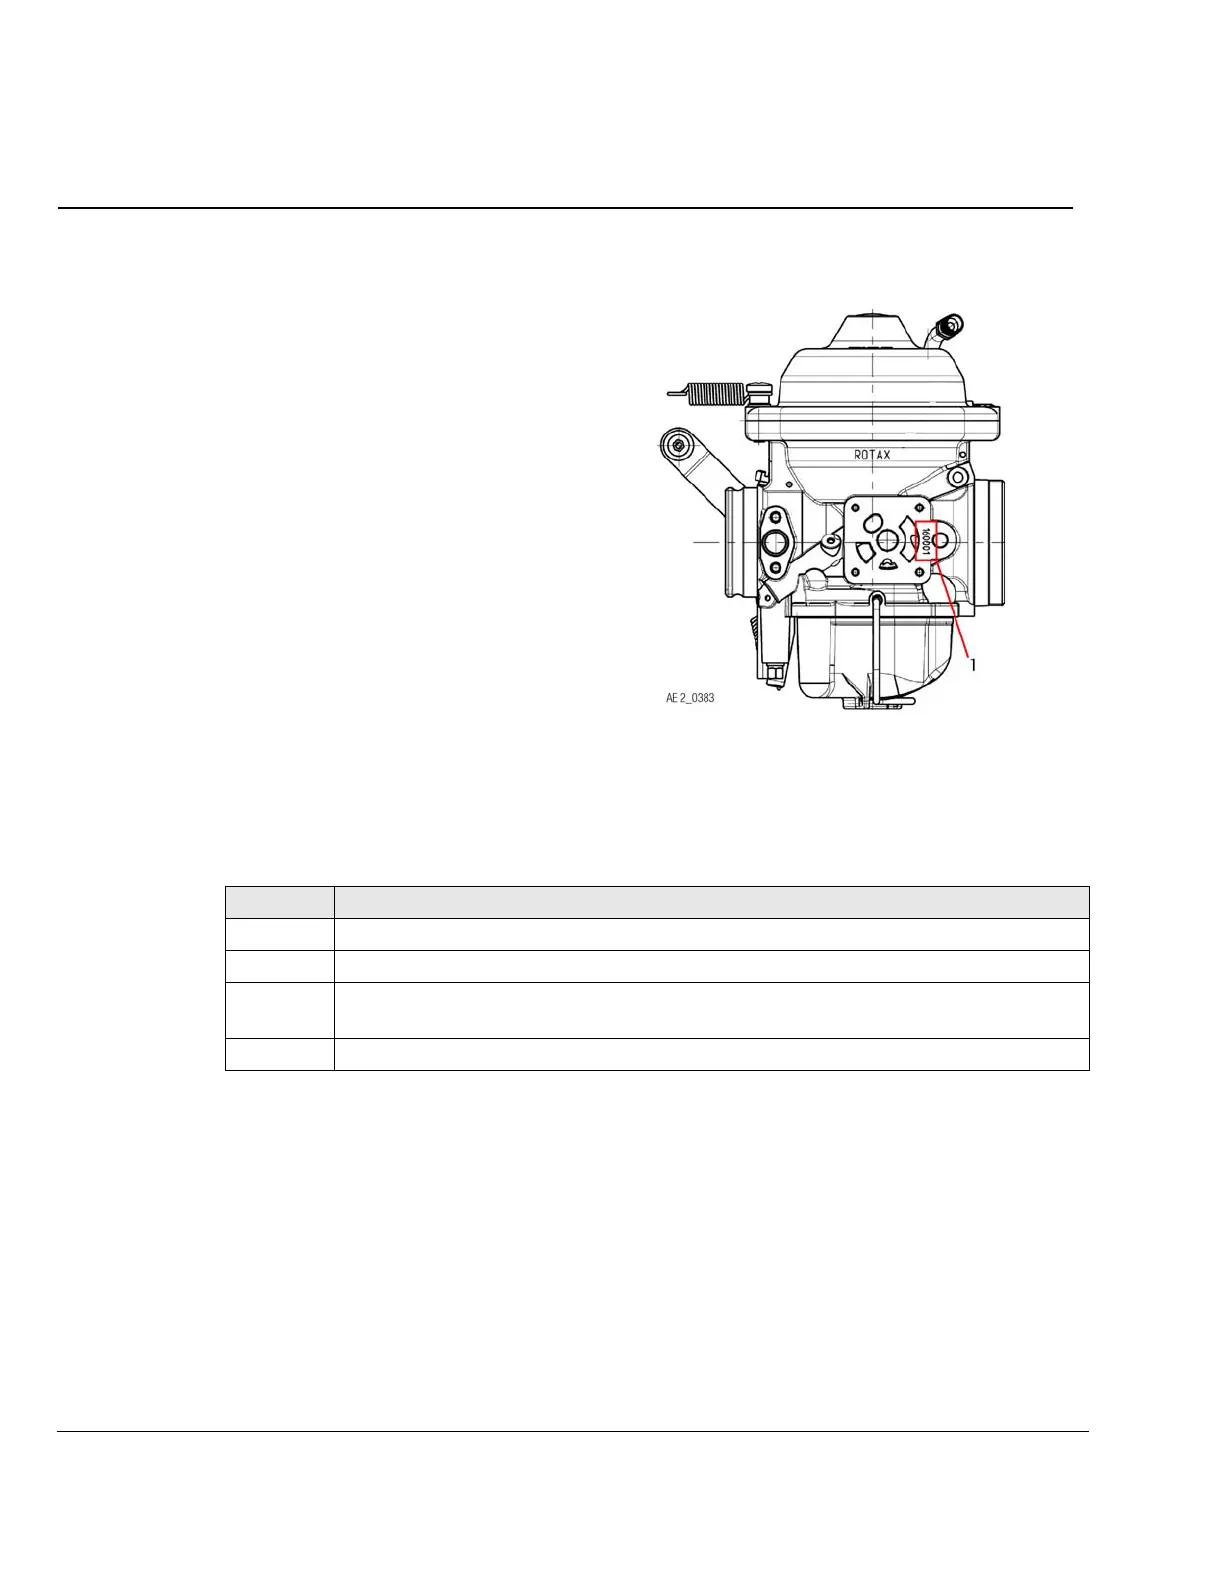
3.5.1) Check the carburetor serial number
See Fig. 1.
Fig. 1
3.5.2) Removal of float chamber
See Fig. 2.
Preparation for dismantling the float chamber according to the installation instructions of the air-
craft manufacturer.
1 Carburetor Serial number
Step Procedure
1 Remove drip tray (1), if installed.
2 Visual inspection of the carburetor and its mechanical actuation.
3 Remove spring clip (5) or for ROTAX
®
914 Series remove safety wire, loosen cap
screw (7) and remove with O-ring (6).
4 Remove float chamber (4), gasket (3) and the two floats (2)
 Loading...