29
H. ACCESSORIES AND SPARE PARTS
3. LED UTILITY LIGHT INSTALLATION
ST
STST
STEP 1
EP 1EP 1
EP 1
Picture 1:
Picture 1: Picture 1:
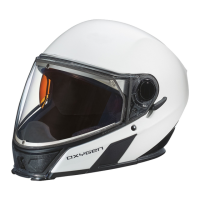
Picture 1: Remove the neck protector. Start by removing the plastic tab on
each side to remove the entire rear portion.
Picture 2:
Picture 2: Picture 2:
Picture 2: Remove the chin part by pulling the front portion of the neck
protector toward the inner side of the helmet (as shown above).
Picture 3:
Picture 3: Picture 3:
Picture 3: Using a Phillips n°1 cruciform screw driver, remove the 2 screws.
STEP 2
STEP 2STEP 2
STEP 2
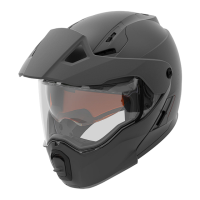
Once the 2 screws have been removed, grab the part as shown above, and
pull it to tilt it backward.
Once you can see entirely the bottom of the part, you can remove it
completely.
STEP 3
STEP 3STEP 3
STEP 3
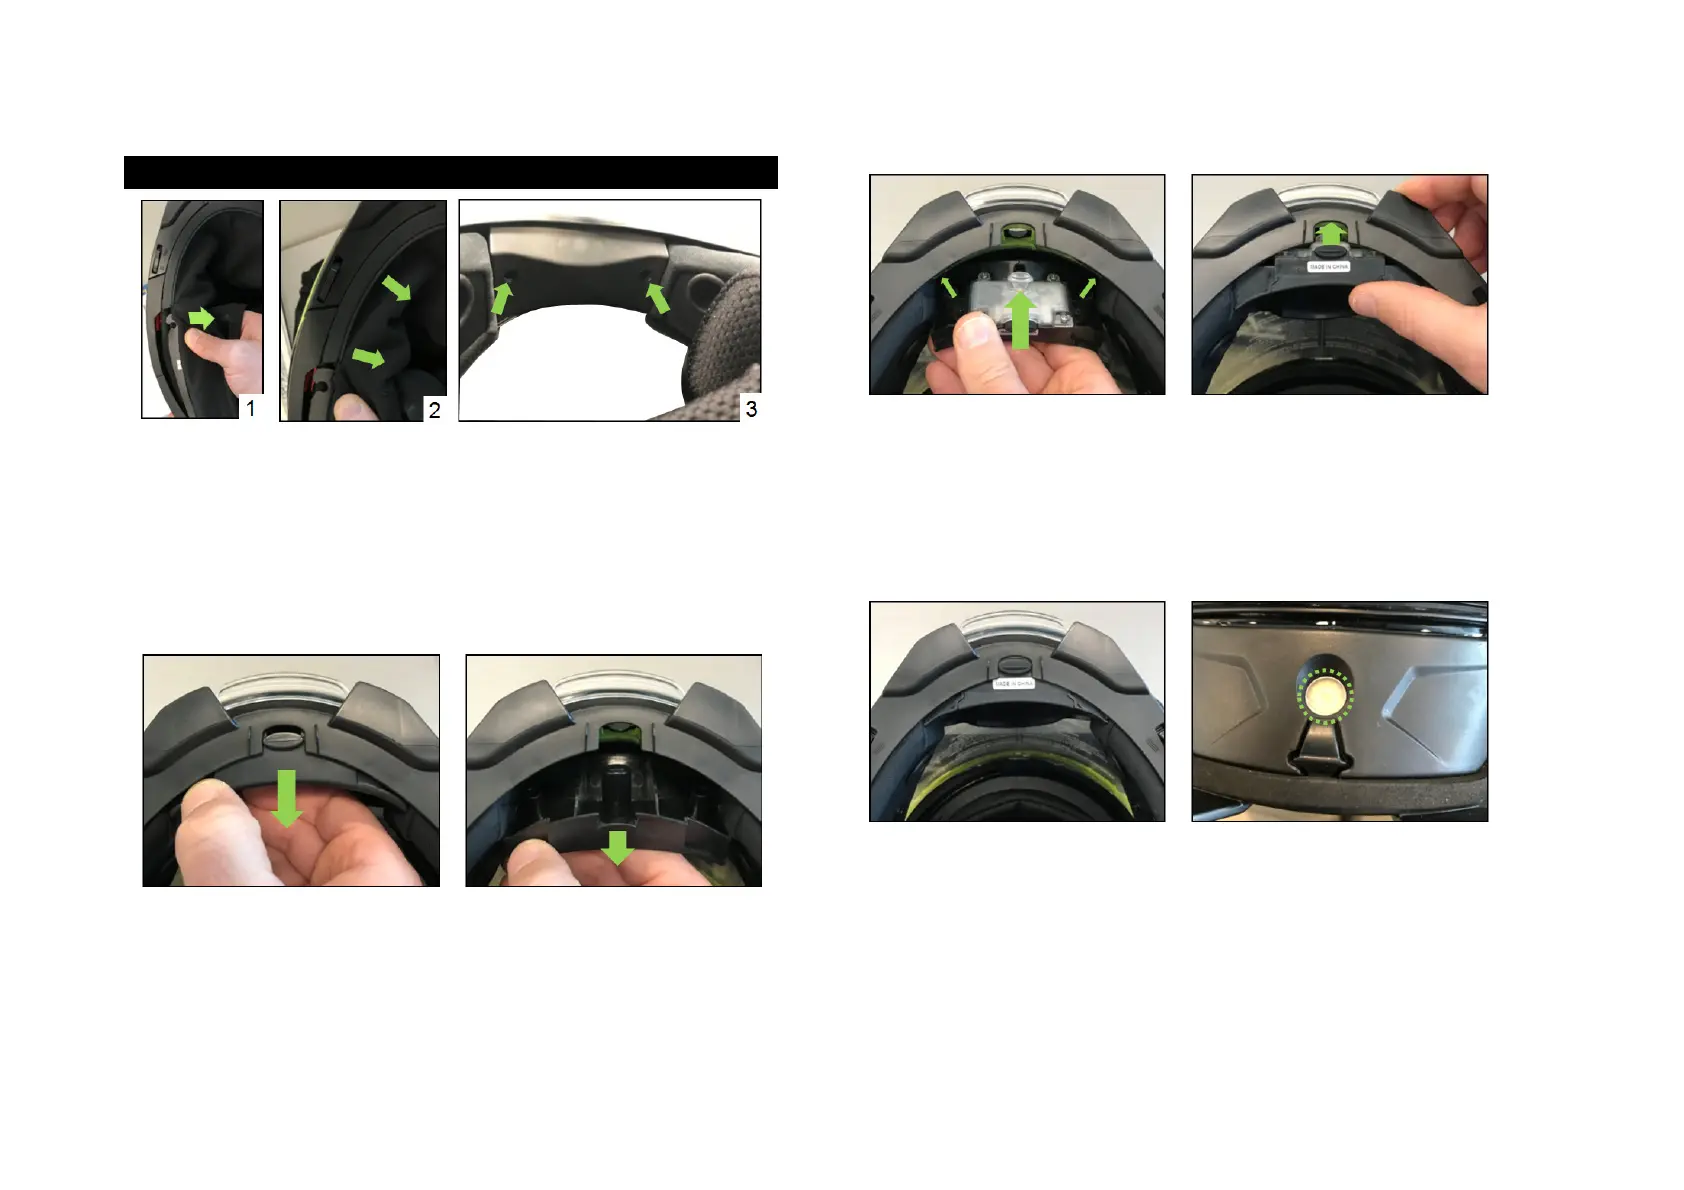
Install the accessory light by positioning the upper corners first, then tilt it
forward to put it in position.
Note
NoteNote
Note:
: :
: You should not have to force to tilt the light in position. If you do, it is
because something is wrong, and the corners of the lights have not been
positioned correctly.
STEP 4
STEP 4STEP 4
STEP 4
Once the accessory light in position, make sure it is in the right position by
checking if the lens is perfectly located inside the aperture made for this.
If it is not in position, adjust it.
STEP 5
STEP 5STEP 5
STEP 5
Put back the 2 screws to secure the accessory light in position (0.3 Nm).
Reinstall the neck protector, starting by the chin portion.
 Loading...