C−LRV lift control valve Installation and commissioning
47/92
300−I−9010212−E−10/08.08
4 Installation and commissioning
4.1 Installation
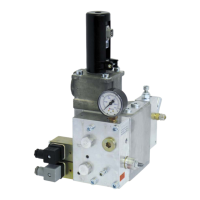
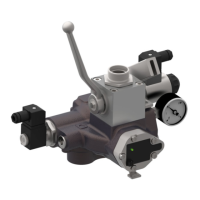
Orientation of the ball−valve outlet
As standard, the ball−valve outlet is rear−facing (code H)
Alteration to left (L) or right (R) is possible.
Important: the ball−valve outlet must not be turned to a new position
unless the hose is first disconnected.
Reorienting the ball−valve outlet
1. Unscrew cap screws on head of valve
2. Remove the screws
Attention
Risk of damage to the flow−rate
When orienting the ball−valve outlet, never lift up the head of the valve.
3. Turn head of valve to desired ball−valve position
4. Insert the cap screws and tighten them.
I Tightening torque for C−LRV 175 = 25 Nm
C−LRV 350 = 50 Nm
C−LRV 700 = 80 Nm
5. Check the mechanical null point
I Readjustment may be necessary (see Page 60, Section 4.3.10)
The ball−valve outlet is now correctly oriented
 Loading...