12
4 Putting into operation BÜCHI Mini Spray Dryer B-191
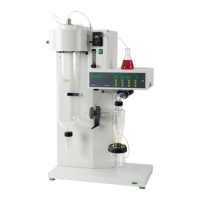
Figure 12: Pneumatic action cylinder
4.10 Installation of the pneumatic action cylinder
on the nozzle
1. Unscrew the push-button 쎻 for manual nozzle cleaning
from the nozzle.
2. Screw the adapter 쎻 with the damping ring 쎻 on the
needle shaft 쎻 and tighten well.
3. Care is to be taken before mounting the jaw that the hex-
socket screw which is there as an aid to disassembly is
loosened. Now insert the jaw 쎻 until it stops on the spring
guide.
4. The position of the compressed air hose should lie between
the two cooling water hoses.
5. There should be no space between the adapter and the
action cylinder.
6. The jaw is to be tightened after it successfully inserted.
7. The cylinder screw 쎻 with hex-socket head provided for
expansion in disassembly of the jaw 쎻 must be removed
when tightening the screw. This screw is only used for dis-
assembly (expansion of the jaw) of the adapter.
4.11 Installation check
An installation check is to take place after successful installation
and before the first spray drying:
• Inspect the glass visually for possible damage.
• Check the electrical connections.
• The cover of the receiving vessel must be connected with
the apparatus by means of the cable for arresting electro-
static charges.
• The outlet temperature probe must be inserted in the
coupling.
• The apparatus is to be connected to the power supply
and operated only after these checks.