CAUTION: Drain the tank using the drain tube. To avoid tank refill, ensure the water
inlet valve is closed when the drain tube plug is removed and power has been
disconnected from the brewer.
3. Remove the clamp and plug from the drain tube and release the pinch valve.
(FIG. 2)
4. Drain enough water from the tank so the water level inside the tank is below the
faucet outlet and/or By-Pass Valve(s).
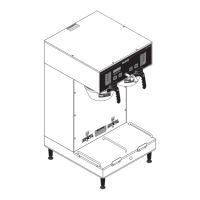
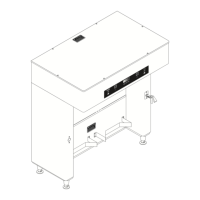
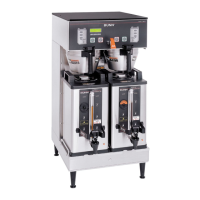
5. Depending on the model being modified, removal of the overflow cup may facili-
tate this procedure. If necessary, remove the two nuts holding the overflow cup
in place and move the cup out of the way. (FIG. 3)
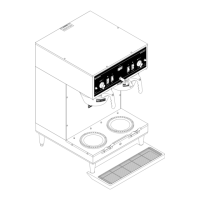
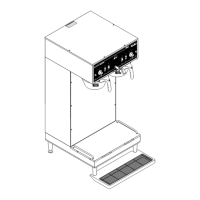
6. Remove the existing water faucet tube and clamps from the brewer and discard.
(FIG. 4)
7. While holding the faucet body on the outside of the brewer, loosen and remove
the jam nut from the inside of the brewer. (FIG. 4)
8. Remove the faucet from the brewer. (FIG. 4)
9. Install the hole plug, provided with this kit, into the faucet mounting hole in the
hood. (Where the faucet was removed.)
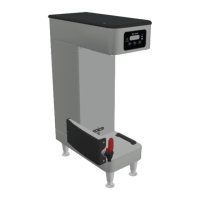
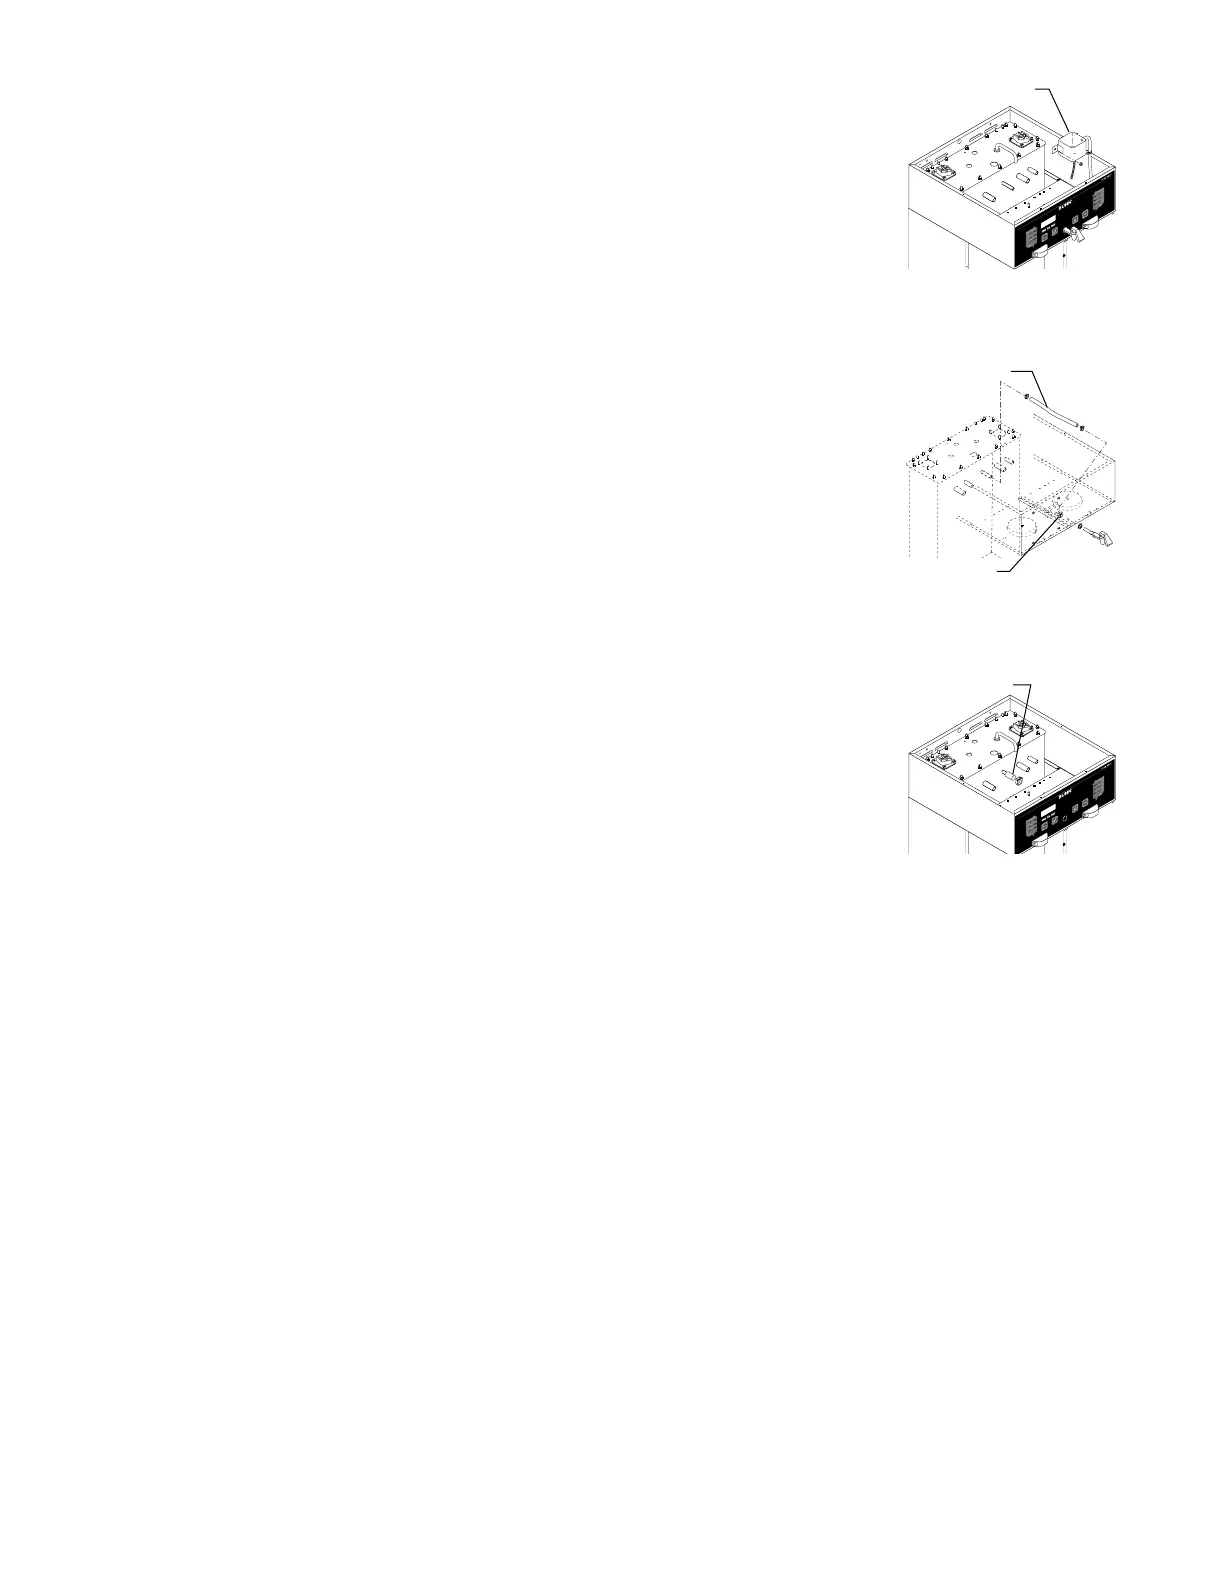
10. Install the silicone cap on the tank fitting and use the snap type clamp provided
to clamp the cap to the fitting. (FIG. 5)
11. If removed, reinstall the overflow cup.
12. Verify the drain tube plug and hose clamp are installed in the end of the drain
tube.
13. Ensure the pinch valve is installed on the drain tube and that it is closed.
14. Place the clamped end of the drain tube into the bottom of the brewer.
15. Turn on the water inlet valve and check the new connections for leaks.
16. Reinstall the front access panel and top cover.
17. Plug in the brewer and allow it to reheat.
FIG 4
FIG 3
FIG 5
Silicone Cap
Faucet Tube
Jam Nut
Overflow Cup
 Loading...