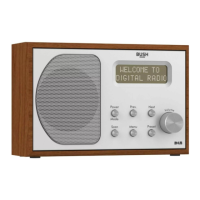
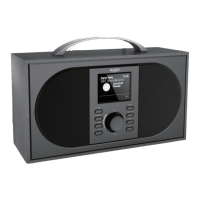
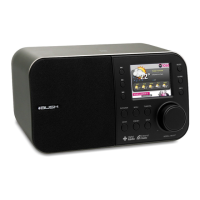
Getting to know your Mono DAB/FM Radio
You’ll be up and running in no time
Getting to know your Mono DAB/FM Radio
You’ll be up and running in no time
Connection
1. Connect the mains power lead into the socket on the back of the Radio.
2. Plug the power adaptor into the mains power wall socket and switch on. The Radio
will switch on, Welcome to Digital Radio will be displayed and then your Radio will go
to Standby mode.
Inserting batteries (optional)
1. Before installing the batteries (not included) please ensure that the Radio is switched
off using the Power switch and has been unplugged from the mains power supply.
2. On the back of the Radio, press in the tab on the battery compartment cover to
remove it.
3. Insert 4 x 1.5V AA-size (also known as LR-6) batteries, making sure to note the ‘+’ and
‘-‘ markings and position the batteries the correct way around.
4. Replace the battery cover, making sure that it ‘clicks’ shut.
Note: For battery operation please ensure that the mains power is switched off and
remove the mains power plug from the socket on the back of the Radio.
Initial set-up
1. Extend the telescopic aerial to ensure the maximum signal strength when you scan for
radio stations.
2. Short press the Power button on the front of your radio. Your radio will switch on and
begin an automatic scan for DAB stations. A progress bar will show the progress of the
scan and the number of stations found during the scan will also be displayed.
3. When the scan is complete your radio will select the first available station and begin to
play. Stations are listed in numerical and then alphabetical order by default.
Note: The DAB radio station list is stored in the memory and so the next time you
switch your radio on, the station search does not take place. It is possible to scan
manually for stations by pressing and releasing the Scan button.
4. Short press the Prev or Next button, to scroll through the available stations in the
station list. When the station that you would like to listen is displayed, short press the
Volume control. There will be a short delay whilst your radio tunes to your selected
station.
Adjusting the volume
• Turn clockwise to increase the volume.
• Turn anti-clockwise to decrease the volume.
Time and date
The first time you listen to DAB radio, the time and date of your product will be
synchronised automatically to that broadcast by the DAB service in 24 hour mode; which
is in line with daylight saving, so there is no need to set the time and date manually.
If you do wish to set the time and date manually, turn on the radio and follow the steps
below:
1. Long press the Menu button to enter the menu options.
2. Short press the Prev button to scroll to <System>. Short press the Volume control to
Select.
3. Short press the Next button to scroll to <Time>. Short press the Volume control to
Select. <Set Time/Date> is displayed. Short press the Volume control to Select.
4. Set time is displayed and the hour digits will flash. Use Prev or Next button to scroll to
the correct hour. Short press the Volume control to Select.