9
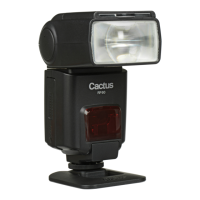
2. I n st a ll t he batt e r ie s.
M a ke su r e t h ep o sitiv e (+) a n d
n e g ativ e (-)b att e r y c o nt a ct s a r e
properly oriented as shown in the
compartment.
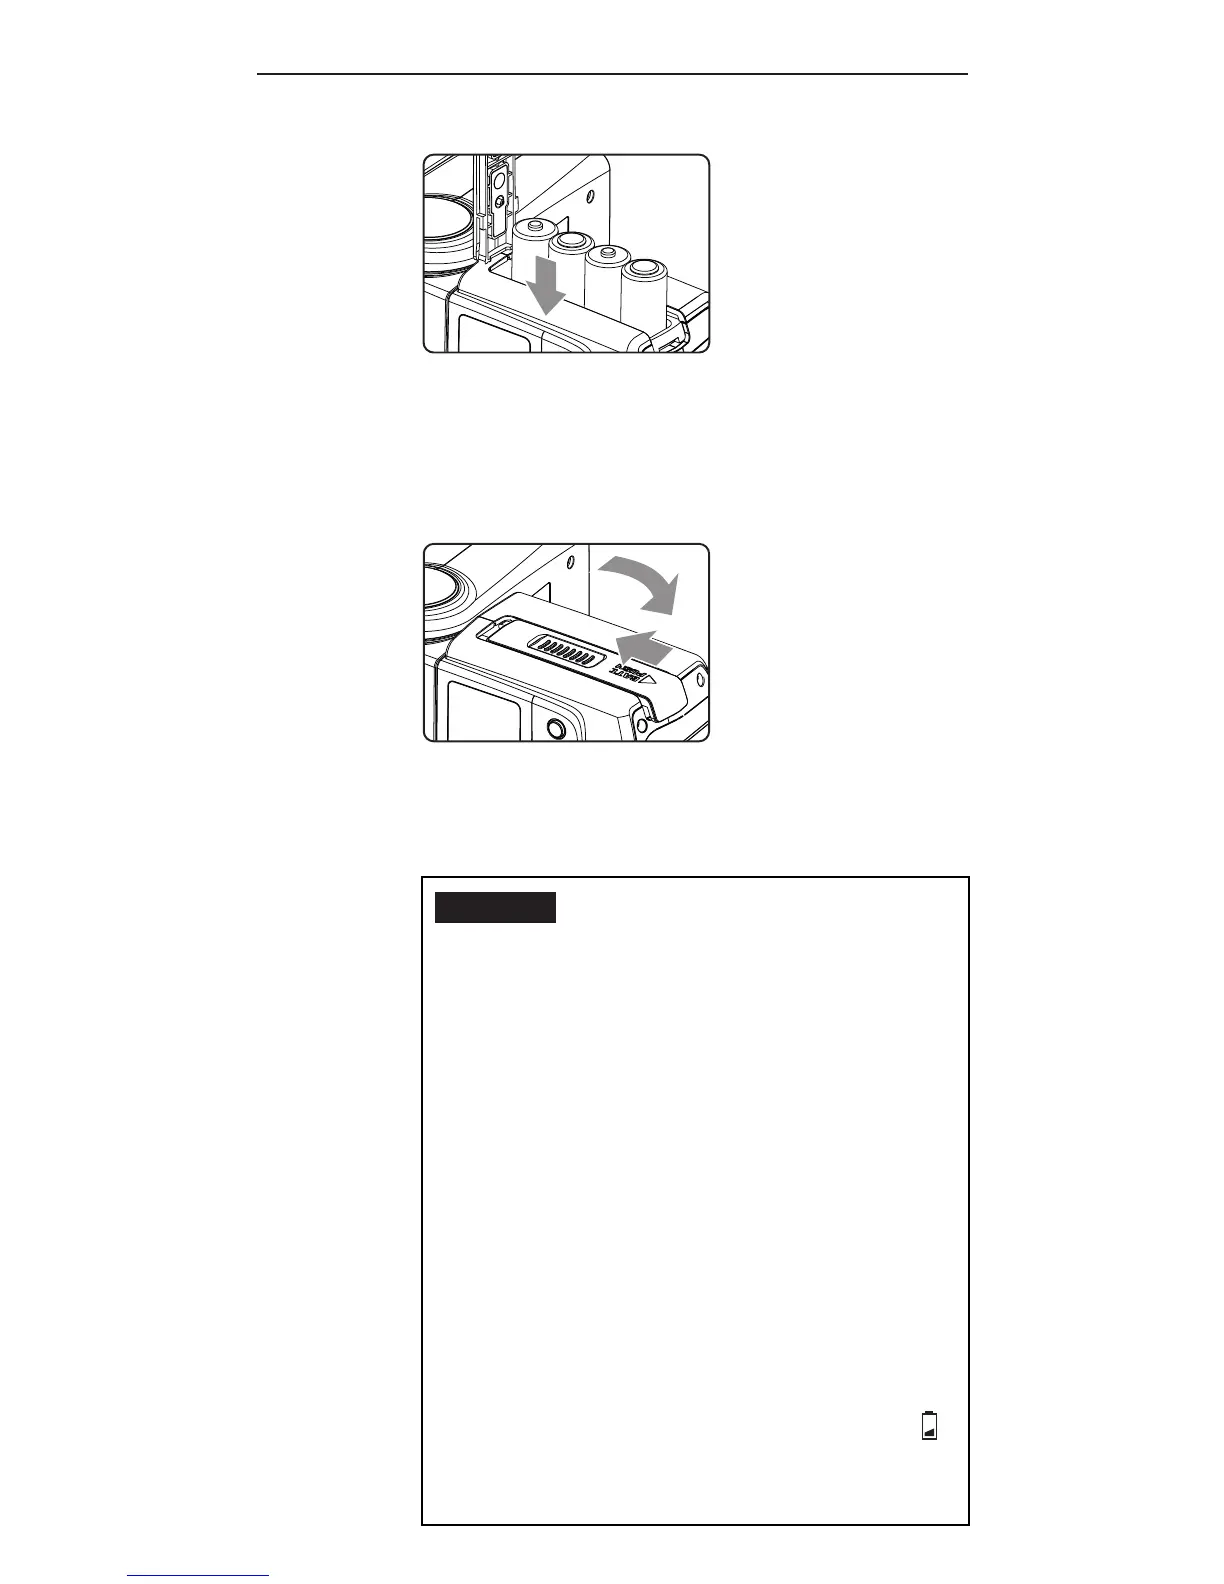
3. Slid et h eb att e r y c o m p a r tm e nt
door in the direction shown by
the arrow to close it.
Caution:
1. Use a new set of AA batteries of
t h e s a m eb r a n da n dt y p e. W h en
replacingbatteries,replaceall
fo u rat t h es a m e ti m e.
2. A A-si z e d a l k a li n e, Ni- M H, o r
lit hiu m b att e r ie sc a n b eu se d.
Use only one type of batteries at
a ti m e. D o n ot m i xb att e r y t y p e s.
3. If yo uc h a n g e b att e r ie s af t e r
r i n g m a n y a s he sc o nti n u o u sl y,
b ea w a r et h at t h eb att e r ie sm a y
be hot.
4. F o r a l k a l i n e o r lit h iu m
b att e r ie s, t h eb att e r y le v el
indicator on the LCD will show
w he n a r o u n d 50% of th eb att e r y
p o w e r h a sb e e nc o n su m e d, a n d