3.
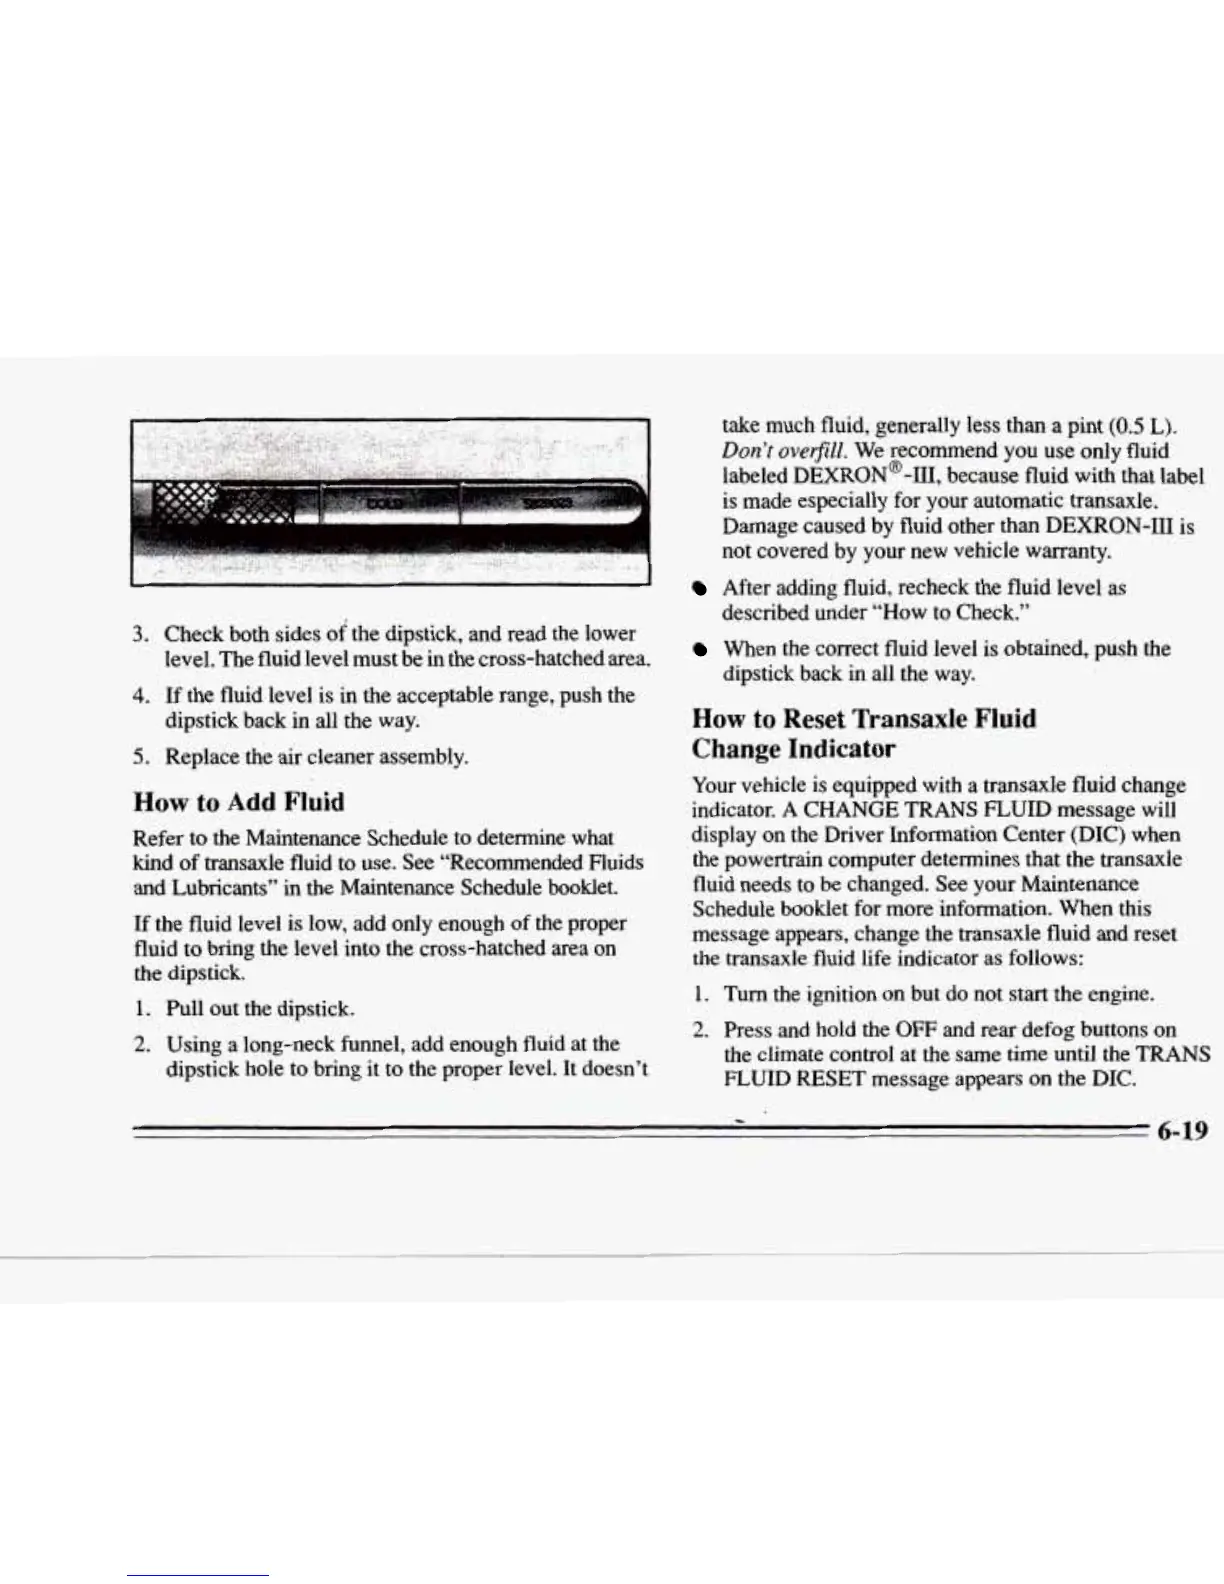
Check
both
sides
of
the dipstick, and read the lower
level. The fluid level must be
in
the cross-hatched area.
4.
If
the fluid level is in the acceptable range, push the
dipstick back
in
all the way.
5.
Replace the
air
cleaner assembly.
How
to
Add Fluid
Refer to the Maintenance Schedule to determine what
kind
of
transaxle fluid
to
use. See “Recommended Fluids
and Lubricants”
in
the Maintenance Schedule booklet.
If
the fluid level is low, add only enough
of
the proper
fluid
to
bring the level into the cross-hatched area on
the dipstick.
1.
Pull out the dipstick.
2.
Using a long-neck funnel, add enough fluid at the
dipstick hole to bring
it
to the proper level. It doesn’t
take
much
fluid, generally less than a pint
(0.5
L).
Don’t
oveflll.
We recommend you use only fluid
labeled
DEXRON@-111,
because fluid with that label
is made especially for your automatic transaxle.
Damage caused by fluid other
than
DEXRON-I11 is
not covered by your new vehicle warranty.
After adding fluid, recheck the fluid level as
described under “How to Check.”
When the correct fluid level is obtained, push the
dipstick back in all the way.
How
to
Reset Transaxle Fluid
Change Indicator
Your vehicle is equipped with a transaxle fluid change
indicator.
A
CHANGE TRANS
FLUID message
will
display on
the
Driver Information Center
(DIC)
when
the powertrain computer determines that the transaxle
fluid needs to be changed. See your Maintenance
Schedule booklet for more information. When this
message appears, change the transaxle fluid and reset
the transaxle fluid life indicator as
follows:
1.
Turn
the ignition on but do not start the engine.
2.
Press and hold the
OFF
and rear
defog
buttons on
the climate control at the same time until the
TRANS
FLUID
RESET
message appears
on
the DIC.
z
6-19