5. To exit the Setup menu at any time, press the Setup menu button on the remote
control or select Exit from the Setup menu sections.
The settings are permanently saved when the player is turned o using either the
front panel Standby/On button or the same button on the remote control. If the AC
power is interrupted before the player enters standby status, the settings will not
be saved.
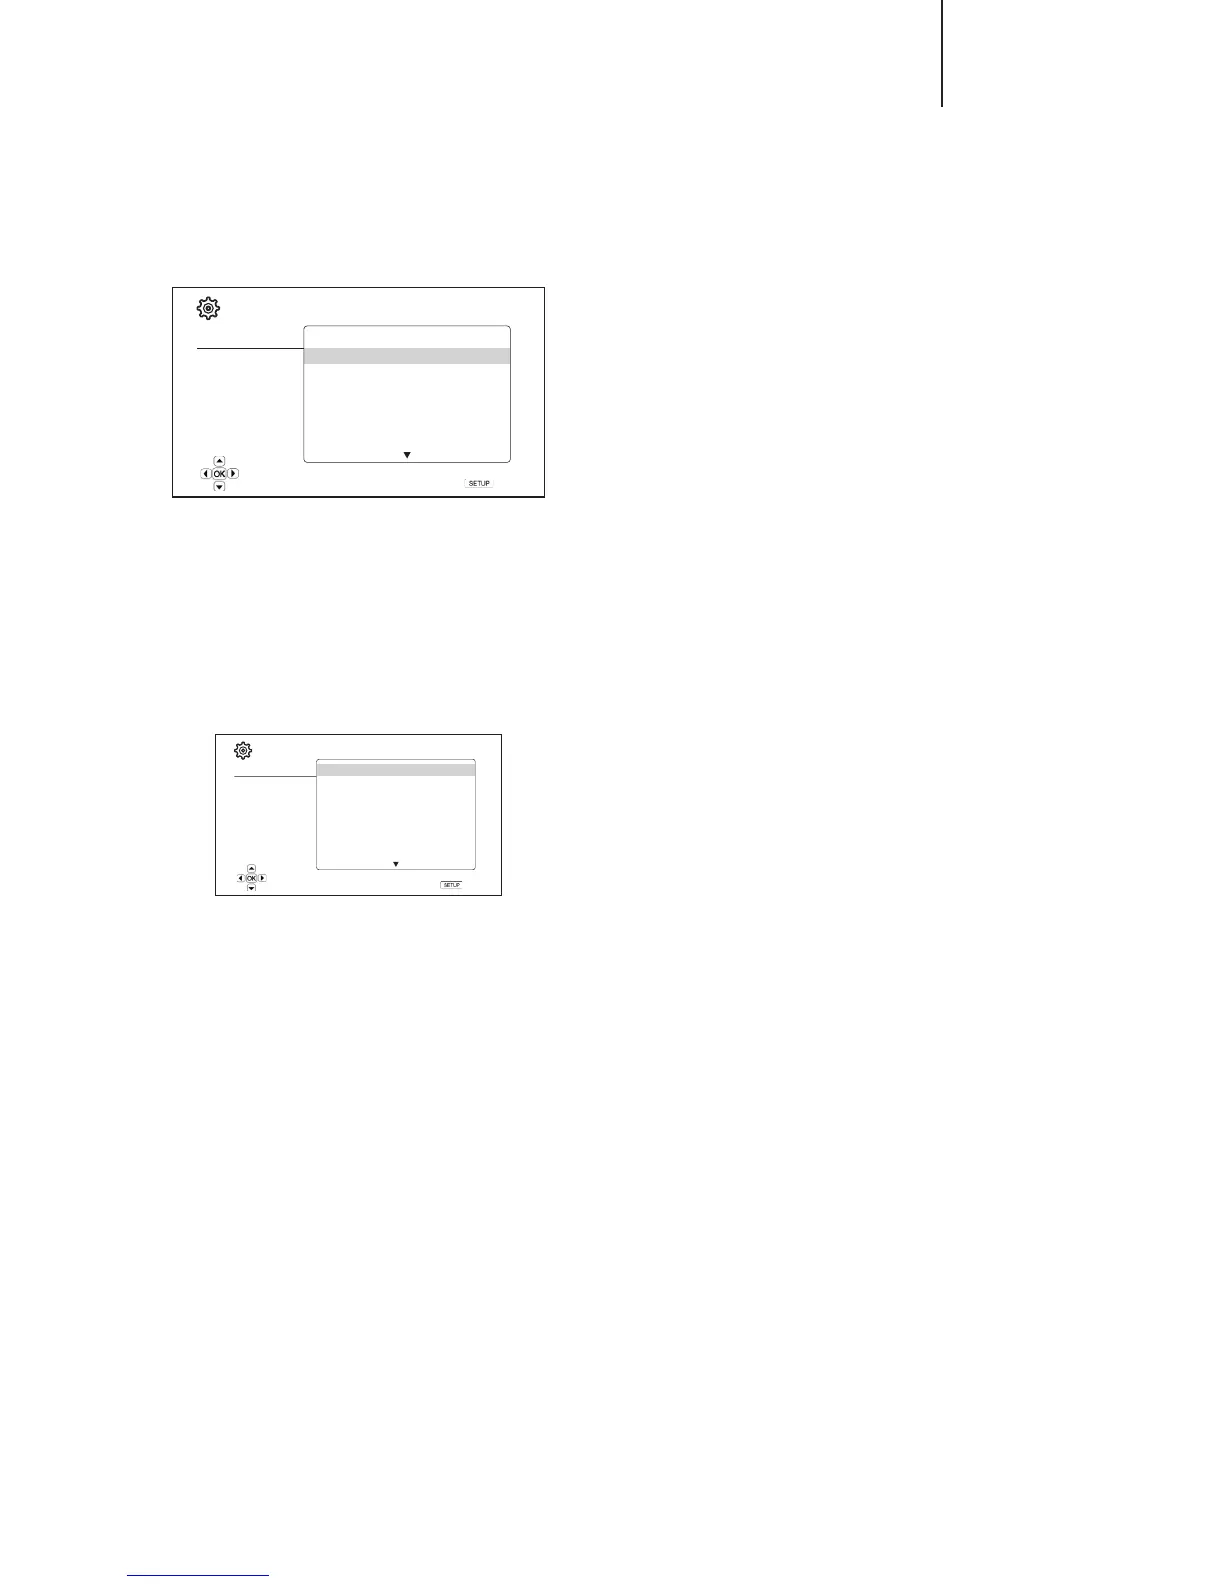
Playback setup
Setup Menu
Playback Setup
Video Output Setup
Audio Output Setup
Device Setup
Network Setup
Exit
Auto Play Mode
Auto Resume
Language
Closed Caption
Subtitle Shift
OSD Position
OSD Mode
● On
● On
● 0
● 0
● Normal
Exit
Set the auto play mode for CD, SACD, DVD and BD
The "Playback Setup" section is designed to congure playback preferences for
various contents.
1. Auto play mode (on/o)
To select whether the player will start playing an audio CD or SACD automatically.
When auto play mode is turned on (default), discs will start playing upon insertion
into the player. When auto play mode is turned o, the player will wait for the user
to start playback by pressing the Play button.
2. Auto resume (on/o)
To select whether the disc playback shall start from the previously saved point
or not. This setting applies to CD, SACD, DVD and certain Blu-ray disc. When
auto resume is turned on (default), the playback automatically starts from the
previously saved point. When auto resume is turned o, the playback starts from
the beginning.
3. Language
This is used to congure language preferences:
Player Language – To choose the display language for the player's Setup Menu
and on-screen display.
Disc Menu Language – To choose the preferred language for displaying DVD and
Blu-ray Disc menus. If a disc menu of the selected language is available, that menu
will be shown instead of the default disc menu.
Audio Language – To choose the preferred audio language for DVD and Blu-ray
Discs. If an audio track of the selected language is available on the disc, the Audio
track will be played back.
Subtitle Language – To choose the preferred subtitle language for DVD. If a subtitle
of the selected language is available on the disc, it will be displayed. When "Auto"
is selected, the subtitle display is decided by the disc.
Note: If your preferred language is not listed in the Disc, Audio or Subtitle menu
options, select "Other" and enter the Language Code found on the later section of
this manual.
4. Closed caption
Congure Closed Caption features.
CC Display – Turn on or o Closed Caption display.
CC Select – Select the data channel for Closed Caption display. Available data
channels depend on the content being played.
CC Attribute – Set the Closed Caption attribute. When CC Attribute is set to
Custom you may congure the Closed Caption display attributes listed below.
Font Color – Set the font color for Closed Caption.
Font Size – Set the font size for Closed Caption.
Font Style – Set the font style for Closed Caption.
Font Opacity – Set the font opacity for Closed Caption.
Font Edge – Set the font edge eect for Closed Caption.
Font Edge Color – Set the font edge color for Closed Caption.
BG Color – Set the background color for Closed Caption.
BG Opacity – Set the background opacity for Closed Caption.
Window Color – Set the Closed Caption window color.
Window Opacity – Set the Closed Caption window opacity.
5. Subtitle shift
Sometimes such as when using a 2.35:1 "Constant Image Height" video projection
system, subtitles may get cut o because they are positioned outside of the active
video area.
The Subtitle Shift feature can be used to shift subtitles up or down so they are
displayed within the active video area.
To shift the display position of subtitles, follow these steps:
1. When playing a DVD, Blu-ray Disc or other video programs recorded with
subtitles, select the desired subtitle from the disc menu or by using the remote.
2. Press and hold the Subtitle button on the remote control until the Shift Subtitle
Position prompt appears on the screen.
3. Wait until some subtitle text is visible on the screen, and then use the /
buttons to move the subtitle text to a desired new position.
4. Press the Enter button to set the subtitle display position. Once the Subtitle Shift
position is set, it is saved by the player in the Video Setup > Display Options
> Subtitle Shift setup menu option. The setting will be applied to subtitles of all
future DVD and Blu-ray Discs. You can also change the setup menu item directly.
Refer to the Video Setup for more information.
6. OSD position
Allows you to set the display position for the on-screen display (OSD).
When the OSD Position is set to 0, the OSD is shown at the top and bottom of the
video screen. When it is set at a value between 1 and 5, the OSD is shifted towards
the center of the video screen.
Similar to the subtitle shift setting above, the OSD Position feature is helpful for
customers using a 2.35:1 “Constant Image Height” video projection system.
7. OSD mode
Allows you to select how long the on-screen display (OSD) information, such as
playback operation icons (PAUSE, STOP, SKIP, etc.), stays on the TV screen.
Normal (default) – OSD information stays on the TV screen until the user cancels it.
Minimal – OSD information stays on the TV screen for a few seconds and then
disappears. The front panel display still maintains the selected display information.
Remaining – OSD information stays on the TV screen until the user cancels it. By
default, displays remaining time instead of elapsed time.
O – No OSD information shows on the TV screen unless the user presses the Info
button. This mode is not recommended for daily use
8. Angle mark (on/o)
Turns on/o the display of the angle icon when a DVD or Blu-ray Disc with multiple
angles is played. Keeping the angle mark o avoids distraction from normal movie
watching.
 Loading...