20
APERTURA
CHIUSURA
APERTURA
CHIUSURA
DOC P
LBC
230V
230V
24V
24V
AA
AA
A
33
33
3
PROGRAMMAZIONE FINECORSA /
LIMIT SWITCH PROGRAMMING
/ PROGRAMMATION FIN DE COURSE
ENDAUSSCHALTER-PROGRAMMIER
/ PROGRAMACION FINAL DE CARRERA
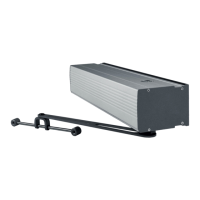
1) Dopo aver eseguito i collegamenti elettrici e selezionato
le funzioni desiderate (pag 17÷19), alimentare il motore
con tensione a 230V sul relativo morsetto del trasformato-
re. L'anta procederà a velocità rallentata in chiusura (in
caso contrario togliere la tensione e invertire i fili del
motore).
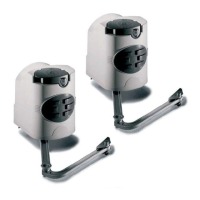
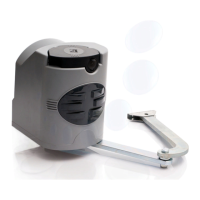
N.B.: l'automazione PB1100 è predisposta dalla CAME per
l'utilizzo del braccio a slitta PB1001, nel caso di utilizzo del
braccio a snodo PB1002, invertire i fili del motore.
Attenzione: Nel caso di programmazione con fasi
invertite, l'anta può muoversi pericolosamente.
Dopo tale verifica procedere con la programmazione.
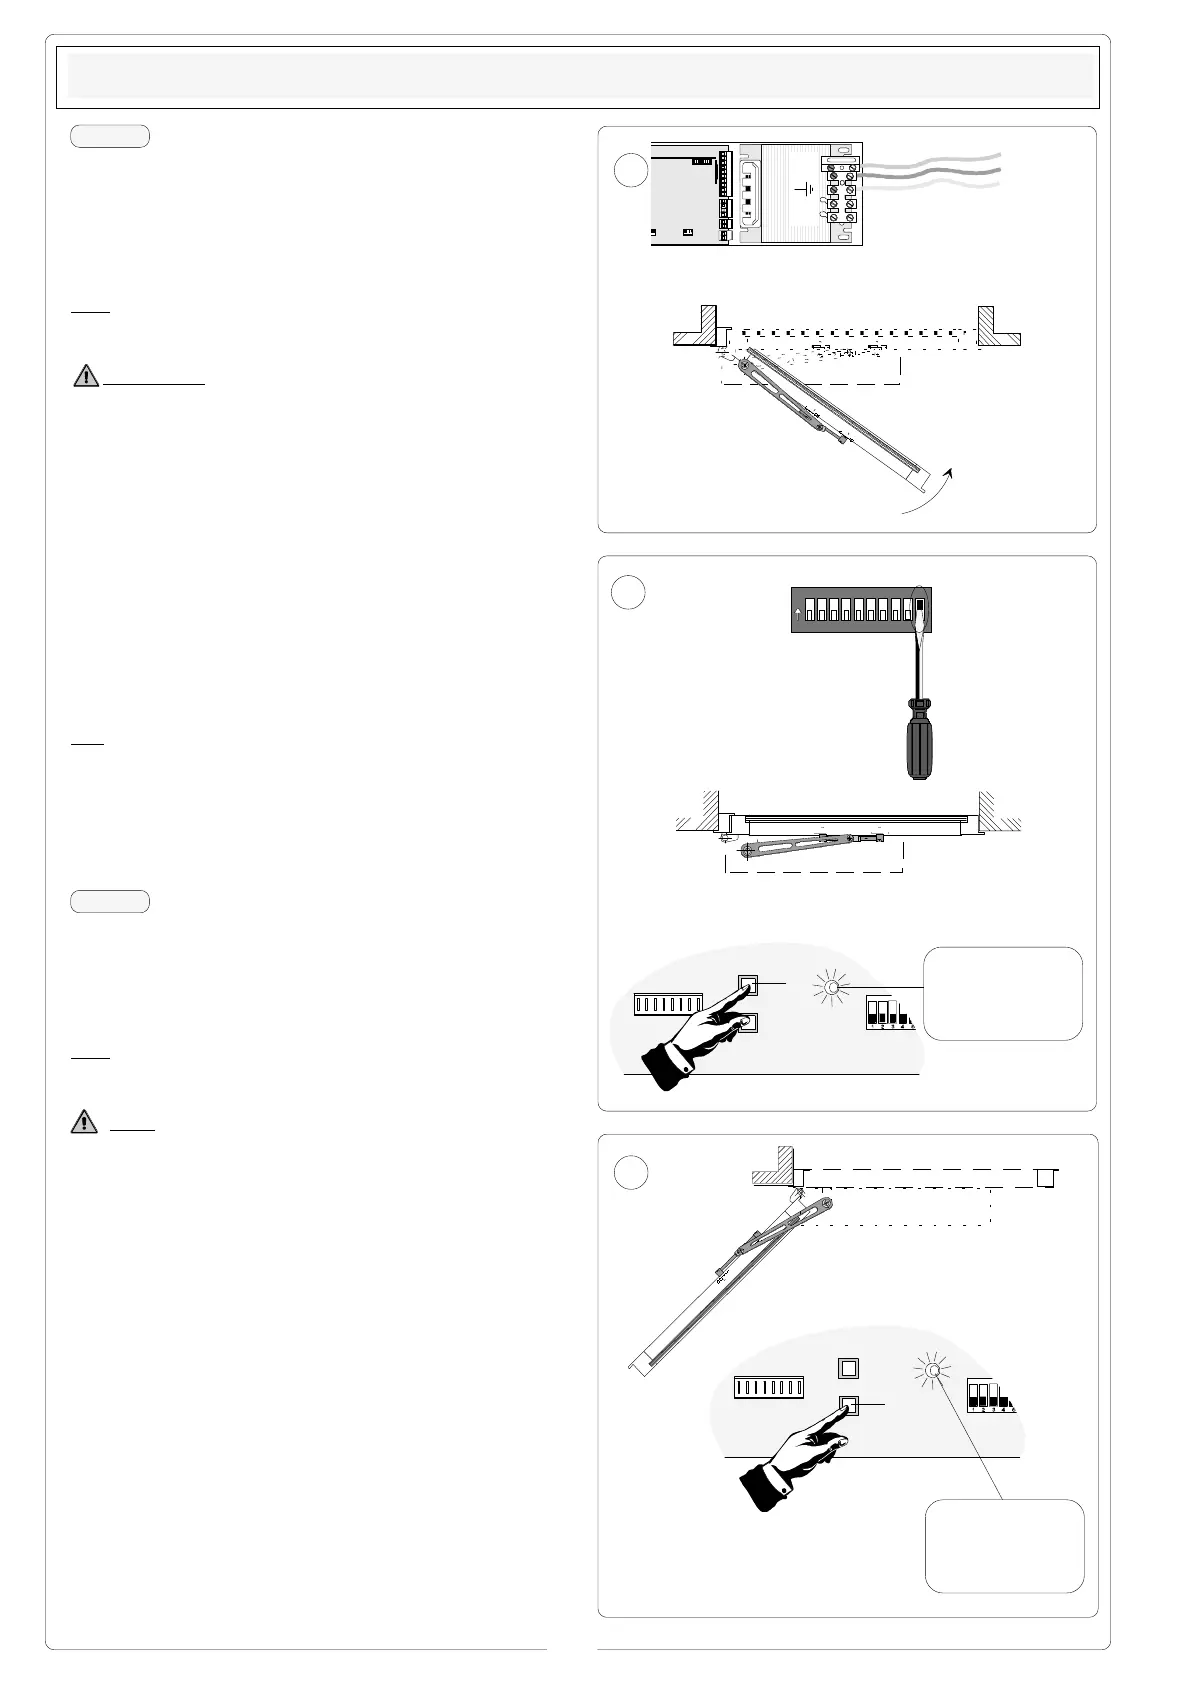
2) Inserire il dip-switch 10 in ON, portare l'anta in battuta di
chiusura; premere il tasto "C" e rilasciarlo all'accensione
del led.
3) Procedere portando l'anta in posizione di apertura desi-
derata, premere il tasto "A" e rilasciarlo all'accensione del
led.
4) Dopo tali operazioni, selezionare il dip-switch 10 in OFF
e azionare un comando di apertura, che attiverà il ciclo di
manovra, eseguendo la chiusura automatica, in funzione
del tempo di richiusura automatica selezionata (TCA).
Fare attenzione che il dispositivo 7041 sia correttamente
selezionato.
N.B.: l'anta necessita di un fermo meccanico in posizione
di chiusura (battuta).
5) Procedere con le regolazioni di velocità (tempo di aper-
tura), rallentamento, chiusura automatica e forza motore in
base alle caratteristiche dimensionali dell'anta e alle ne-
cessità dell'utente (vedere regolazioni pag.19).
LED di segnalazione
Signal LED
LED de signalisation
Anzeige-LED
LED de señal
11
11
1
22
22
2
CC
CC
C
Alimentazione a 230V - 50/60 Hz
Alimentazione a 230V - 50/60 Hz
Alimentazione a 230V - 50/60
Alimentazione a 230V - 50/60 Hz
Alimentazione a 230V - 50/60 Hz
ITALIANO
ENGLISH
LED di segnalazione
Signal LED
LED de signalisation
Anzeige-LED
LED de señal
1) After making the electric connections and selecting the
desired functions (pg. 17÷19), power up the motor with
230V on the transformer appropriate terminals. The door
will proceed at a reduced speed when closing (otherwise
shut down power and invert the motor wires).
N.B.: PB1100 automation is designed by CAME for use
with the arm PB1001. If articulated arm PB1002 is used,
invert the motor wires.
Note: In case of programming with inverted phases,
the door could move unexpectedly and dangerously.
After doing a check, proceed with programming.
2) Insert the 10 dip switches into ON, and then move both
door to a closed position; press down on the “C” key until
the LED indicators light up.
3) Proceed by setting the door in the desired opening po-
sition, press down on the “A” key until the LED indicators
light up.
4) After these operations, set the no. 10 dip switch to OFF
and activate a command to open, which will in turn acti-
vate the manoeuvring cycle, according to the automatic
reclosing time set (TCA).
Make sure the 7041 device is correctly selected.
N.B.: the door require mechanical end-stop in the fully
closed position.
5) Proceed with speed adjustment, slowing down, auto-
matic closure and motive power based on the door’s di-
mensional characteristics and the user’s requirements
(see adjustments on pg.19).
10 ON
 Loading...