8
TC-003001-10/ Rev 2
Note: some installations may present unique circumstances that may require installation in a position different
than outlined above.
INITIAL INSTALLATION
The following procedure applies to new installation between standard
ASME B16.5 and B16.47 series A pipe flanges.
When replacing a valve from an existing installation, clean the flange
faces of any residual gasket material before starting.
Actuation should not be removed from the valve for installations unless
the actuator must be transferred during replacement.
1. Remove protective covers from valve. Be sure valve is completely
closed.
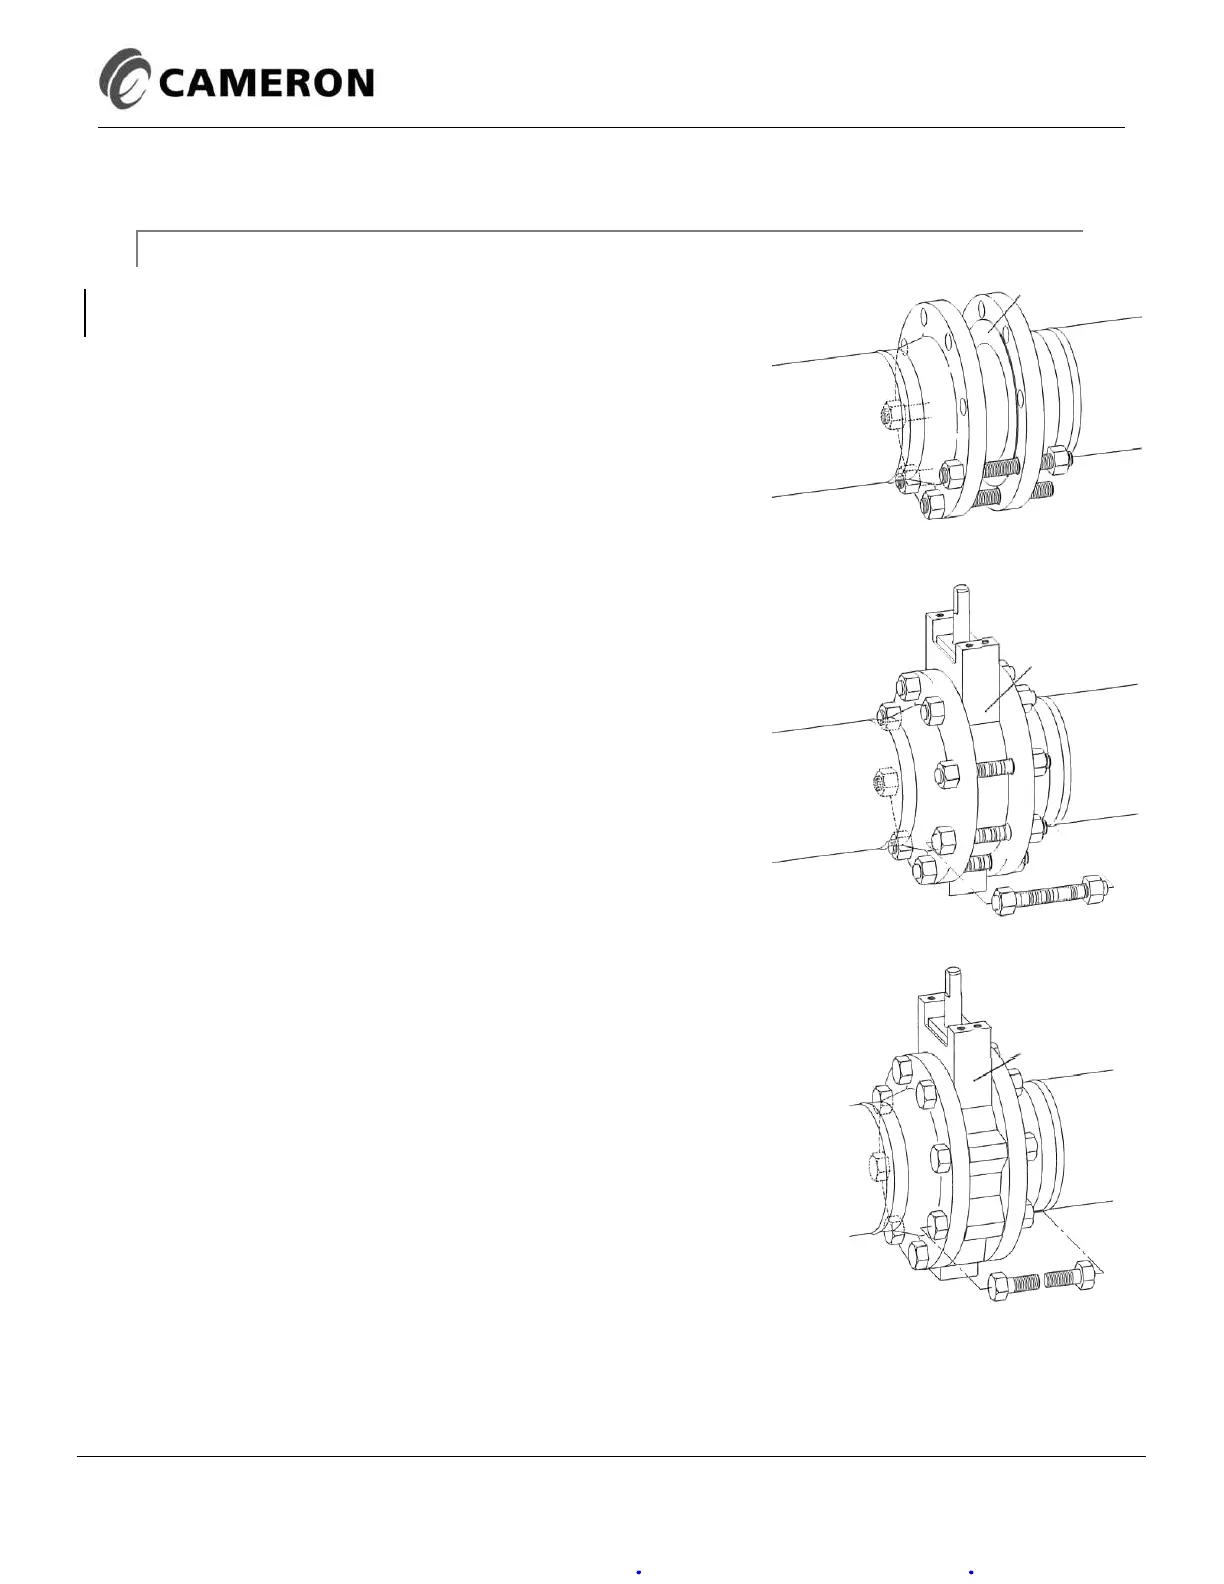
2. When installing wafer body valves, install lower flange bolts
without tightening (Figure 9). Position valve and flange gaskets
between flanges, within the pocket formed by the flange bolts.
Install the remaining flange bolts, taking care that the gaskets are
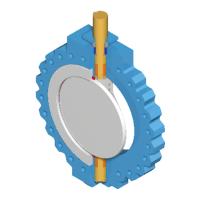
centered on the flange faces (Figure10). Note: While the WKM
DynaCentric MB High Performance Butterfly Valve has bi-
directional sealing capabilities, the preferred position is seat
upstream (Figure 6). Handle operated valves or fail close valves
should be installed seat downstream (stem side facing flow).
3. Lug body valves should be positioned between the flanges with
gaskets properly centered and then the capscrews inserted
(Figure 11).
4. Carefully check disc clearance by placing the valve in the full
open position. Should automated valves be difficult or impossible
to cycle, check that the raised face of the flange matches the
raised area on the valve face.
5. Tighten all bolts or capscrews in a crossover or star pattern to
insure even sealing (Figures 10 and 11).
6. Packing gland tightness is set at the factory. Should stem leakage
occur at start-up, the gland nuts can be adjusted to stop the leak.
Avoid over tightening, which could result in excessive
operating torque or premature packing wear.