5
Installation
Installing the cooker hob
The kitchen area should be dry and aired and equipped with efficient ventilation.
When i nstalling t he ce ramic, eas y access to a ll co ntrol e lements should b e
ensured.
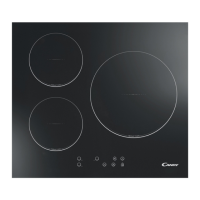
This is a Y -type desi gn bu ilt-in ce ramic, which means that i ts back w all and on e
side wall can be placed next to a high piece of furniture or a wall .Coating or
veneer use d on f itted f urniture m ust be appl ied w ith a heat -resistant ad hesive
(100℃).This prevents surface deformation or detachment the coating.
Hoods should be installed according to the manufacturer’s instructions.
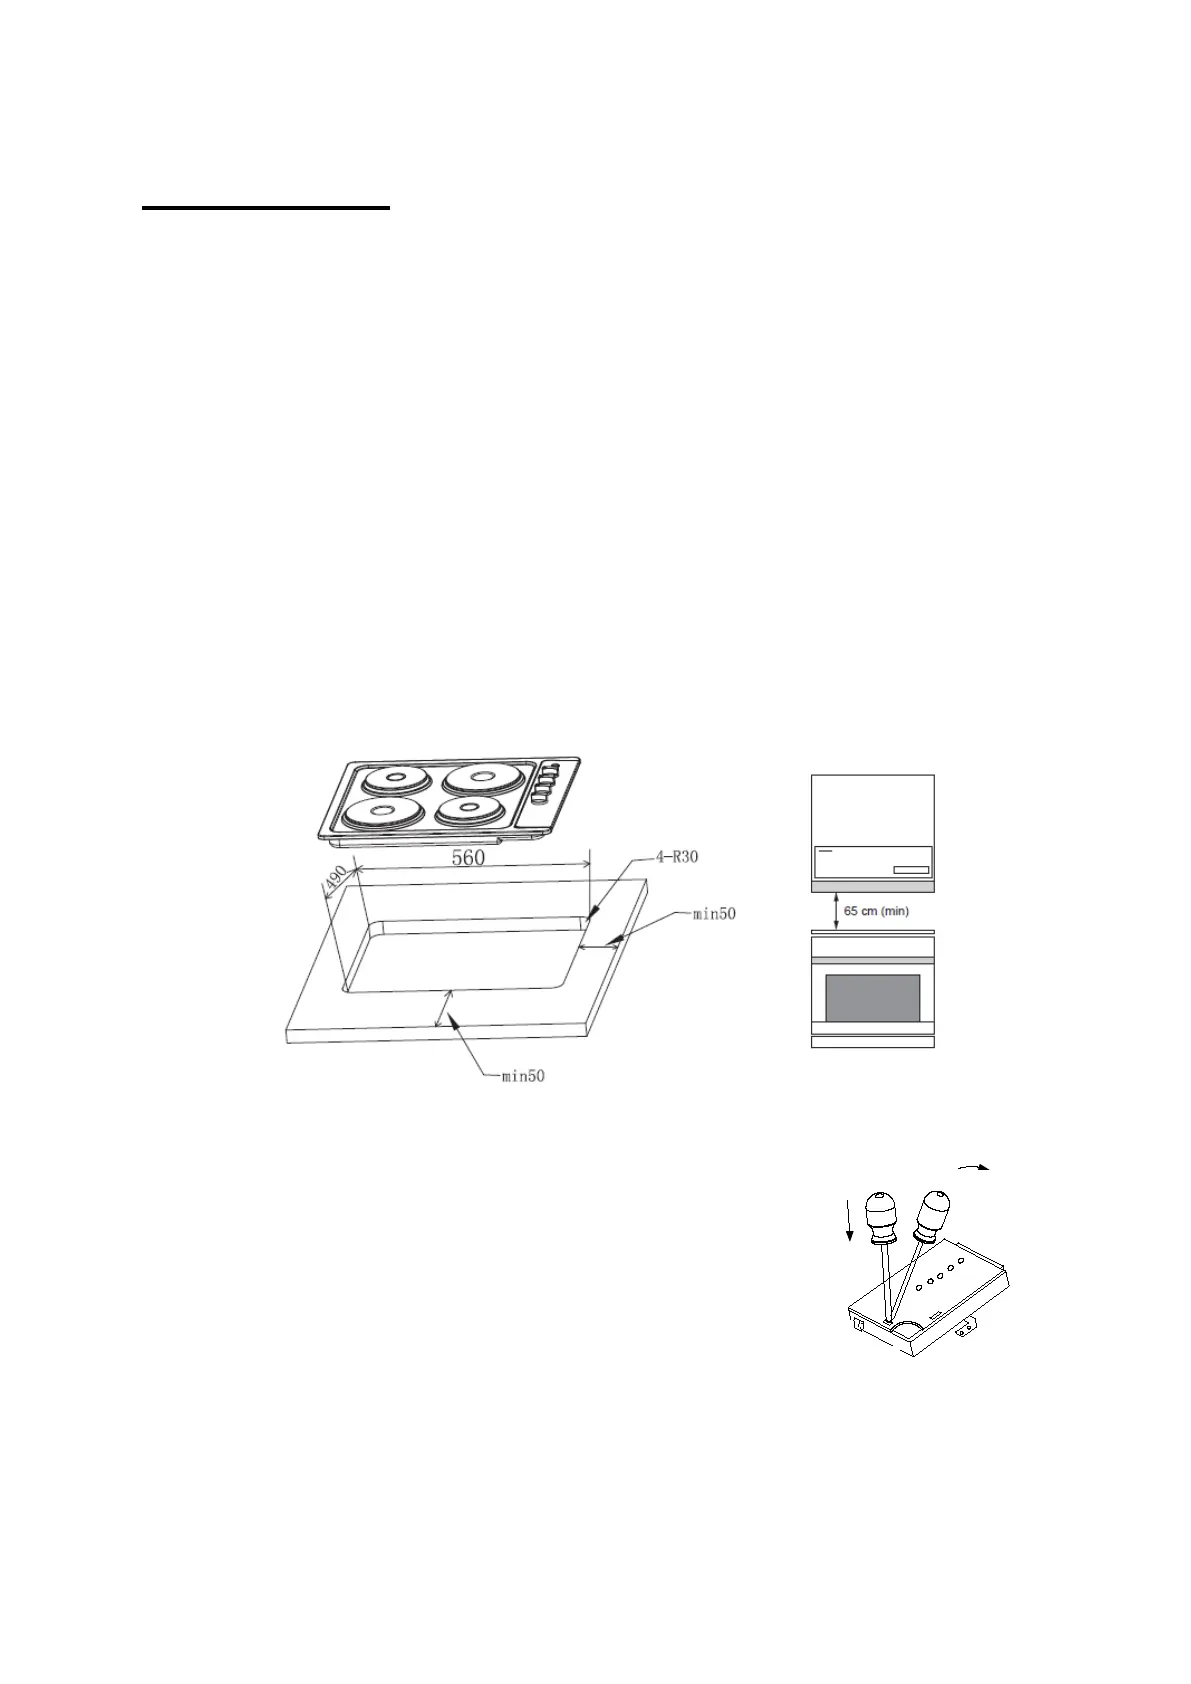
Assembly of cooker hob :
Make an o pening w ith t he dimensions given i n t he diagram f or t he ho b t o be
mounted on the worktop.
Check seal for perfect f it and ov erall cover. Lower the electric hob into place and
align correctly.
Using a st andard scr ewdriver, t ighten t he t ension cl amps evenly st arting at t he
centre and moving diagonal, until the built-in rim is tight on the worktop.
Fitting guidelines
The cooker hob is manufactured to work with two-phase
alternating current (400V2N~50Hz).The voltage rating of
the cooker hob heating elements is 230V. Adapting the
cooker hob to operate with one-phase current is possible by
appropriate bridging in the connection box according to the
connection diagram below. The connection diagram is also
found on the cover of the connection box. Remember that
the connection wire should match the connection type and
the power rating of the cooker hob.
The connection cable must be secured in a strain-relief clamp.