GB 09
3. Use of the Oven
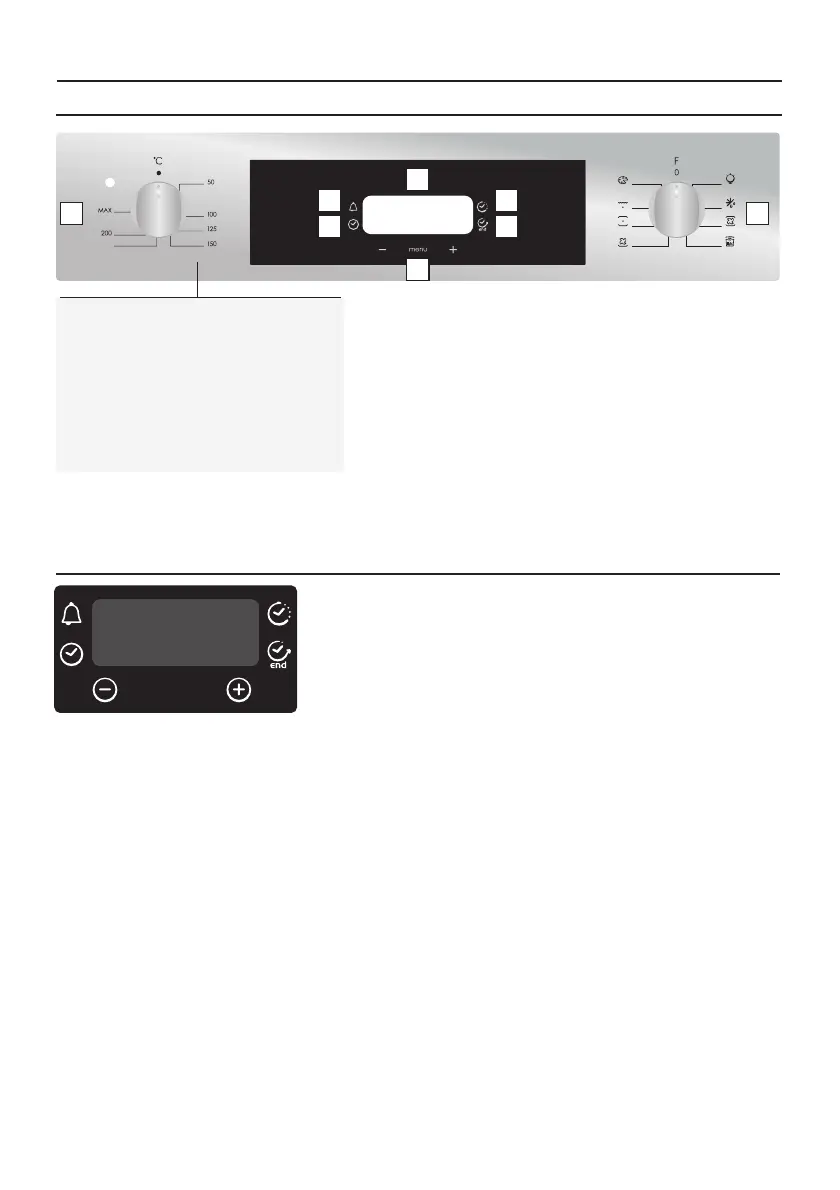
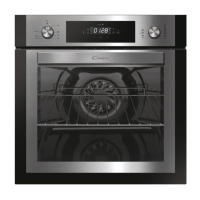
3.1 Display description
WARNING: the first operation to carry out after the oven has been
installed or following the interruption of power supply (this is
recognizable the display pulsating and showing ) is setting12:00
the correct time. Thisis achieved asfollows.
•Pushthe centralbutton 4 times
•Set timewith "-" "+" buttons.
•Releaseall buttons.
ATTENTION: The ovenwill only operate providing the clockis set.
00:00
select
3.2 Setting the correct time
175
7
1
2
3
4
5
6
8
WARNING!
The first operation to carry out after installation, or after a
power cut, is to set the time of day (a power cut has occured
if thedisplay is flashing12:00).
200°-> The temperature LED “°” flashes until the displayed
temperatureis reached.
HOT -> When a programme finishes, if the oven is still hot,
the display shows "HOT", alternating with the time, even if
the knobsare positionedto OFF.
1. Minute minder
2. Clock setting
3. Cooking time
4. End of cooking
5. Temperature or clock display
6. LCD display adjustment controls
7. Thermostat selector knob
8. Function selector knob
07:40