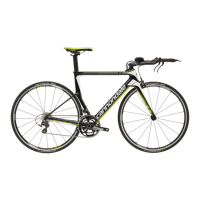
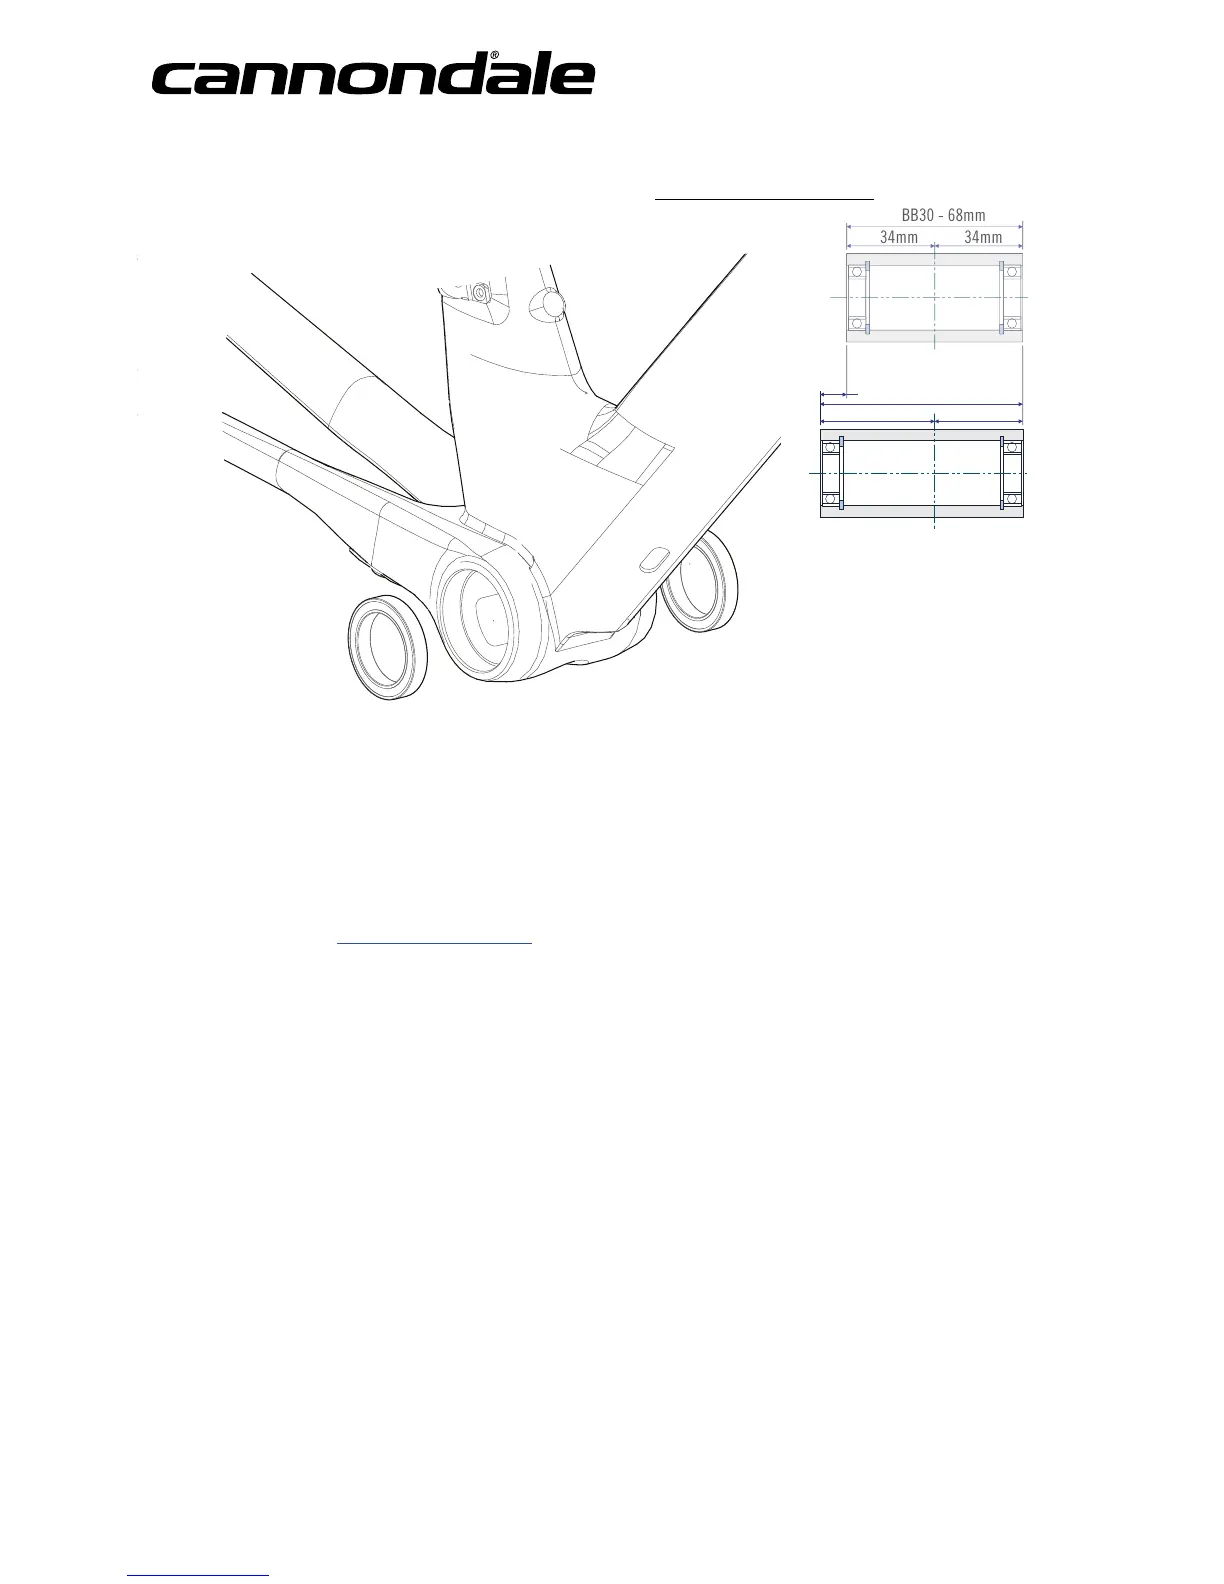
BOTTOM BRACKET
The bottom bracket shell width is BB30-73A cranksets. See www.BB30standard.com.
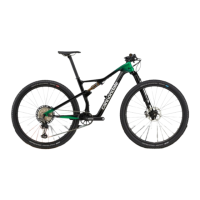
SISL2 Crankset Installation
The following procedure should only be completed
by a professional bike mechanic.
For Loctite instructions: http://tds.loctite.com
1. Connect the SISL2 drive side crankarm to the spiderring.
Apply Loctite 242 to the crankarm spidering interface and
lockring. Tighten the lockring to 47Nm (34 FtLbs) using the
Cannondale special tool KT012/.
2. Apply grease to the drive side end of the 109mm SISL2
spindle and the crankarm spline hole. Also apply grease to
the fixing bolt threads and thin washer. Tighten the fixing
bolt with a 10mm Allen key to 40 Nm, (30 FtLbs).
3. Slide the 2.5mm drive side spacer marked “BB30 SISL2 DRIVE
SIDE SPACER” onto spindle followed by the SL2 bearing shield.
The markings on the shield face out.
4. Apply bearing grease to the spindle and slide drive side crank
arm/spindle into the non-drive side BB bearing. Use a rubber
mallet to tap the crankarm through until the spacer and shield
are seated against the drive side BB bearing.
5. On the non-drive side, slide the bearing shield onto the
spindle end. The markings on the shield face out.
6. Slide the wave washer and one 0.5mm shim onto the spindle.
7. Slide the non-drive side spacer onto the spindle, marking
facing out.
8. Apply bearing grease to the crankarm BB spline hole, spindle
end and the thin washer and fixing bolt threads. Tighten-non
drive the fixing bolt to 40 Nm, (30 FtLbs) and check to see
if wave washer is properly preloaded (still has slight wave
and not loose). If it is loose, remove the crankarm and add
another shim. Up to 3 shims can be used. Add shims as
needed.
9. When the preload is set and the non-drive side fixing bolt is
torqued, you are done.