Do you have a question about the Canon CanoScan LiDE 100 and is the answer not in the manual?
Place the Setup CD-ROM in the drive and follow on-screen instructions for installation.
For Windows Vista, run the setup program from AutoPlay and confirm User Account Control.
Select your language and place of residence when prompted during installation.
Click [Easy Install] on the main menu to start the installation process.
Click [Install] after reading the License Agreement and follow on-screen instructions.
Follow the on-screen instructions for installation, including user registration.
Confirm the Extended Survey Program screen for Windows and click [Agree] if acceptable.
Complete the installation, click [Restart] to reboot the computer and finalize setup.
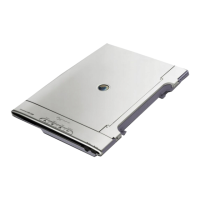
Slide the lock switch on the bottom of the scanner toward the unlock mark before carrying.
Connect the scanner to the computer using the supplied USB cable, noting power activation.
Place a color photo document on the glass, 0.4 in. from edges, then close the cover.
Start MP Navigator EX by double-clicking the Solution Menu icon or its Dock icon.
Click [Photos/Documents (Platen)] and select [Color Photo] in "Document Type".
Click [Scan] to start, avoid moving the scanner, then click [Exit] when scanning is done.
Click [Save] to save the scanned images and close MP Navigator EX.
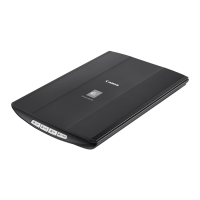
The COPY button prints scanned images with a printer.
The PDF button saves the scanned image as a PDF file.
The SCAN button automatically discriminates document type and saves it.
The E-MAIL button attaches the scanned image to a new e-mail message.
Details scanner type as Flatbed and sensor type as CIS (Color Contact Image Sensor).
Specifies 3-color LED light source and optical resolution up to 2400 x 4800 dpi.
Details scanning bit depth (48-bit input/output) and speeds for color and grayscale.
Specifies Hi-Speed USB interface and maximum document size of A4/Letter.
Lists 4 scanner buttons and the operating temperature/humidity range.
States power is supplied via USB port with low consumption in operation and standby.
Provides exterior dimensions and the scanner's approximate weight.
Compliance statement for FCC Rules, including conditions for operation and interference.
Indicates the product meets ENERGY STAR guidelines for energy efficiency.
Warns about legal issues related to scanning copyrighted or official documents.
Lists trademarks for Microsoft, Macintosh, Apple, Adobe, and ArcSoft.
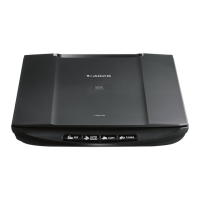
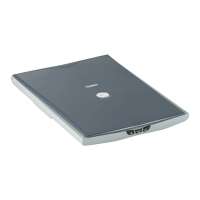
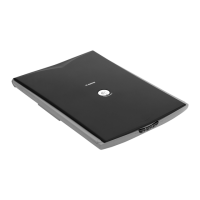
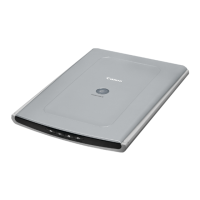
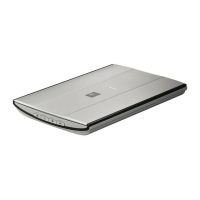
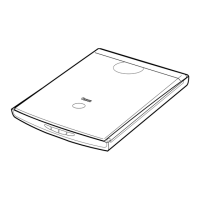
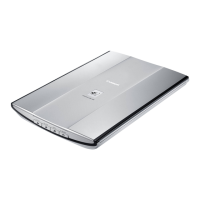
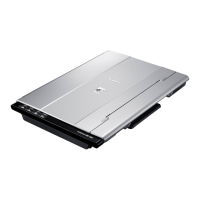
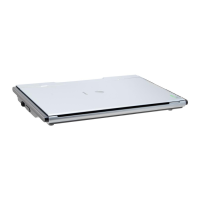
The Canon CanoScan LiDE 100 is a flatbed scanner designed for home and office use, offering a range of features for scanning documents and photos. Its compact design and user-friendly interface make it accessible for various scanning tasks, from simple document archiving to digitizing cherished photographs.
The primary function of the CanoScan LiDE 100 is to convert physical documents and images into digital files. It utilizes a CIS (Color Contact Image Sensor) with a 3-color (RGB) LED light source to capture detailed scans. The scanner supports various document types, including color photos, grayscale images, and black & white documents. It can handle documents up to A4/Letter size (216 x 297 mm).
The scanner is equipped with four dedicated buttons on its front panel: COPY, SCAN, PDF, and E-MAIL. These buttons provide quick access to common scanning functions, streamlining workflows and reducing the need to interact with software on the computer for basic tasks.
The scanner operates without an external power adapter, drawing power directly from the computer via the supplied USB cable. This contributes to a cleaner workspace and enhances portability, as there's one less cable to manage. The device is designed to be energy-efficient, meeting ENERGY STAR® guidelines.
The CanoScan LiDE 100 is designed for ease of use, from initial setup to daily operation.
The installation process emphasizes a specific order: install the software before connecting the scanner to the computer. This prevents potential driver conflicts and ensures a smooth setup. The provided Setup CD-ROM guides users through the installation steps for both Windows and Macintosh operating systems. For Windows Vista, the AutoPlay and User Account Control dialogs are integrated into the process, while Macintosh users will interact with the Setup icon and authentication dialog. The software installation includes an "Easy Install" option for a straightforward setup or "Custom Install" for more control over which programs are installed. After installation, a restart of the computer is required, and the "Solution Menu" will appear (Windows) or be registered in the Dock (Macintosh), providing access to MP Navigator EX and the Scanning Guide.
Before connecting, users must slide a lock switch on the bottom of the scanner to the unlock position. This lock is a maintenance feature designed to protect the scanner's internal components during transport. The scanner is then connected to the computer using the provided USB cable. It's crucial to use only the supplied cable to avoid malfunctions. The scanner powers on automatically once connected to a turned-on computer.
To scan, a document or photo is placed face-down on the document glass, ensuring it's at least 0.4 inches (1 cm) away from the edges. The document cover is then closed. Scanning is typically initiated through the MP Navigator EX software, which can be accessed via the "Canon Solution Menu" icon. Within MP Navigator EX, users can select "Scan/import photos or documents," choose "Photos/Documents (Platen)," specify the "Document Type" (e.g., Color Photo), and then click "Scan." During scanning, it's important not to move the scanner or look directly at the light source. Once scanning is complete, users can save the images.
The scanner integrates with MP Navigator EX, a comprehensive software application that offers more advanced scanning options beyond the hardware buttons. This includes detailed control over scan settings, image adjustments, and organization of scanned files. The "Scanning Guide" (on-screen manual) provides detailed instructions for using ScanGear (the scanner driver), MP Navigator EX, and troubleshooting.
While the manual primarily focuses on setup and usage, it highlights a key maintenance-related feature:
The scanner's design, which relies on USB power, also simplifies maintenance by eliminating the need for a separate power brick, reducing potential points of failure or clutter. The CIS technology itself is generally more robust and less prone to mechanical issues compared to older CCD-based scanners, contributing to lower maintenance needs over time.
The "Scanning Guide" (on-screen manual) serves as a valuable resource for troubleshooting common issues, which can be considered a form of user-level maintenance, empowering users to resolve minor problems without external assistance. This guide covers topics related to ScanGear, MP Navigator EX, scanner buttons, and general troubleshooting, helping users maintain optimal performance of their device.
| Film scanning | No |
|---|---|
| Color scanning | Yes |
| Input color depth | 48 bit |
| Maximum scan size | 216 x 297 mm |
| Optical scanning resolution | 2400 x 4800 DPI |
| Flatbed scan speed (b/w, A4) | 14 sec/page |
| Scanner type | Flatbed scanner |
| Sensor type | CIS |
| Dimensions (WxDxH) | 250 x 370 x 40 mm |
| Compatible operating systems | Windows Vista, XP SP2, 2000, Mac OS X v.10.3.9, v.10.4, v.10.5 |
| Power consumption (standby) | 1.4 W |
| Power consumption (typical) | 2.5 W |
| Operating temperature (T-T) | 5 - 35 °C |
| Operating relative humidity (H-H) | 10 - 90 % |
| Weight | 1600 g |
|---|