Do you have a question about the Canon CanoScan LiDE 25 and is the answer not in the manual?
Steps for installing the CanoScan Setup Utility on Windows systems via CD-ROM.
Steps for installing the CanoScan Setup Utility on Macintosh systems via CD-ROM.
Starting PhotoStudio and selecting the scanner as the image source.
Using ScanGear CS for previewing, scanning, and saving the final image.
Explains the functions of COPY, PDF, SCAN, and E-MAIL buttons on the scanner.
Details warranty service, FCC compliance, and legal notices for scanner operation.
This document serves as a Quick Start Guide for the Canon CanoScan LiDE 25 and LiDE 60 color image scanners, providing essential information for setup, basic operation, and troubleshooting. It covers everything from unpacking the device to performing the first scan and utilizing its various features.
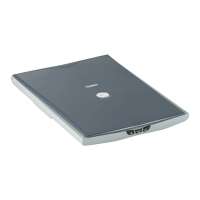
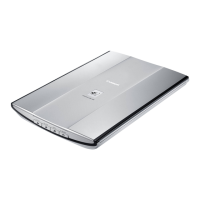
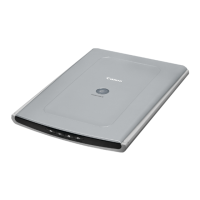
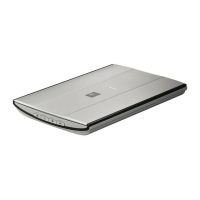
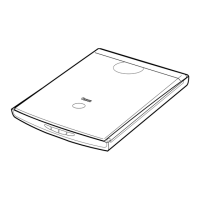
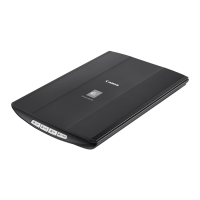
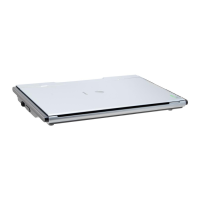
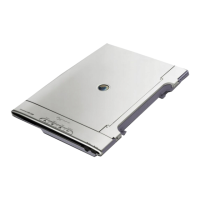
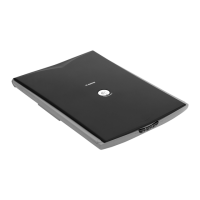
The primary function of these devices is to scan documents and images, converting physical media into digital files. Both models are flatbed scanners, designed for ease of use and integration with personal computers. The CanoScan LiDE 60 offers additional features, such as a stand for upright scanning and a dedicated PDF button, enhancing its versatility.
The first step involves checking the package contents to ensure all necessary components are present: the scanner itself, the Quick Start Guide, a CanoScan Setup Utility CD-ROM, a USB interface cable, and for the LiDE 60, a stand.
Software installation is straightforward, guided by the CanoScan Setup Utility CD-ROM. For Windows users, inserting the CD-ROM should auto-start the setup menu. If not, manual navigation through "My Computer" to the CanoScan CD-ROM and then the "Setup" icon will initiate the process. Macintosh users will double-click the CanoScan LiDE 25 or LiDE 60 CD-ROM icon, followed by the "SetUp" icon. Once the main menu appears, users click "Install" and follow the on-screen prompts. A restart is required after successful installation to finalize the process.
Before use, the scanning unit must be unlocked. This is achieved by pushing the lock switch to the unlock mark. It's crucial not to tilt the scanner more than 90 degrees from horizontal when releasing the lock to prevent damage.
Connecting the scanner to the computer is done using the supplied USB interface cable. It's important to use only the provided cable to avoid malfunctions. The scanner does not have a separate power switch; it activates automatically as soon as the computer is turned on. For CanoScan LiDE 60 users connecting to a USB 1.1 port on Windows XP, a "HI-SPEED USB Device Plugged into non-HI-SPEED USB Hub" message might appear; this message can be ignored as the scanner will operate without issues.
To perform a scan, an item is placed onto the document glass. The scanning process is initiated by starting ArcSoft PhotoStudio, the bundled image editing program. For Windows users, PhotoStudio can be launched from the "Start" menu, navigating through "All Programs" to "ArcSoft PhotoStudio 5.5" and then "PhotoStudio 5.5." Macintosh users will find it in the "Applications" folder, then the "PhotoStudio" folder, and finally the "PhotoStudio" icon.
Once PhotoStudio is open, users select the scanner model from the "File" menu under "Select Source." The acquire icon or "File" menu > "Acquire" will launch ScanGear CS, the scanner driver interface. Within ScanGear CS, users select a "Select Source" option and click "Preview" to see a preliminary scan. Finally, clicking "Scan" will initiate the final scan. After the scan is complete, the ScanGear CS window can be closed (using the close box for Windows or the red button for Macintosh), and the scanned image can be saved in PhotoStudio. For more detailed information on ScanGear CS, users can refer to the Scanning Guide (HTML format manual) by clicking the dedicated button.
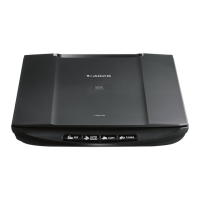
Both models feature several buttons for quick access to common functions:
The CanoScan LiDE 60 includes an additional button:
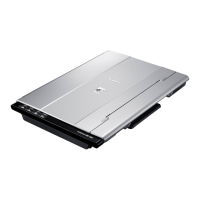
The CanoScan LiDE 60 comes with a stand, allowing it to be used in an upright position, which can save desk space. To set it up, the scanner is positioned directly above the stand at a slight angle. It is then adjusted into an upright position until a latch clicks into place, securing it. Further details on using the scanner with the stand are available in the Scanning Guide (HTML format manual).
For comprehensive information on all scanner features, advanced settings, and troubleshooting, users are directed to the Scanning Guide (HTML format manual). This guide can be accessed by double-clicking the "Scanning Guide" icon. For manuals pertaining to the bundled application programs (in PDF format), users can select "Reference Manual" from the main menu of the CanoScan Setup Utility CD-ROM.
Maintenance features are not explicitly detailed in this Quick Start Guide, which focuses on initial setup and basic operation. However, the document does mention a warranty card, which is required for repair requests under warranty, and advises users to record information and store it safely. It also states that guaranteed servicing for the equipment will expire five years after production ceases.
The guide also includes important legal warnings regarding scanning certain documents like bank notes or copyrighted materials, advising users to consult legal counsel if uncertain about the legality of scanning specific items.
In summary, the Canon CanoScan LiDE 25 and LiDE 60 are user-friendly flatbed scanners designed for efficient document and image digitization. The Quick Start Guide provides a clear, step-by-step approach to get users up and running quickly, with references to more detailed manuals for advanced features and comprehensive support.
| Color scanning | Yes |
|---|---|
| Maximum scan size | 216 x 297 mm |
| Optical scanning resolution | 1200 x 2400 DPI |
| I/O ports | USB |
| Dimensions (WxDxH) | 256 x 383 x 34 mm |
| Maximum operating temperature range (T-T) | 5 - 35 °C |
| Scanner type | Flatbed scanner |
| Sensor type | CIS |
| Minimum processor | Intel PII (300 Mhz), PowerPC G3 |
| Minimum system requirements | USB poort, CD ROM, 1024 x 768 |
| Power consumption (standby) | 1.4 W |
| Power consumption (typical) | 2.5 W |
| Operating relative humidity (H-H) | 10 - 90 % |
| Weight | 1500 g |
|---|