For details
"Setting Up Using the Setup Guide" in the User's Guide
3.
TakenoteoftheSSIDandnetworkkey.
•Checkthelabelontherouter.
User's Guide
•Thesettingoperationiseasieriftherouteris
provided with a WPS mark.
User's Guide
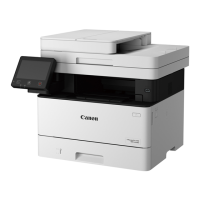
4.
Set the access point and network key
according to the screen below.
1. Select<OK>.
2. Select<SSIDSettings>.
3. Select<SelectAccessPoint>.
4. Selecttheaccesspoint(SSID),andselect
<Next>.
5. Select<OK>.
6. Enteranetworkkey,andselect<Apply>.
7. Select<Yes>.
•Waituntilmessage<Connected.>is
displayed.
8. Select<Close>.
•TheIPaddresswillbeautomatically
configured in a few minutes.
5.
Install the driver and software.
P.10 "Installing the software"
Now you are finished with the
configuration of the initial settings.
If your machine is provided with the fax
function, proceed to configuring
the fax settings.
P.11
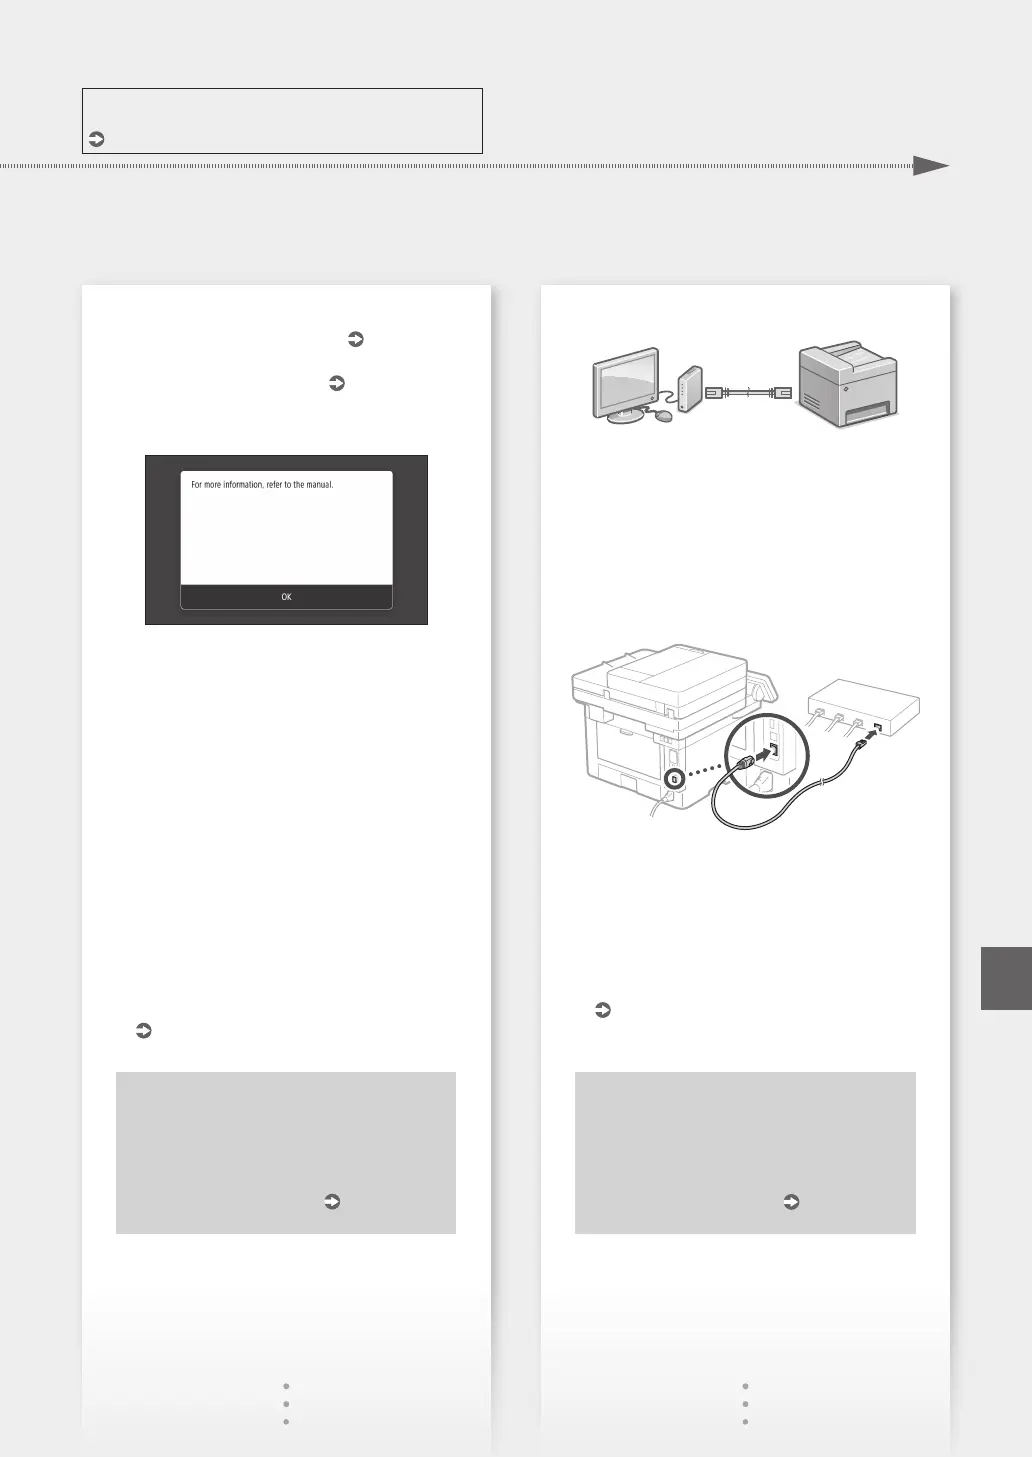
To connect via wired LAN
The machine does not come with a LAN cable.
Please have one ready, if necessary.
1.
Make sure that the computer is connected to a
router properly.
2.
Check the network settings on the computer.
3.
Connect the LAN cable.
•Afterconnectingthecable,waitafewminutes
(until the IP address is set automatically).
•IfastaticIPaddresshasbeensetonthe
computer, set the machine's IP address
manually.
4.
Install the driver and software.
P.10 "Installing the software"
Now you are finished with the
configuration of the initial settings.
If your machine is provided with the fax
function, proceed to configuring
the fax settings.
P.11
9
Quick Setup
En