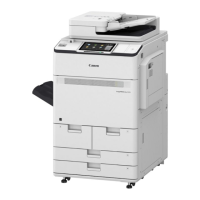
7. Press [Output Test Page] > [Start Printing]. ( Test Page 2 is output showing mark numbers.)
8. View the output test page 2 and confirm that there is no uneven density.
9. Press [Store and Finish].
10. Press [OK] and exit the [Correct Shading] screen.
11. Execute the Auto Gradation Adjustment (Full Adjust) again.
■ To perform Visual Correction
1. Press [Visual Correction] > [Output Test Page] > [Start Printing]. (Test Page 2 is output showing mark numbers.)
2. Visually inspect the test page and determine proper density adjustment values.
3. Press [Fine Adjust] for the color that requires adjustment.
4. Select the number that requires adjustment, enter the density value, and press [OK].
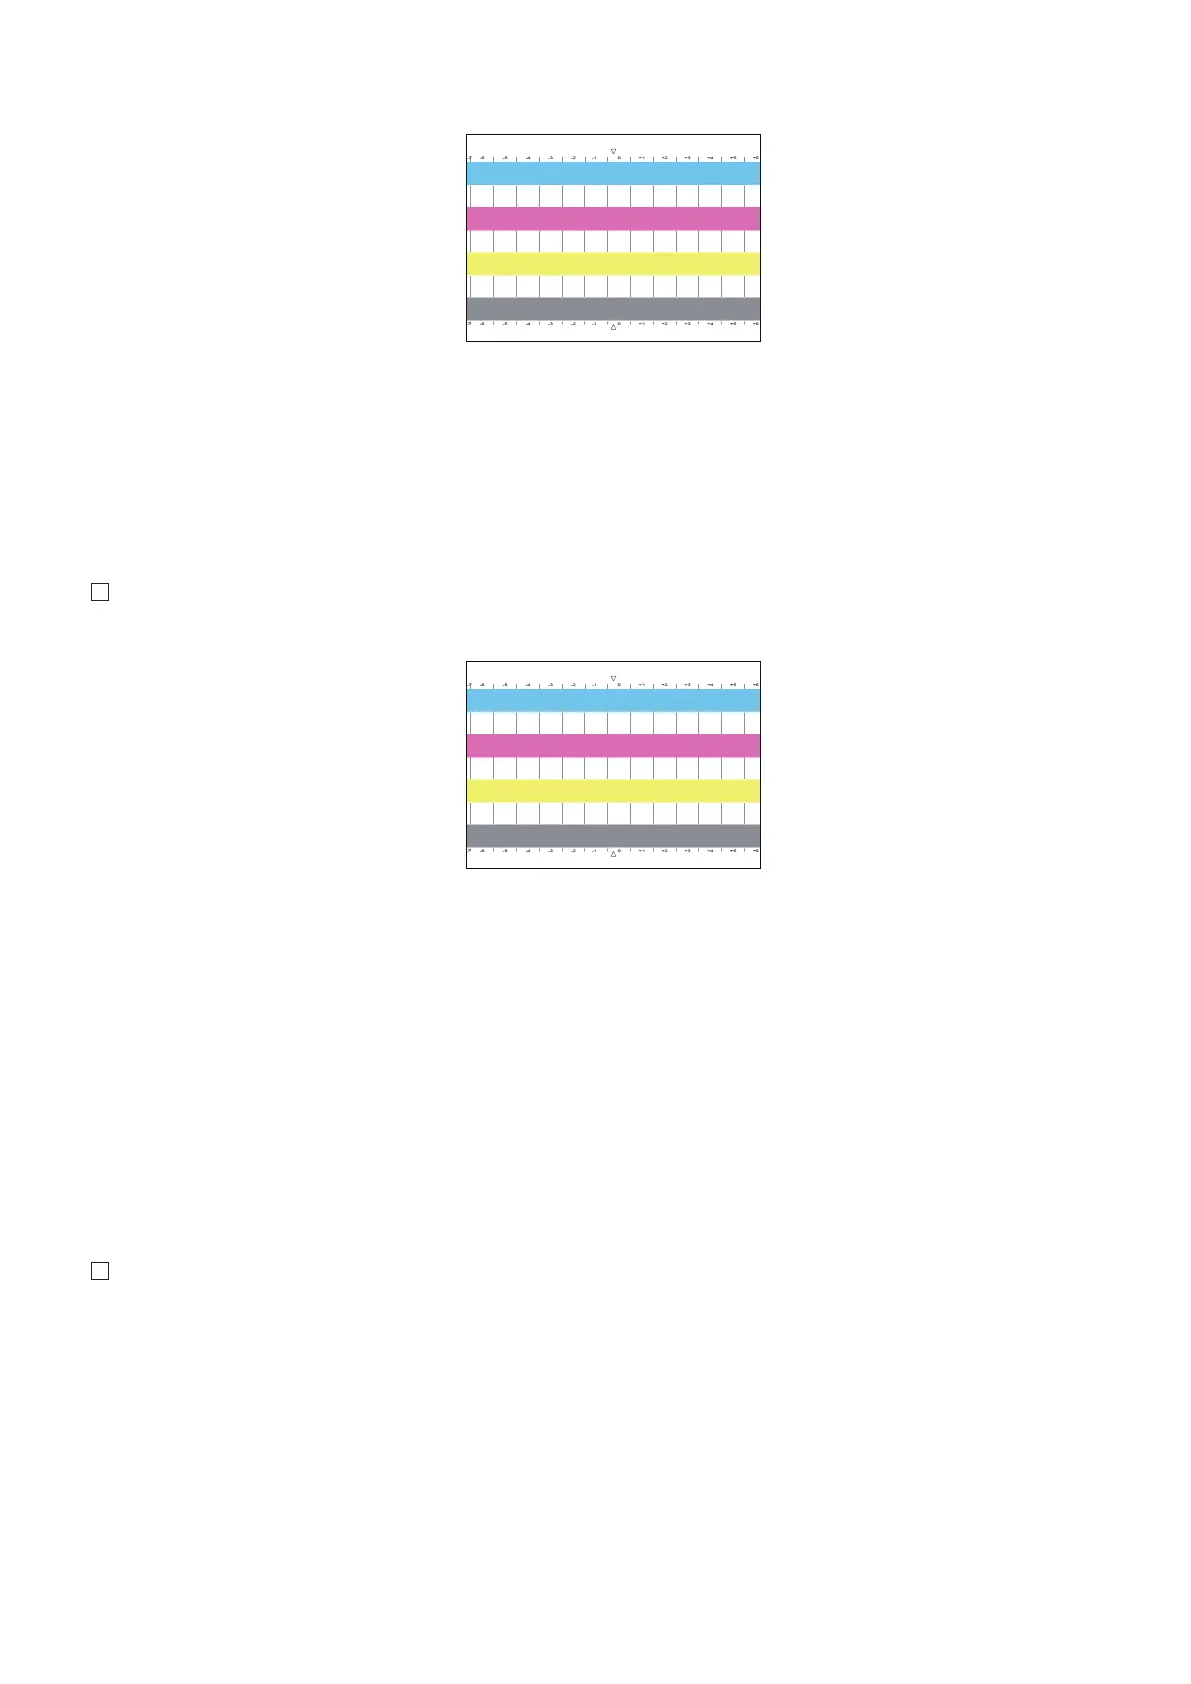
5. Press [Output Test Page] > [Start Printing]. (Test page 2 is output.)
6. View the output test page 2 and confirm that there is no uneven density.
7. Press [Store and Finish].
8. Press [OK] and exit the [Correct Shading] screen.
9. Execute the Auto Gradation Adjustment (Full Adjust) again.
■ To perform Scanner Correction
1. Press [Scanner Correction] > [Start Printing]. (Test page is output.)
2. Place the test page on the Copyboard Glass.
3. Close the feeder, and press [Start Printing].
4. Place the test page on the platen glass.
2. Host Machine
77
 Loading...