Note
•
To load new paper in the printer at this point, see "Loading Rolls in the Printer." ➔ P.15
•
Clean inside the top cover before loading paper.
(See "Cleaning Inside the Top Cover.") ➔ P.51
Removing rolls from the Roll 2 (Lower) position
1
On the Tab Selection screen of the Control Panel, press ◀ or
▶ to select the Paper tab (
).
Note
•
If the Tab Selection screen is not displayed, press the Menu button.
2
Press the OK button.
The Paper Menu is displayed.
3
Press ▲ or ▼ to select Remove Roll, and then press the OK button.
4
Press ▲ or ▼ to select Roll 2 (Lower), and then press the OK button.
5
Press ▲ or ▼ to select Yes, and then press the OK button.
The roll is rewound.
Important
•
If you have selected ManageRemainRoll >
On in the Control Panel menu, a barcode is
printed on the leading edge of the roll.
Do not remove the roll before the barcode is
printed. You will be unable to keep track of
the amount of roll paper left. (See "Keeping Track of the Amount of Roll Paper Left.") ➔ User's Guide
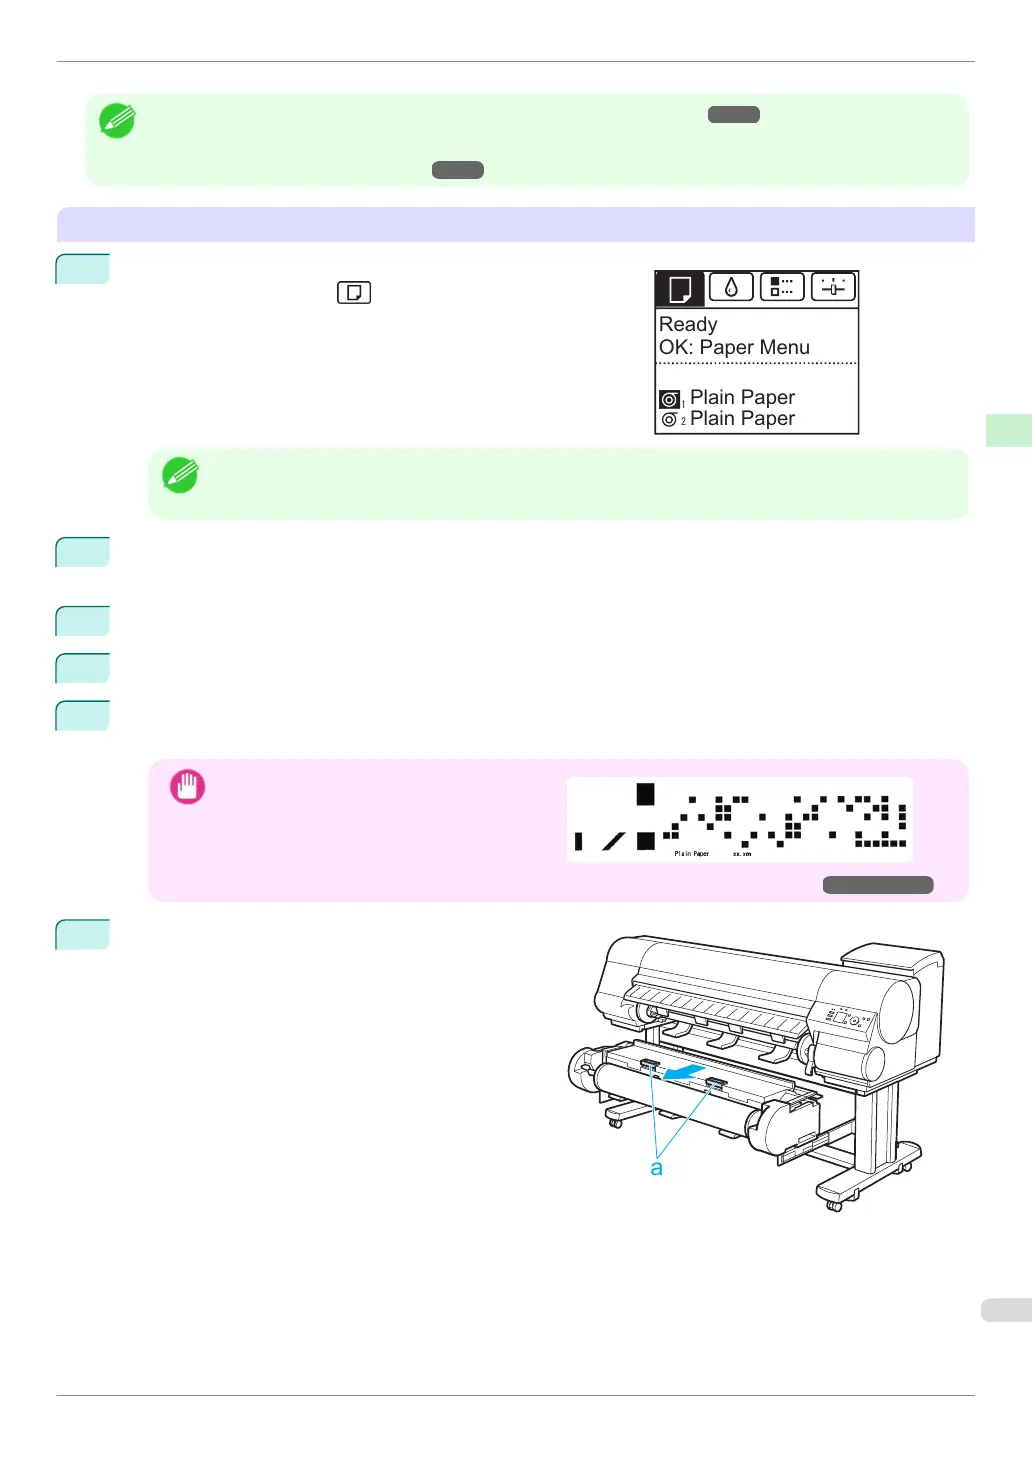
6
Check that "No Paper Loaded" is displayed on the
Display Screen, and then grasp the Roll Unit Lever
(a) and pull out the Roll Unit.
Ready
Plain Paper
OK: Paper Menu
Plain Paper
iPF840 Series
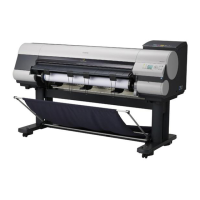
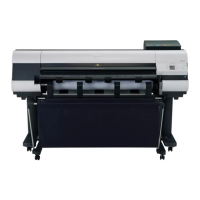
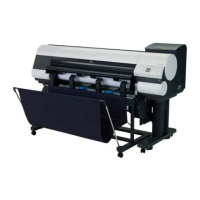
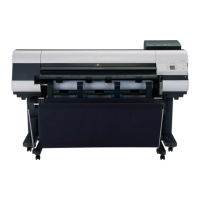
Removing the Roll from the Printer
Basic Guide
Handling Paper Handling rolls
23
 Loading...