2-2
imagePROGRAF HDI Driver Guide
Printing
5. Perform the settings that you need for the print job.
6. Click the OK button to close the Plotter Configuration Editor dialog box.
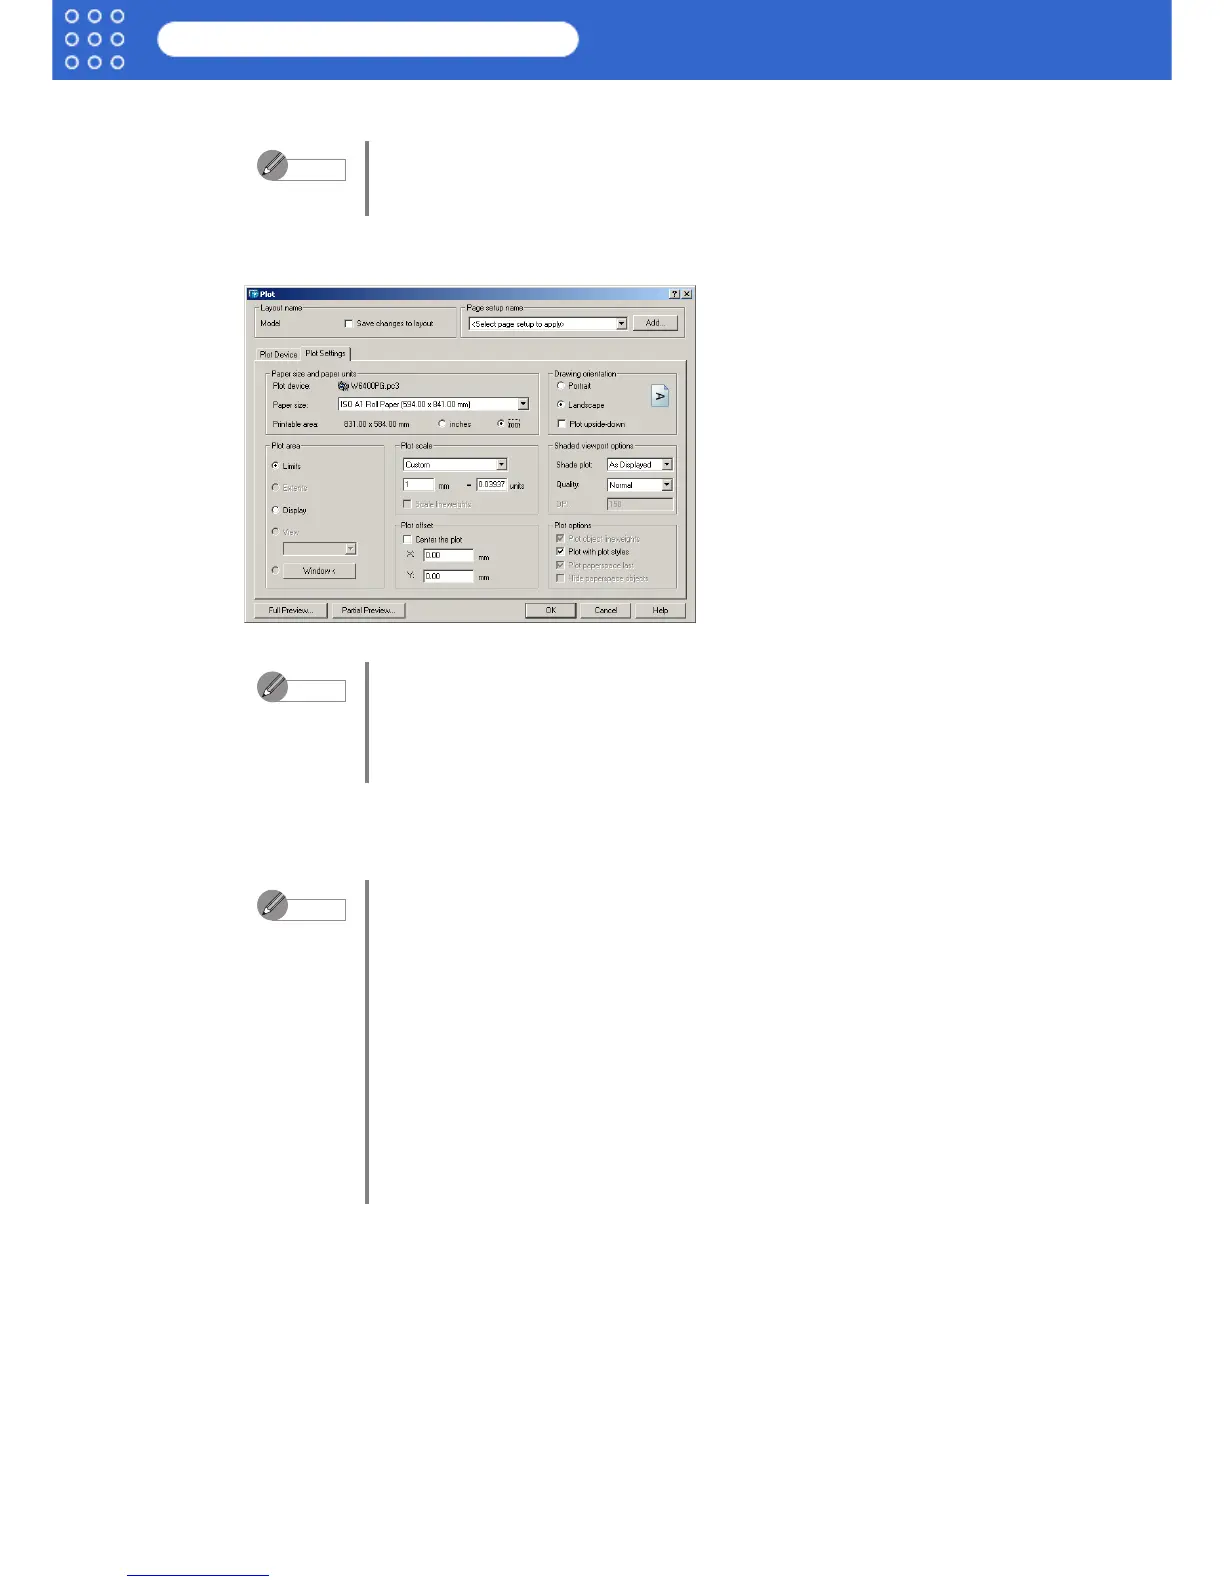
The Plot dialog box opens.
7. Perform the settings that you need on the Plot Settings and Plot Device sheets, then click
the OK button.
The print job begins.
For more details about how to perform the settings in the Plotter
Configuration Editor dialog box, please refer to Chapter 3, “Setting Up a
Print Job” (p.3-1).
• The content of the settings done in the Plotter Configuration Editor
dialog box are reflected in the Paper size and paper units settings on
the Plot Settings sheet of the Plot dialog box.
• For more details about the Plot dialog box, please refer to the AutoCAD
manual.
• If the output exceeds the number of pixels prescribed for the media, in
order to prevent AutoCAD from hanging up during the print job a warning
dialog box opens and asks if you want to lower the resolution or reduce
the number of colors. If this occurs, click the OK button to cancel the
print job and then lower the resolution or reduce the number of colors.
• Some media may not allow printing with certain resolution settings. If you
have selected a resolution setting that cannot be used for printing, then a
dialog box will open and prompt you to change the resolution. If this
occurs, click the OK button to cancel the print job and then lower the
resolution.
• A message from AutoCAD is displayed when printing starts. Press the
OK button to execute the print job. This message display can be
disabled with the Options setting in the AutoCAD Tools menu. For more
details, please refer to the AutoCAD manual.
Note
Note
Note
 Loading...