How to Use the e-Manual
How to Install the e-Manual
This section describes how to install the e-Manual.
■ Windows
1. Insert the User Software CD-ROM in your computer.
2. Select the language for the e-Manual.
3. Click [Custom Installation].
4. Select [USB Connection], and click [Next].
5. Clear all the check boxes except for [Manuals].
6. Click [Install].
7. Read the License Agreement, and then click [Yes] to
agree.
The e-Manual is saved in the [Program Files] folder on
your computer. If the shortcut icon created on the
Desktop or if the [index.html] file is double-clicked, the
e-Manual is displayed.
■ Macintosh
1. Insert the User Software CD-ROM in your computer.
2. Open the [Documents] folder.
3. Drag and drop the [MF Guide] folder into a location
where you want to save it.
4. When displaying the installed e-Manual, double-click
[index.html] in the saved [MF Guide] folder.
If the CD-ROM Does Not Start
The CD-ROM auto run function may be disabled. In this
case, you must perform the following procedure.
■ Windows 8/Server 2012
1. Display the desktop → click the explorer icon on the
taskbar.
2. Click [Computer].
3. Double-click the CD-ROM icon.
4. Double-click [MInst.exe].
■ Windows Vista/7/Server 2008
1. Click [Start] on the Windows taskbar → click
[Computer].
2. Double-click the CD-ROM icon.
3. Double-click [MInst.exe].
■ Windows XP/Server 2003
1. Click [Start] on the Windows taskbar → click [My
Computer].
2. Double-click the CD-ROM icon.
3. Double-click [MInst.exe].
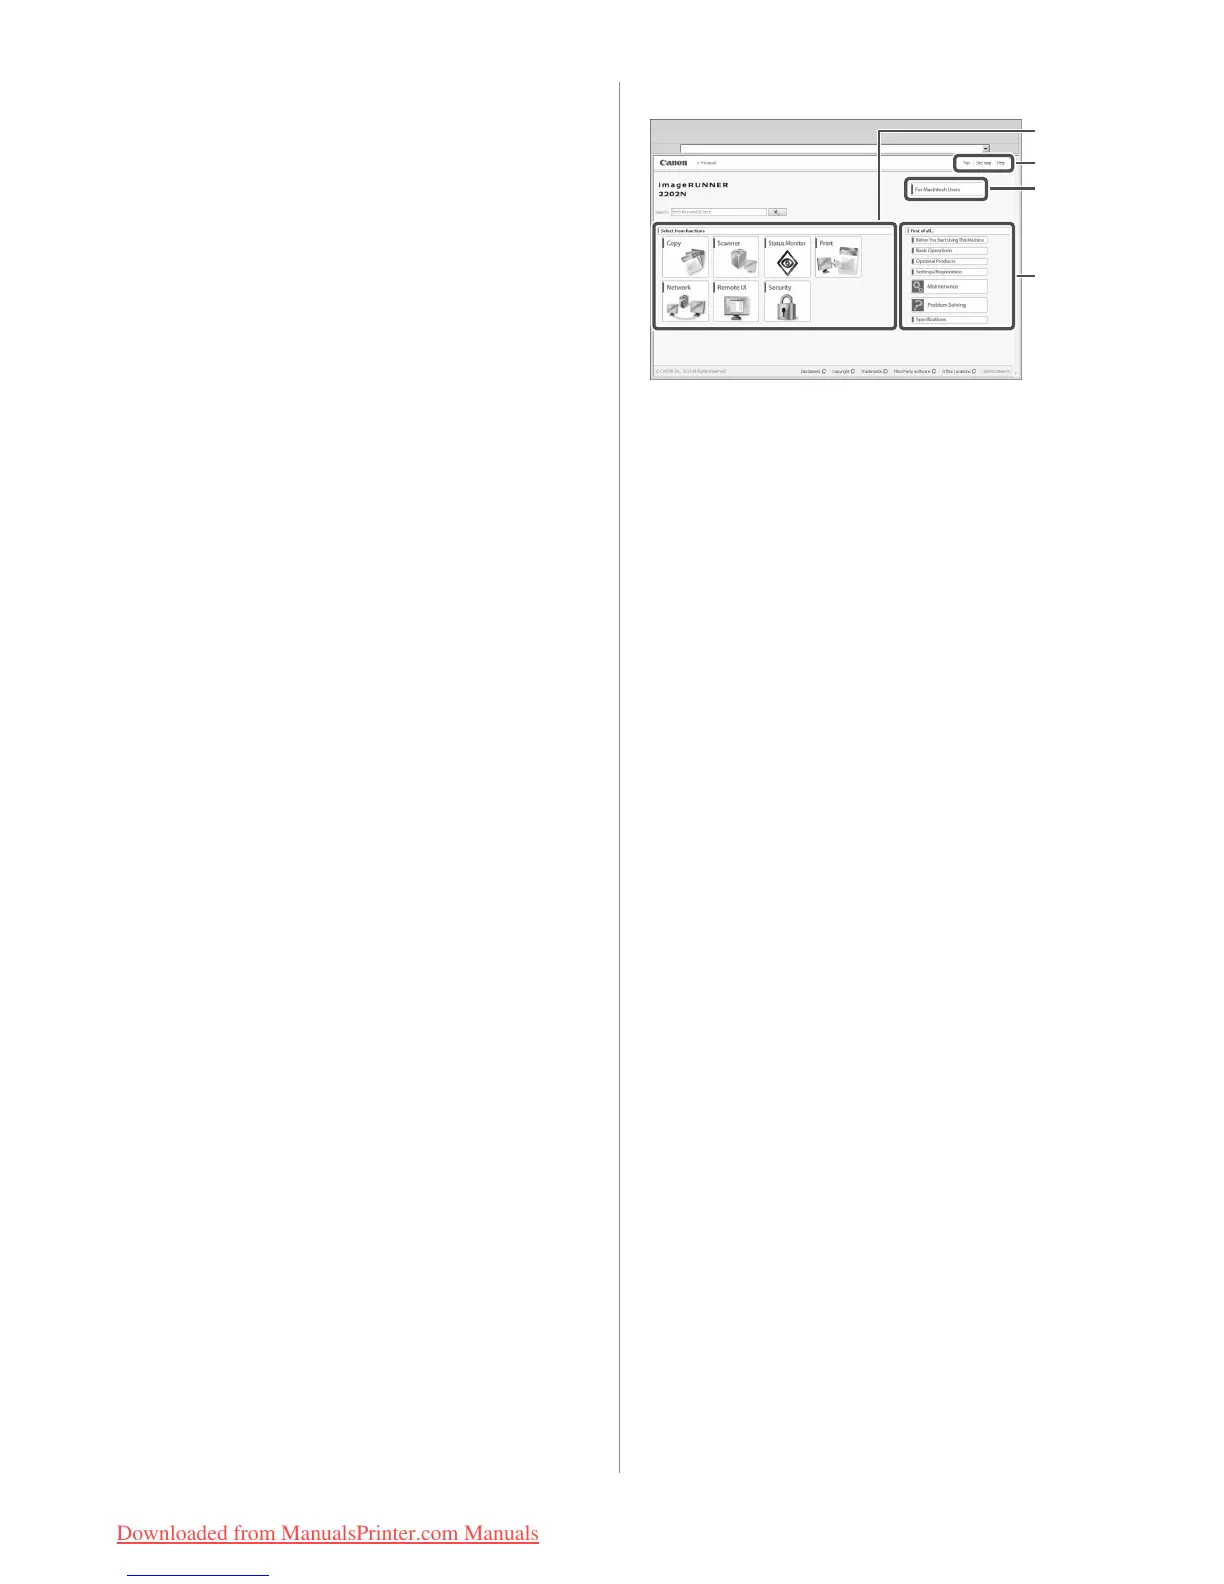
Top Page of the e-Manual
2
4
3
1 Select from functions
The instructions for each function and operation
method are described.
2 [Top], [Site map], [Help]
Links to the e-Manual's top page, site map, and help are
displayed.
3 [For Macintosh Users]
Click to view precautions when using Macintosh.
4 First of all...
This section contains required information needed to
use the machine, and information on optional products.
Downloaded from ManualsPrinter.com Manuals
 Loading...