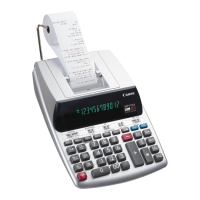
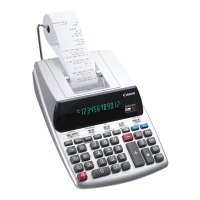
This document is a user manual for the Canon MP41DHII calculator, providing instructions and specifications in English, French, Spanish, and Portuguese.
Function Description
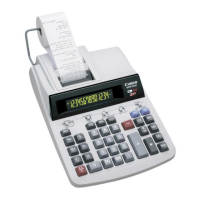
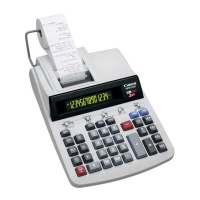
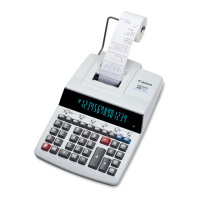
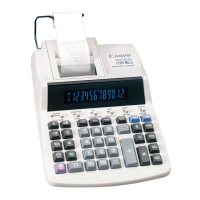
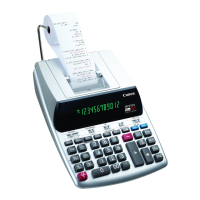
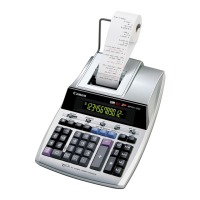
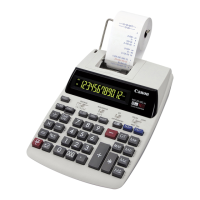
The Canon MP41DHII is a printing calculator designed for various arithmetic operations, including addition, subtraction, multiplication, and division. It features specialized functions for business and financial calculations.
Key Functions:
- Decimal Point Selector Switch: Allows users to designate the decimal point position for calculated results. Options include floating decimal point (F), add-mode (+), and fixed decimal positions (0, 2, 3, 4, 6).
- F (Floating Decimal Point): Prints or displays all effective numbers up to 14 digits.
- + (Add-Mode): Performs addition and subtraction with an automatic 2-digit decimal, convenient for currency calculations.
- Rounding Switch: Used for rounding up (↑), round-off (5/4), or round-down (↓) to the pre-selected decimal digits in the result.
- Grand Total / Rate Set Switch:
- Grand Total (GT): Accumulates totals in the grand total memory. Pressing
☑ prints subtotal with "GT+", GT prints intermediate grand total with "G◇", and successive presses of GT print the grand total with "GЖ".
- Rate Set: Sets or recalls the TAX rate.
- Item Count Switch (ITEM): Counts and prints the number of calculation items up to 999.
- "n+" position: Counts the number of times
+ and – keys are pressed.
- "n+/–" position: Counts
+ key presses and subtracts – key presses.
- Memory Item Count: In "n+" position, counts
M+ and M- key presses. In "n+/–" position, counts M+ key presses and subtracts M- key presses.
- Print Out of Item Count: When PRINT switch is "ON" and ITEM switch is "n+" or "n+/–", the number of items (up to three digits) can be printed on the left side of the paper by pressing
☑ or ☑ for item count, and M+ or M- for memory item count.
- Power / Print Switch:
- POWER OFF: Turns power off.
- POWER ON / PRINT OFF: Turns power on; entries and results appear on the display but are not printed.
- POWER ON / PRINT ON: Entries and results appear on the display and are printed.
- Tax Calculation Function:
- TAX+: Adds the tax amount to the displayed figure.
- TAX-: Deducts the tax amount from the displayed figure.
- The entered tax rate remains stored even when the calculator is turned off, but is deleted if the plug is disconnected.
- Cost-Sell-Margin Calculation Function: Calculates cost, selling price, and profit margin. Users enter values for any two items to obtain the balance value.
Important Technical Specifications
- Power Source: AC120V, 60Hz
- Operation Temperature: 0°C to 40°C (32°F to 104°F)
- Calculating Capacity: 14 digits maximum
- Dimensions: 355.5mm (L) x 227mm (W) x 82mm (H) / 14" (L) x 8-15/16” (W) x 3-15/64" (H)
- Weight: 1.6 kg (3.53 lb)
- Display: Two-color display (positive results in green, negative in red).
- Paper Roll:
- Width: 57mm (2-1/4”)
- Diameter: Max. 86mm (3-3/8")
- Type: Standard paper 45kg / 1000 sheets / 788 x 1091mm / (99.2lb / 1000 sheets / 31" x 43")
Usage Features
Key Index:
- FEED: Advances paper.
- Right Shift Key (←): Shifts and corrects entered numerals; deletes the last digit on the right with a single press.
- Percent Plus-Minus (%±): Performs percentage, add-on, and discount calculations.
- Sign Change Key (+): Changes the sign (+ or –) of displayed numbers.
- Memory Plus Equal (M+): Obtains calculation result and adds it to memory; also adds a number to memory.
- Memory Minus Equal (M-): Obtains calculation result and subtracts it from memory; also subtracts a number from memory.
- Memory Subtotal (M◇): Obtains intermediate memory calculation results without clearing memory contents.
- Memory Total and Memory Clear (MЖ): Obtains total memory contents and clears them simultaneously.
Important Functions to Remember:
- Clear Entry and Clear (CE/C): Press once to clear the last entered value; press again to clear all entered values except memory. Also clears overflow error.
- Equal (=): Obtains multiplication and division results.
- Non-Add / Subtotal (#): Prints information (dates, serial numbers) that does not affect calculations on the left side of the paper. Also obtains intermediate results.
- Total (☑): Obtains addition and subtraction results.
Overflow Function:
- Indicated by "E" on the display, a dotted line printed, and locked keyboard.
- Occurs when:
- Result or memory content exceeds 14 digits to the left of the decimal point.
- Division by "0".
- Sequential operation speed is faster than calculation processing speed (Buffer Register Overflow).
- Press
CE/C to clear the overflow.
Maintenance Features
General Maintenance:
- Environment: Do not use or leave the calculator in direct sunlight. Avoid areas with rapid temperature changes, high humidity, dust, and dirt.
- Cleaning: Use a dry cloth to clean the casing. Do not use water or detergents.
- Printer: Only use the printer when the paper roll is loaded.
- Interference: Avoid places with iron filings, as they may affect electrical circuits.
- Placement: Do not place anything on top of the machine, especially the printer mechanism.
- Power Off: Turn the calculator off before removing the plug from the electrical outlet.
- Electrical Fault: In case of smoke or other electrical fault, immediately disconnect the plug. The socket outlet should be near the equipment and easily accessible.
- Electromagnetic Interference/Electrostatic Discharge: May cause display malfunction or loss/alteration of memory and tax rate. Disconnect the plug for 30 seconds to restart. After restart, reset the tax rate.
Replacing the Ink Ribbon:
- Turn the power switch off.
- Lift the tab on the back of the printer cover and remove the cover.
- Pinch the ribbon lock (A) and lift ribbon spools off the shafts. Discard old ribbon and spools.
- Separate new ribbon spools between tape and printer head. Guide ribbon around the four positions of the ribbon guide (B) and place spools on shafts.
- Release ribbon locks. Rotate spools if necessary for pegs to seat in spool holder holes.
- Rotate either spool to take up slack, ensuring ribbon is positioned around the four guides. Replace printer cover.
- IMPORTANT: Use only the same type of ribbon spools.
Inserting Printing Paper:
- Lift the paper arm. Cut the edge of the paper as shown.
- Place the new paper roll on the arm, with the paper edge positioned as shown.
- Insert the paper into the slit at the top of the machine.
- Turn the power switch on. Press the
FEED key to advance the paper.