12 13
ASSEMBLY FROM THE BIKEGUARD ASSEMBLY FROM THE BIKEGUARD
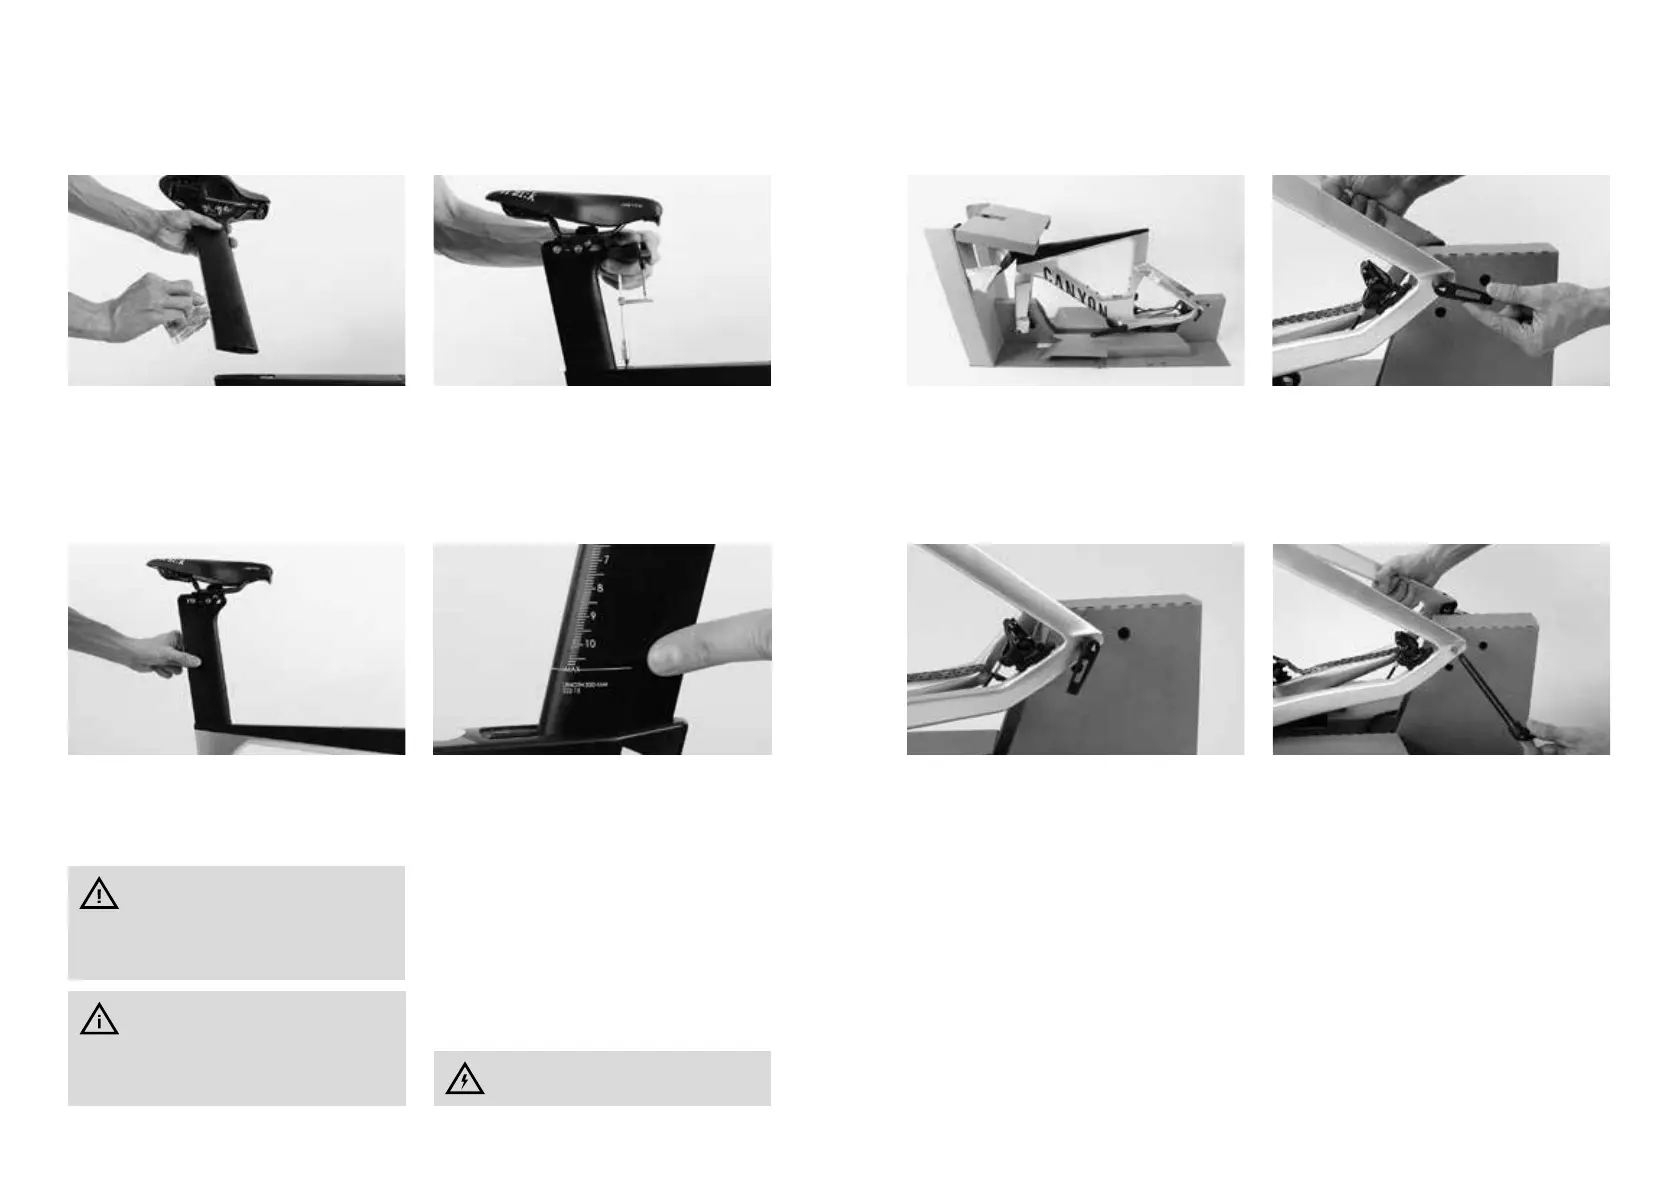
Pull the seat post out again.
Apply a little Canyon assembly paste on on the
bottom part of the seat post, inside the seat tube
of the frame and at the contact area of the clamp
mechanism towards the seat post.
Slide the seat post into the seat tube to the de‑
sired saddle height.
Tighten the Allen bolt of the seat post clamp/
clamp mechanism to a torque value of max. 4Nm.
Never ride your Canyon Speedmax, if the MAX
marking on the seat post is visible.
For more information on the correct saddle height
read the chapter “Adjusting the saddle to the cor-
rect height”.
Measure the saddle height of your previ‑
ous bicycle from the middle of the bot‑
tom bracket up to the top edge of the saddle in
the middle of the saddle. Then transfer the
saddle height to your new Canyon Speedmax.
Do not apply grease or oil on clamping
areas made of carbon!
The Canyon Perfect Positioning System
(PPS) is a tool that helps you nd your
ideal frame size of your Canyon even without
test ride. You nd the PPS on our website at
www.canyon.com
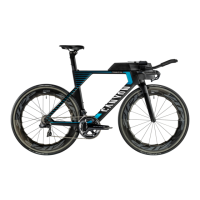
Your Speedmax is attached with the fork and the
rear frame to the protective cardboard carton. Re‑
move the protective cardboard cartons (front and
rear) before mounting the wheels.
WHEEL MOUNTING
The rear frame is attached with the thru axle to
the protective cardboard carton.
Hold your Speedmax tight so that it does not top‑
ple over. Open the thru axle lever at the rear frame
and turn the thru axle anticlockwise.
When the thru axle thread no longer engages, re‑
move the thru axle from the rear frame.