24
Instruction manual C7011G/C7091G/C7071G/C7061G
Please keep this instruction manual for future reference
FLAME SELECTION
Once the burners are adjusted correctly, the flames should be light blue, and the inner cone should
be clearly visible. The size of flame depends on the position of the related burner control knob.
The burner should be set at a large flame during the initial phase of cooking to bring the food to
boiling, and then the knob should be turned to the small flame position to maintain the cooking. It
is also possible to adjust the flame size in smaller adjustments.
IMPORTANT
It is prohibited to adjust the flame in the range between the Burner OFF and Burner ON large
flame positions.
Significant quantities of energy can be saved if the appliance is used correctly, parameters set
correctly, and appropriate cookware is used. The savings can be as follows:
› Up to 60 per cent savings when proper pots are used.
› Up to 60 per cent savings when the unit is operated correctly and the suitable flame size
is chosen.
› Significant energy savings when lids are used on pans.
It is a prerequisite for efficient and energy-saving operation of the hob that the burners are kept
clean at all times (in particular the flame slots and injectors).
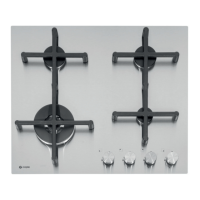
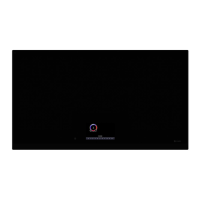
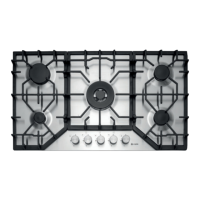
PARTS OF THE APPLIANCE
1. Auxiliary Gas Burners
2. Semi-rapid burner
3. Triple ring burner
4. Ignitor for Gas
5. Safety Device - Activates if the flame accidentally goes out, interrupting the delivery of gas to the burner.
6. Control Knobs for Gas Burners
How to Use Your Appliance
The position of the corresponding gas burner is indicated on each control knob.
Gas Burners
The burners differ in size and power. Choose the most appropriate one for the diameter of the cookware
being used.
The burner can be regulated with the corresponding control knob by using one of the following settings:
Off
High
Low
This hob is equipped with an ignition switch incorporated into the control knob (the
symbol is
located near each knob). To light a burner, simply press the corresponding knob all the way in and, then,
turn it in the counter-clockwise direction to the High setting, keeping it pressed in until the burner lights.
As a safety device is fitted, the knob must be pressed in for about 6 seconds, until the device that keeps the
flame lighted warms up.
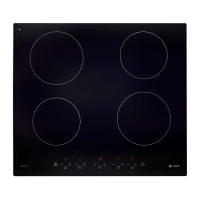
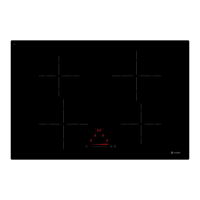
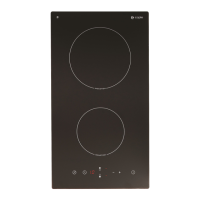
PARTS OF THE APPLIANCE
High
Low
This hob is equipped with an ignition switch incorporated into the control knob (the
symbol is
located near each knob). To light a burner, simply press the corresponding knob all the way in and, then,
turn it in the counter-clockwise direction to the High setting, keeping it pressed in until the burner lights.
As a safety device is fitted, the knob must be pressed in for about 6 seconds, until the device that keeps the
flame lighted warms up.
Burner ON, large flame Burner ON, small flame Burner OFF
 Loading...