40MBFAQ: Installation Instructions
Manufacturer reserves the right to change, at any time, specifications and designs without notice and without obligations.
13
Bottom Mounting Plate Installation
Installation with a baseboard
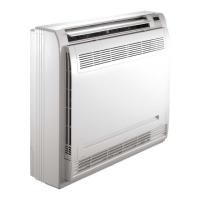
If there is a baseboard (see Figure 20) along the intended installation location, the
bottom mounting plate (see Figure 21) needs to be straightened for unit
installation. Use a pair of needle nose pliers (or a sheet metal hand seamer) to
straighten the bottom mounting plate and then secure to the baseboard.
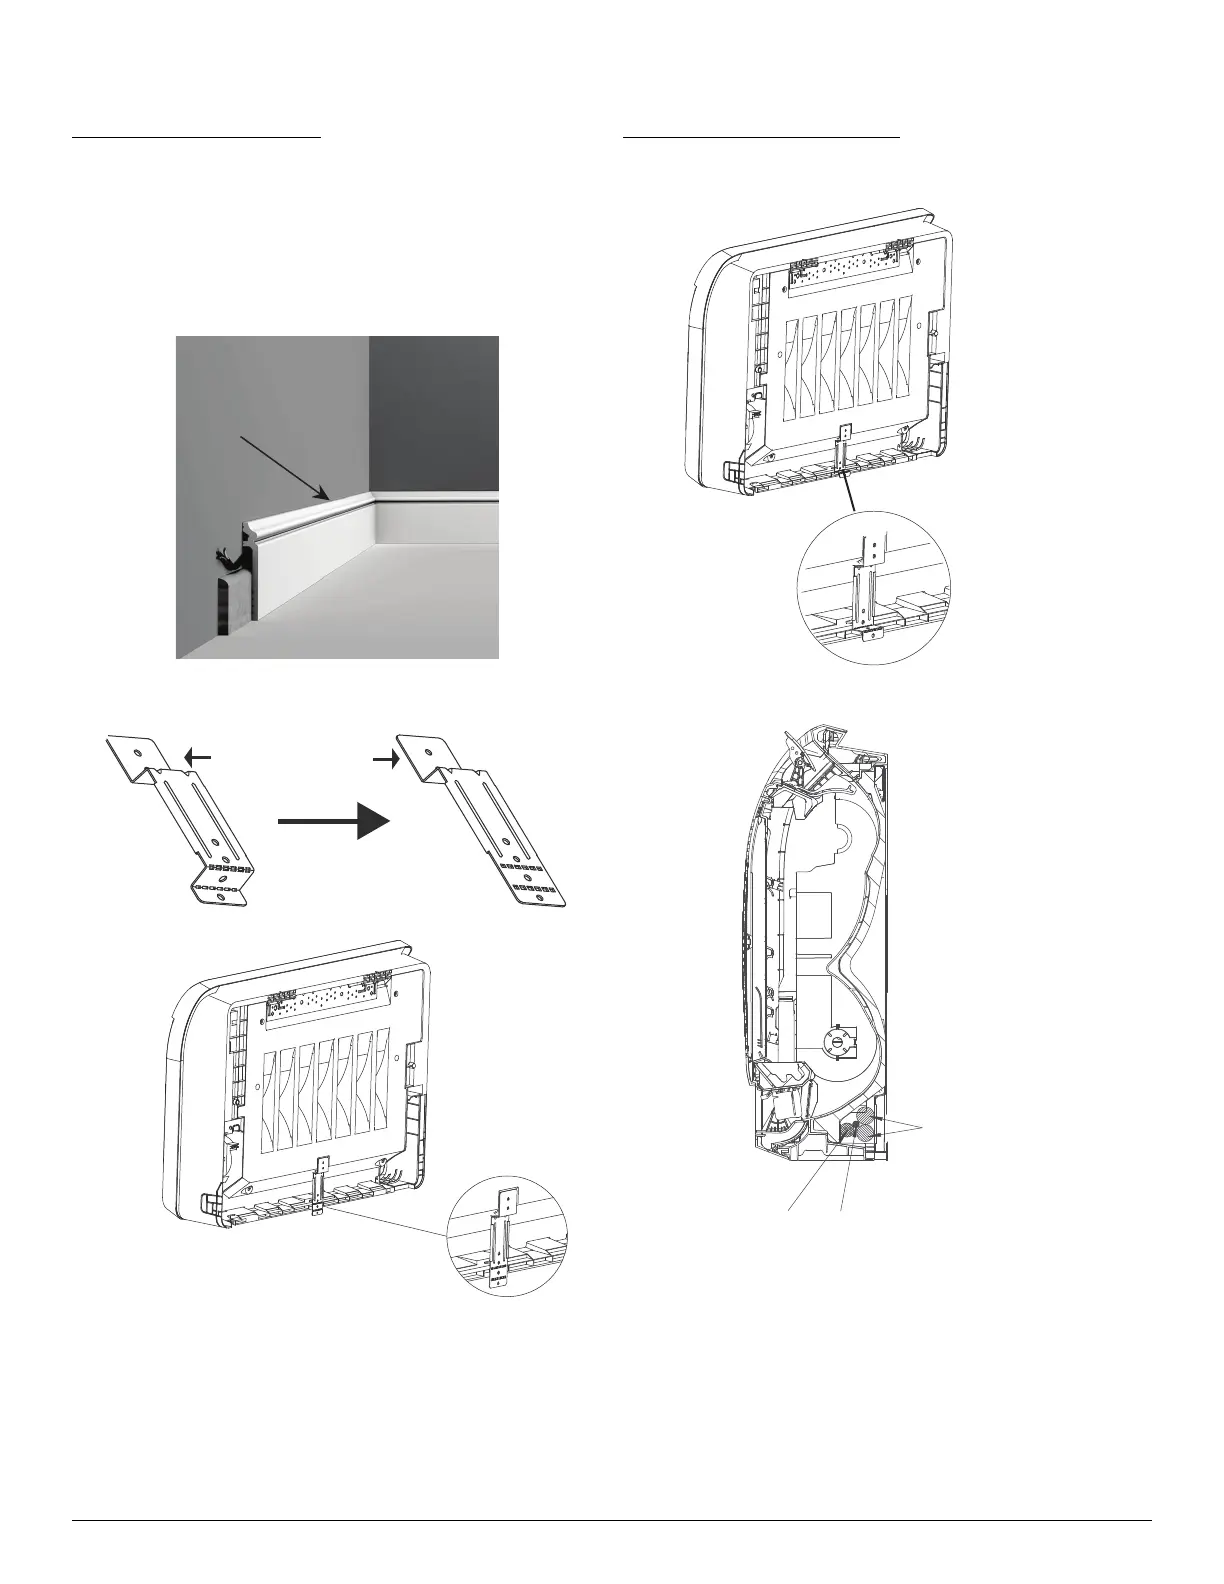
NOTE: The tab is used to secure the lineset when it comes from the left side of
the unit (rear view). If the lineset comes from the right side, the tab is
irrelevant and should be disregarded.
Fig. 20 — Baseboard
Fig. 21 — Straighten
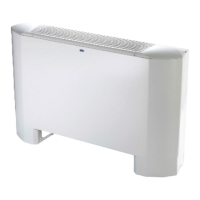
Installation without a baseboard
The bottom mounting plate is secured directly to the wall.
Fig. 22 — Secured to wall
NOTE: To drain smoothly, the position of the drain pipe must
resemble the position in Figure 22 when discharging on the
right hand side.
Power cord Drain-pipe
Refrigerant pipe
 Loading...