40MBFAQ: Installation Instructions
Manufacturer reserves the right to change, at any time, specifications and designs without notice and without obligations.
12
INSTALLATION
NOTE: Panel installation should be performed after piping and
wiring have been completed.
Step 1 - Select Installation Location
Before installing the indoor unit, select an appropriate location.
The following standards are provided to help select an appropriate
location for the unit.
Proper installation locations meet the following standards:
• Enough room exists for installation and maintenance
• Enough room exists for the connection pipe and drainage
• The ceiling is horizontal and its structure can sustain the weight of the indoor
unit.
• The air inlet and outlet are not blocked.
• The airflow can fill the entire room.
• There is no direct radiation from heaters.
DO NOT install the unit in the following locations:
• Areas with oil drilling or fracking
• Coastal areas with high salt content in the air
• Areas with caustic gases in the air, such as hot springs
• Areas that experience power fluctuations, such as factories
• Enclosed spaces, such as cabinets
• Kitchens that use natural gas
• Areas with strong electromagnetic waves
• Areas that store flammable materials or gas
• Rooms with high humidity, such as bathrooms or laundry rooms
NOTE: Recommended distances between the indoor unit. The
distance between the mounted indoor unit should meet the
specifications illustrated (see Fig. 3 — on page 6).
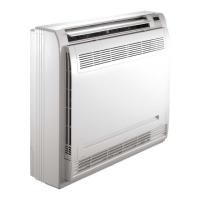
Step 2 - Installing the Main Body
1. After loosening the screws, remove the mounting plate from the unit.
Fig. 17 — Remove the mounting plate
NOTE: If the pipe comes out on the left, it is necessary to loosen the
screws on the bottom mounting plate. If the pipe comes out in
other directions, it is not necessary.
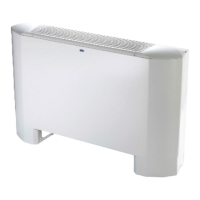
2. Secure the mounting plate, with a tapping screw, onto the wall.
NOTE: It is recommended to secure it to the wall according to the
hanging hole indicated by the arrow on the mounting plate.
The mounting plate must be installed horizontally.
Fig. 18 — Mounting plate
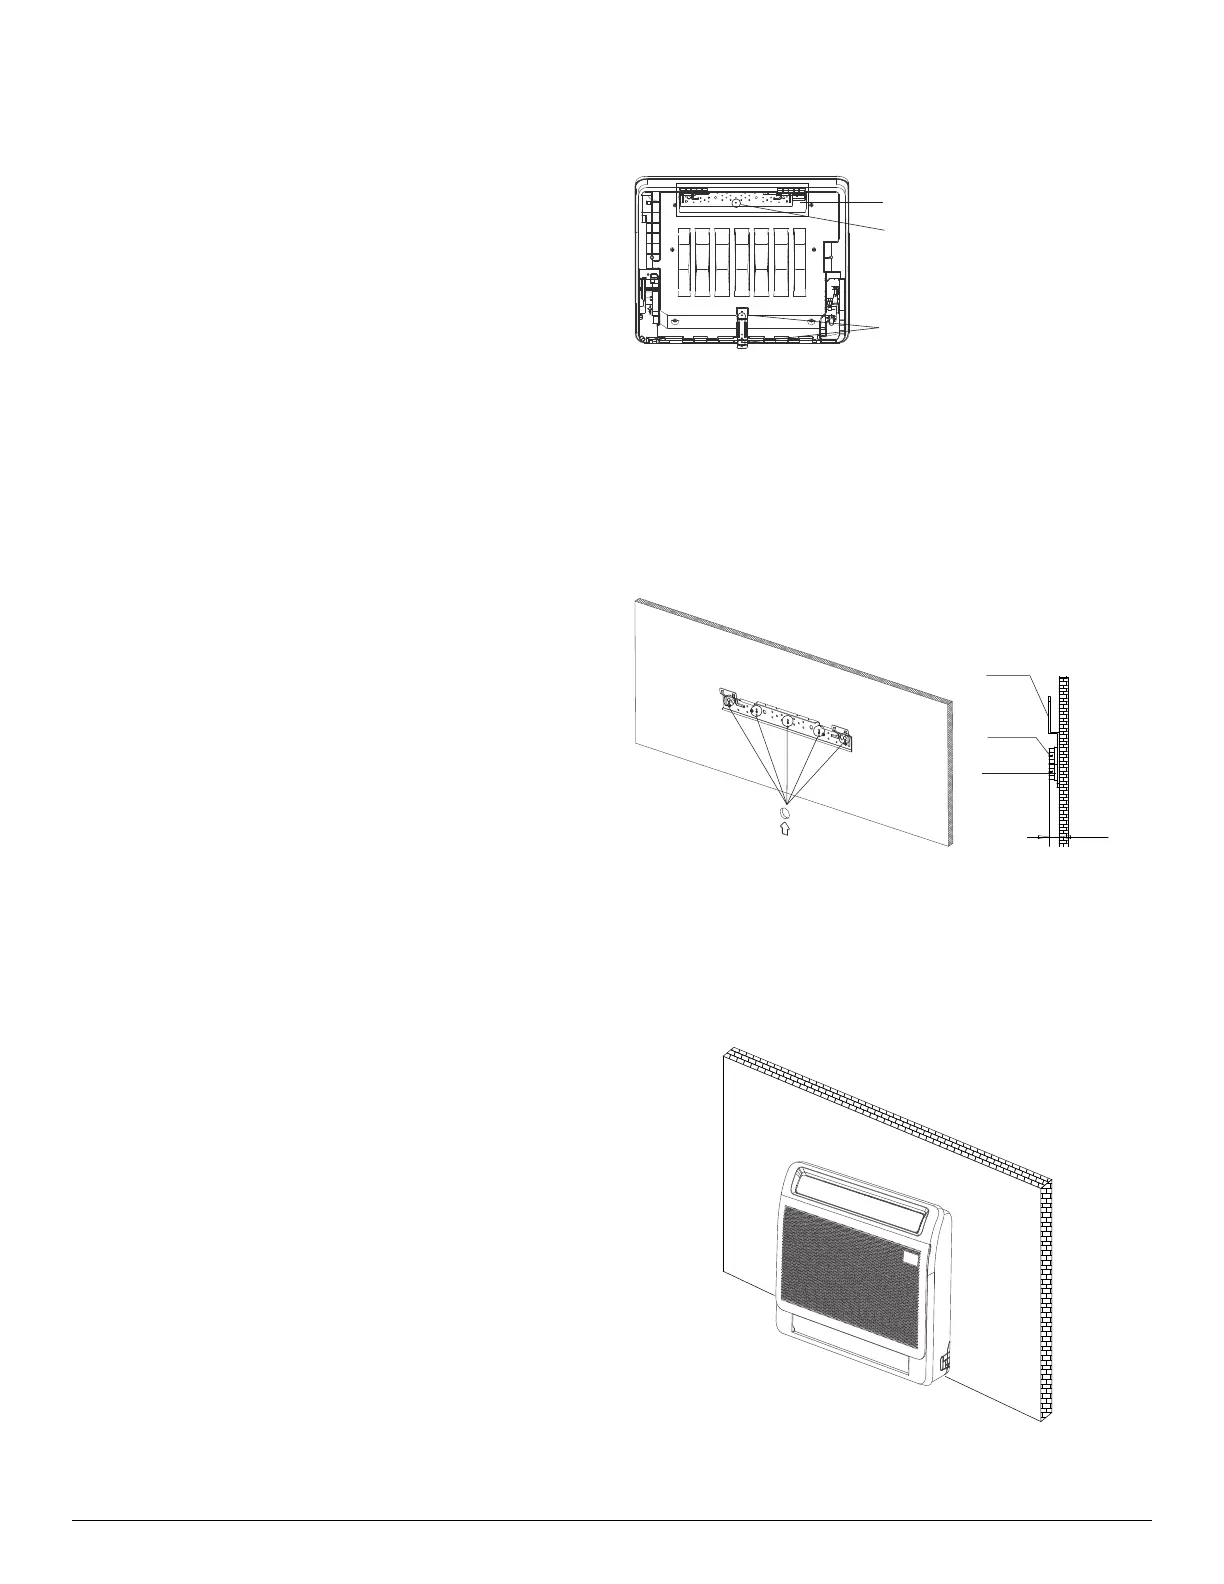
3. Hang the indoor unit on the mounting plate. The unit’s bottom may
touch the floor or remain suspended, however the unit must be installed
vertically.
NOTE: After installation, the unit should remain horizontal without
tilting.
Fig. 19 — Horizontal along wall
Remove the mounting plate
Loosen the screws (Only for left outlet pipe)
Mounting plate
Tapping
screw
Washer
˘
0.24in(6mm)
 Loading...